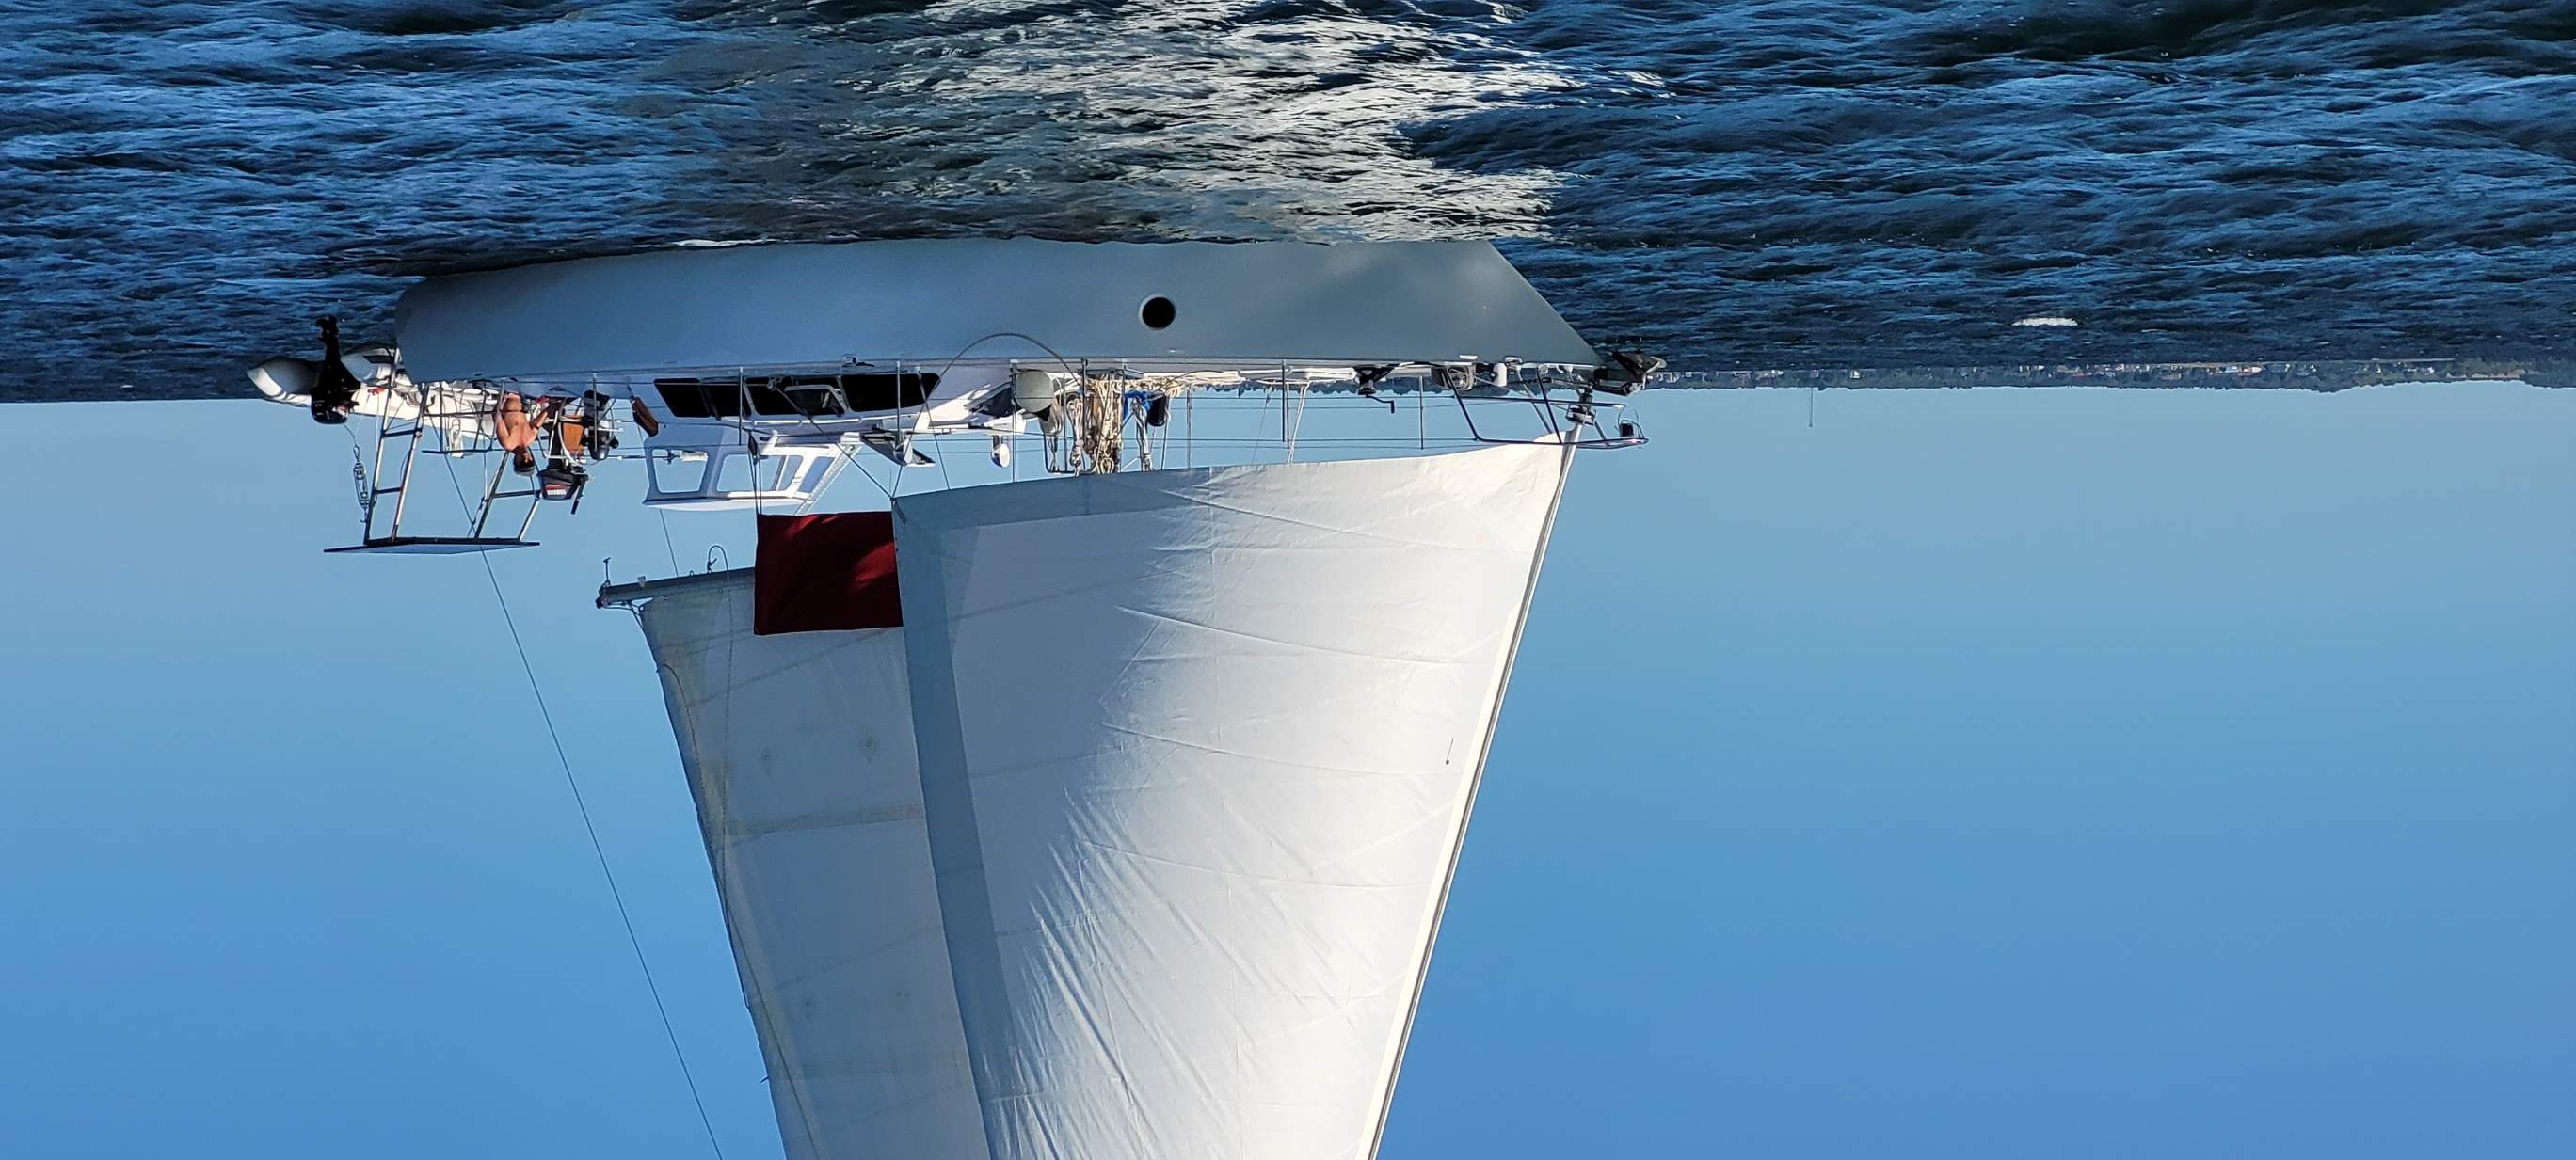
Joubert-Nivelt Sauvage 41
Ah, yes the boat. After sailing aboard our Doug Peterson 37 for a number of years and many miles our cruising goals developed as our experience did. We have been very fortunate enough to have met a number of inspiring cruisers which have lead us to be both more knowledgeable and informed about what we want to do as far as sailing goes moving forwards.
That’s all to say, we have wiggled our way into literally our perfect dream boat. Not something most people can say but as far as we can tell this suits both us and our goals perfectly in every way.
There are blog posts about our initial refit of the boat as well as I’m sure the ever ongoing maintenance required for a full time liveaboard yacht. Those can be found in the archive page or under “refit” at the top of the page.
Details
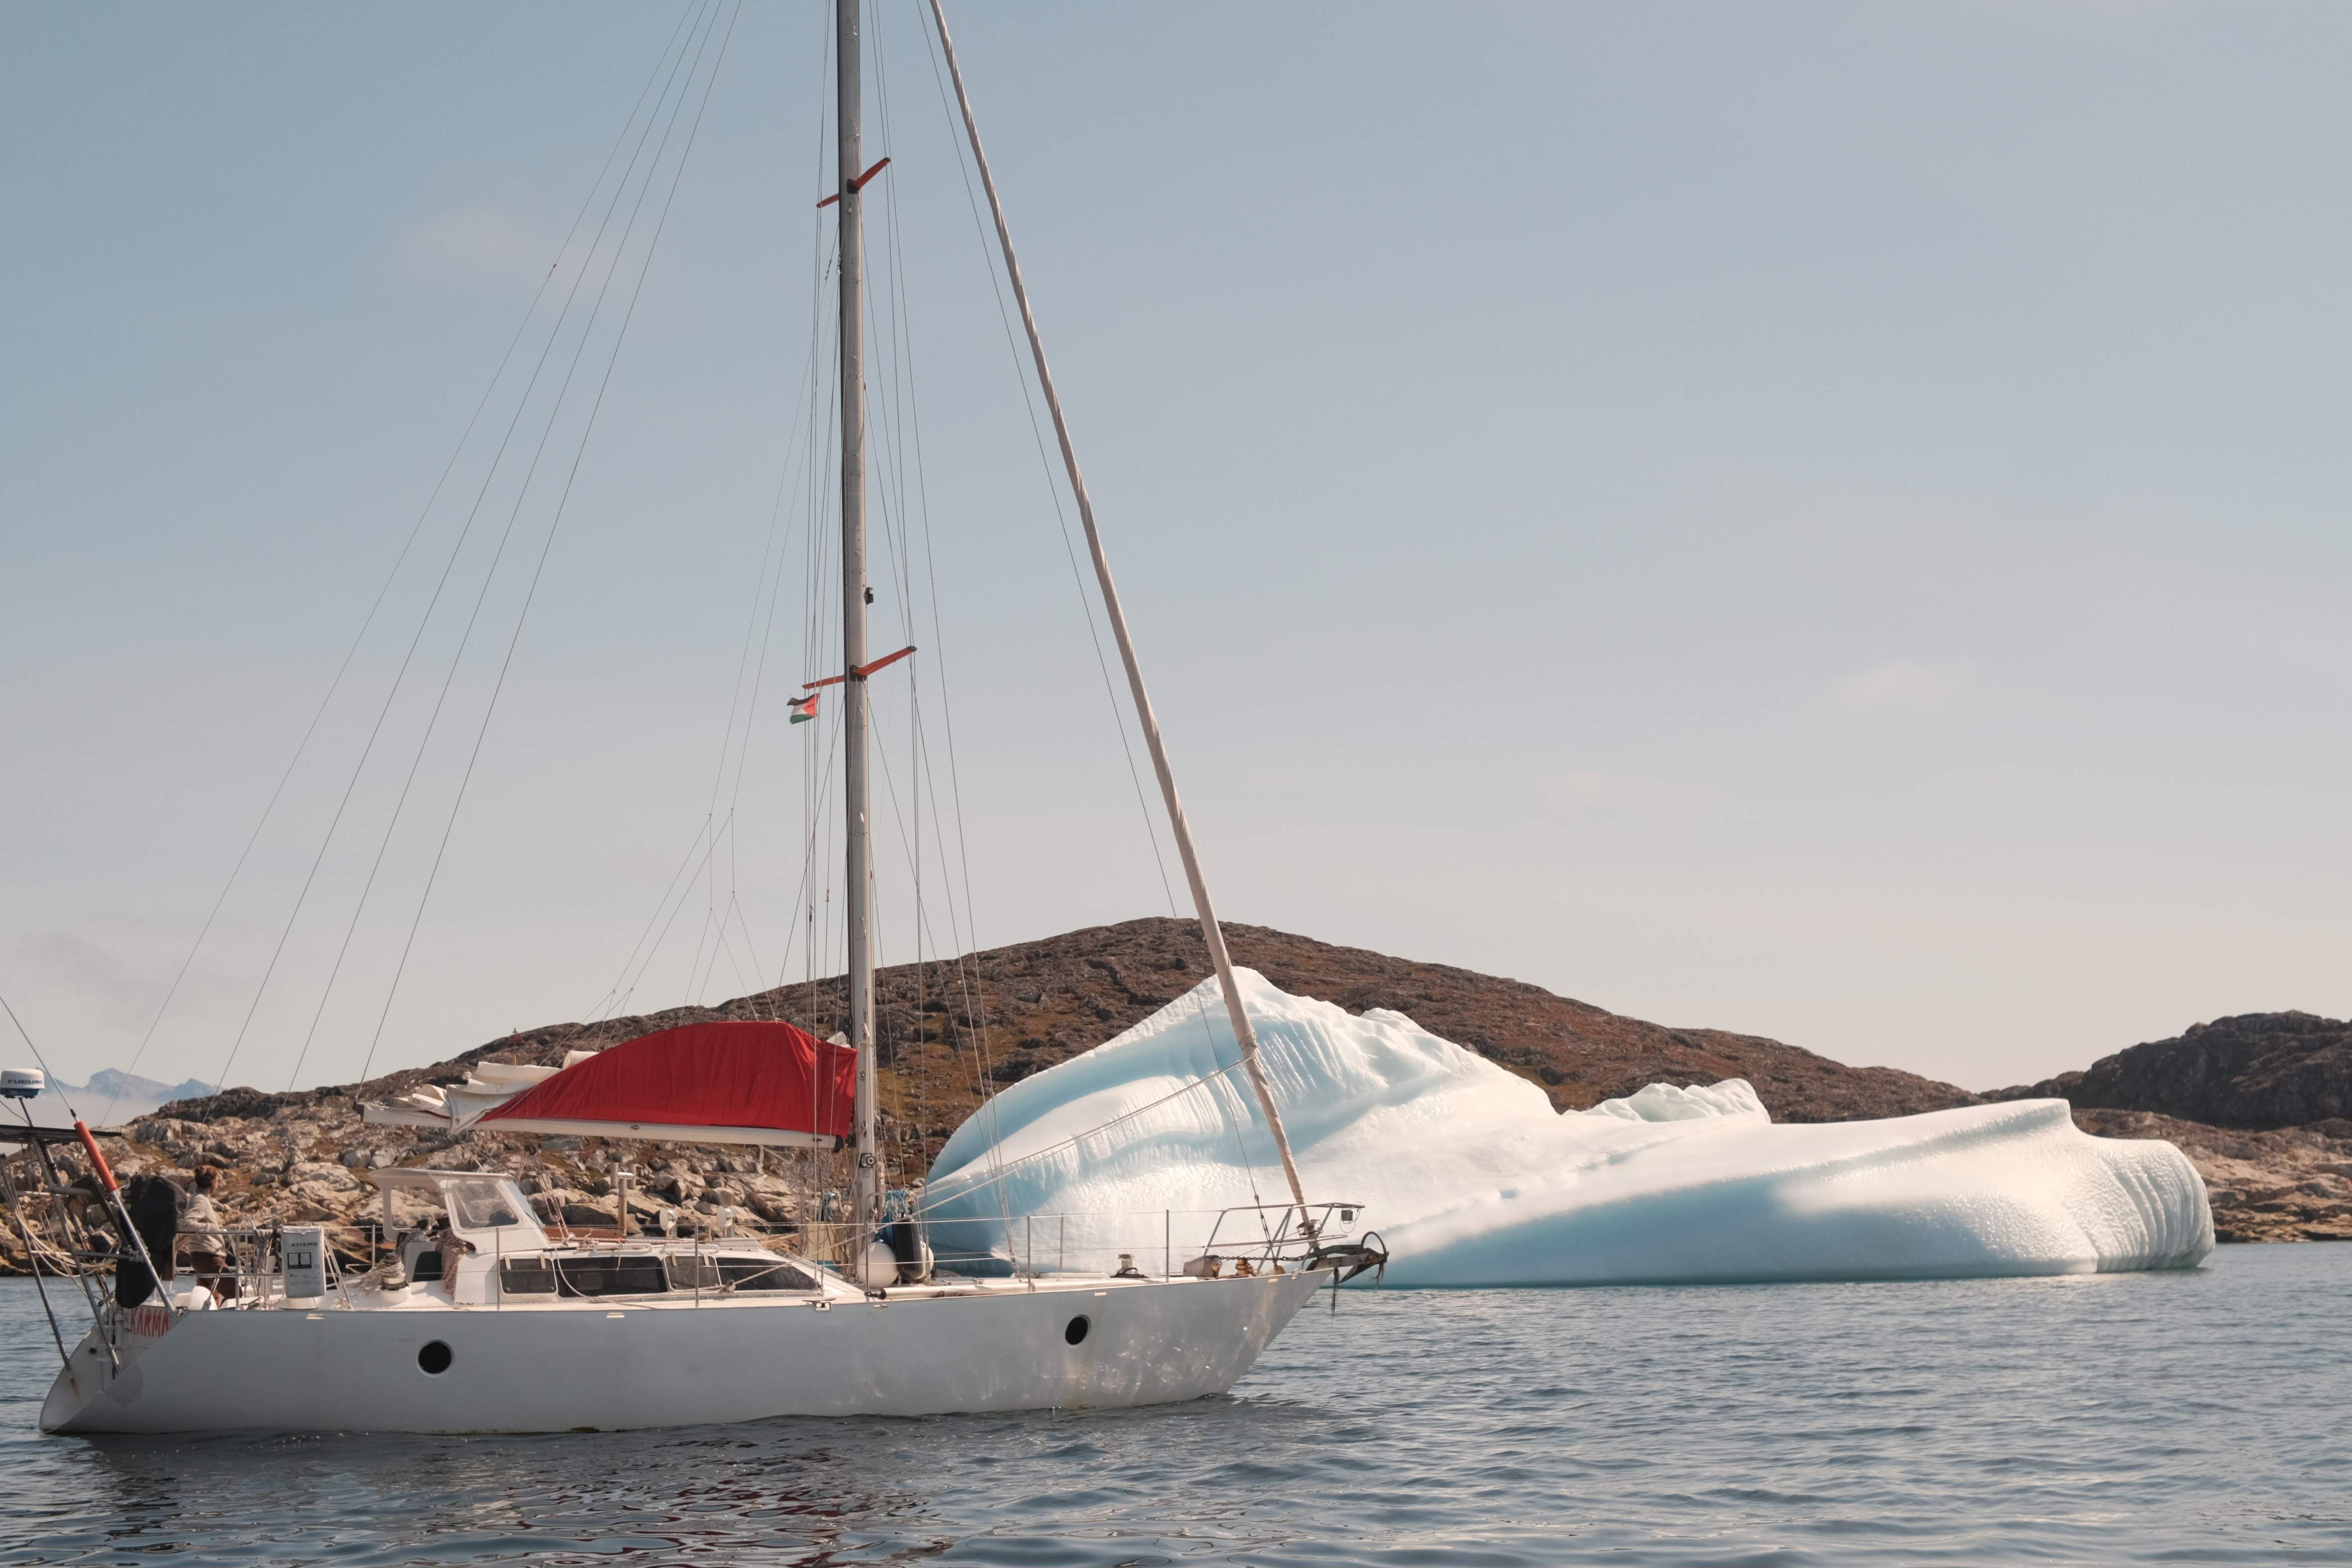
Here are some of the general specs on the boat:
- 42 feet overall
- Rolled steel hull and all Stainless Steel deck and coach roof
- Centerboard with internal ballast 3 to 9 foot draft.
- Roughly 10,000kgs as far as we can tell, 4000kgs of which is internal ballest as lead ingots which are removable for hull inspection and repairs.
- 60 foot air-draft
- Tiller and wheel steering
- Short, entirely external rudder on a skeg with protected propller allowing for the boat to be beached
- 2 to 4 inches of closed cell spray foam insulation down to a foot under the waterline
- Beta Marine 60hp naturally aspirated diesel auxiliary power
- 3 blade fixed prop
- 1000 liters of water storage
- 450 liters of diesel storage
- Quik electric windlass, 65 meters of chain, Rocna 55 anchor
- 410 Watts of solar atop a custom ss arch, 560 Ah of LiFePo4 Batteries
- Double spreader IsoMat spar, wire rope rigging Pro-Furl Furler, Solent stay for storm jib
- HRO 7gph 12v Watermaker
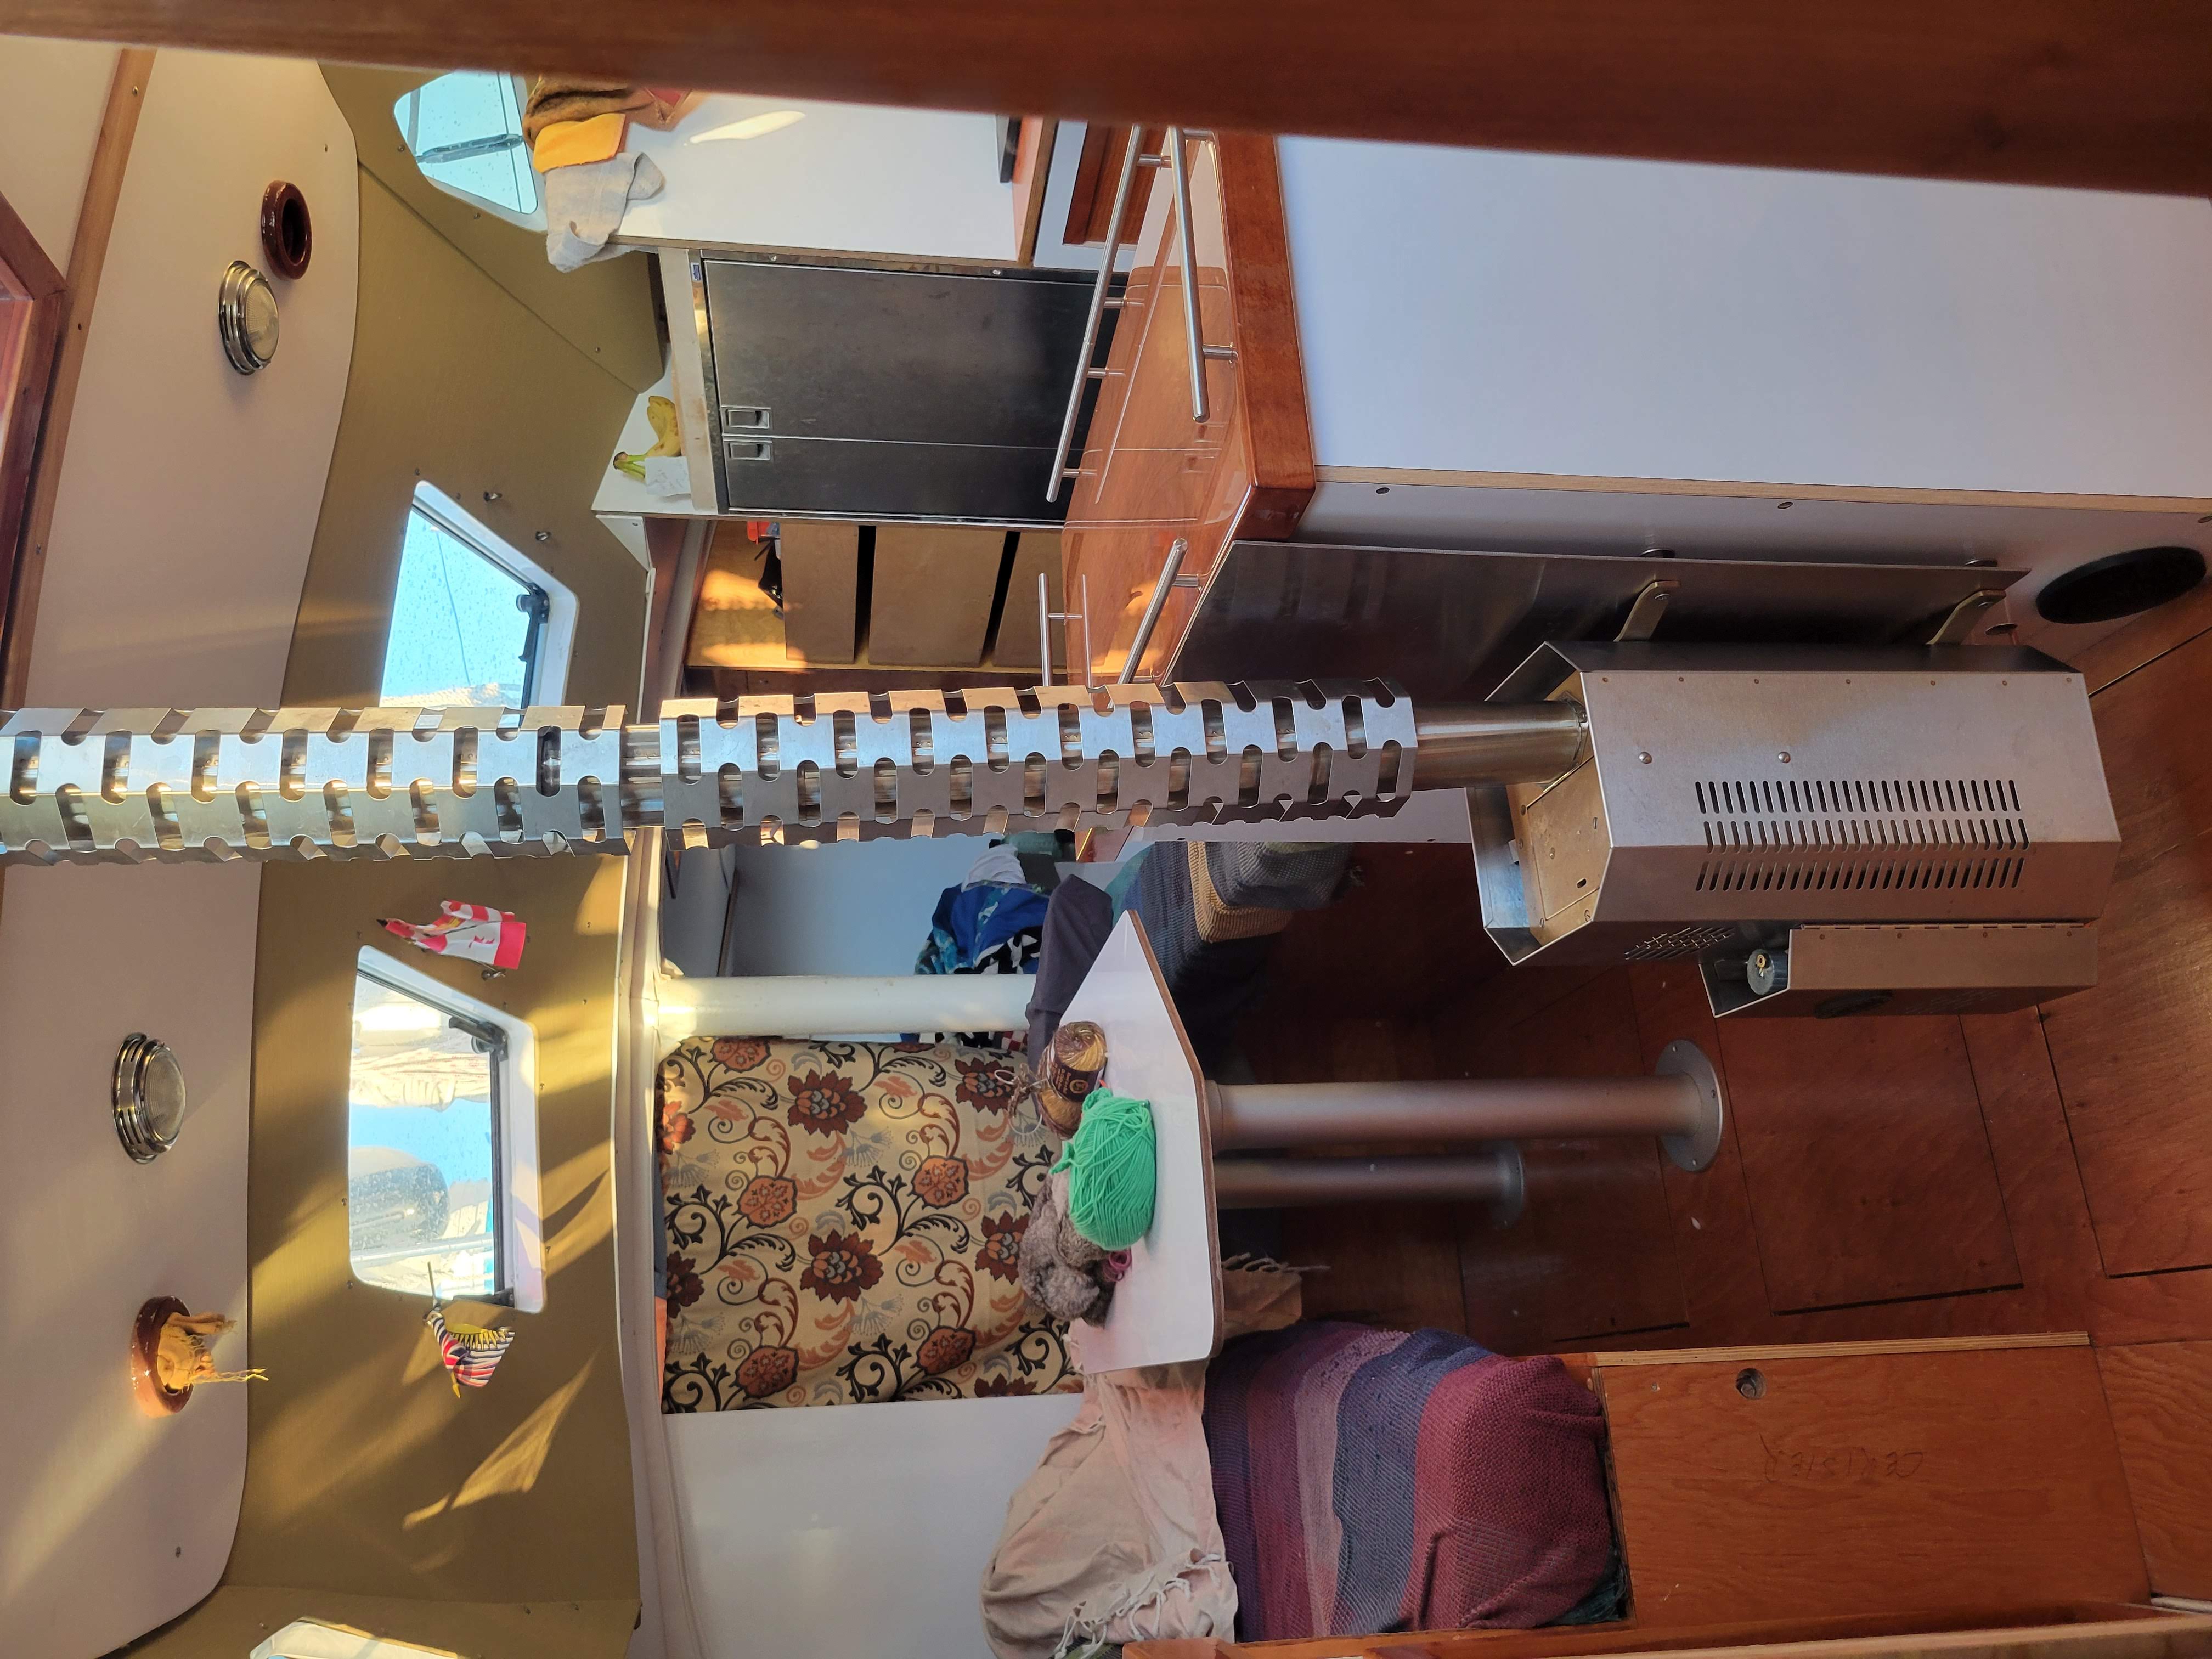
- Dickinson Newport drip diesel heater
- One queen bunk forward, one double bunk aft
- Force 10 3 burner propane hob with oven and broiler
- Hynautic hydraulic type 3 offshore autopilot with Raymarine Smart Pilot x80 controller
- OpenCPN driven navigation
- Em-Trak AIS transponder
- Furuno 1621 radar
Design
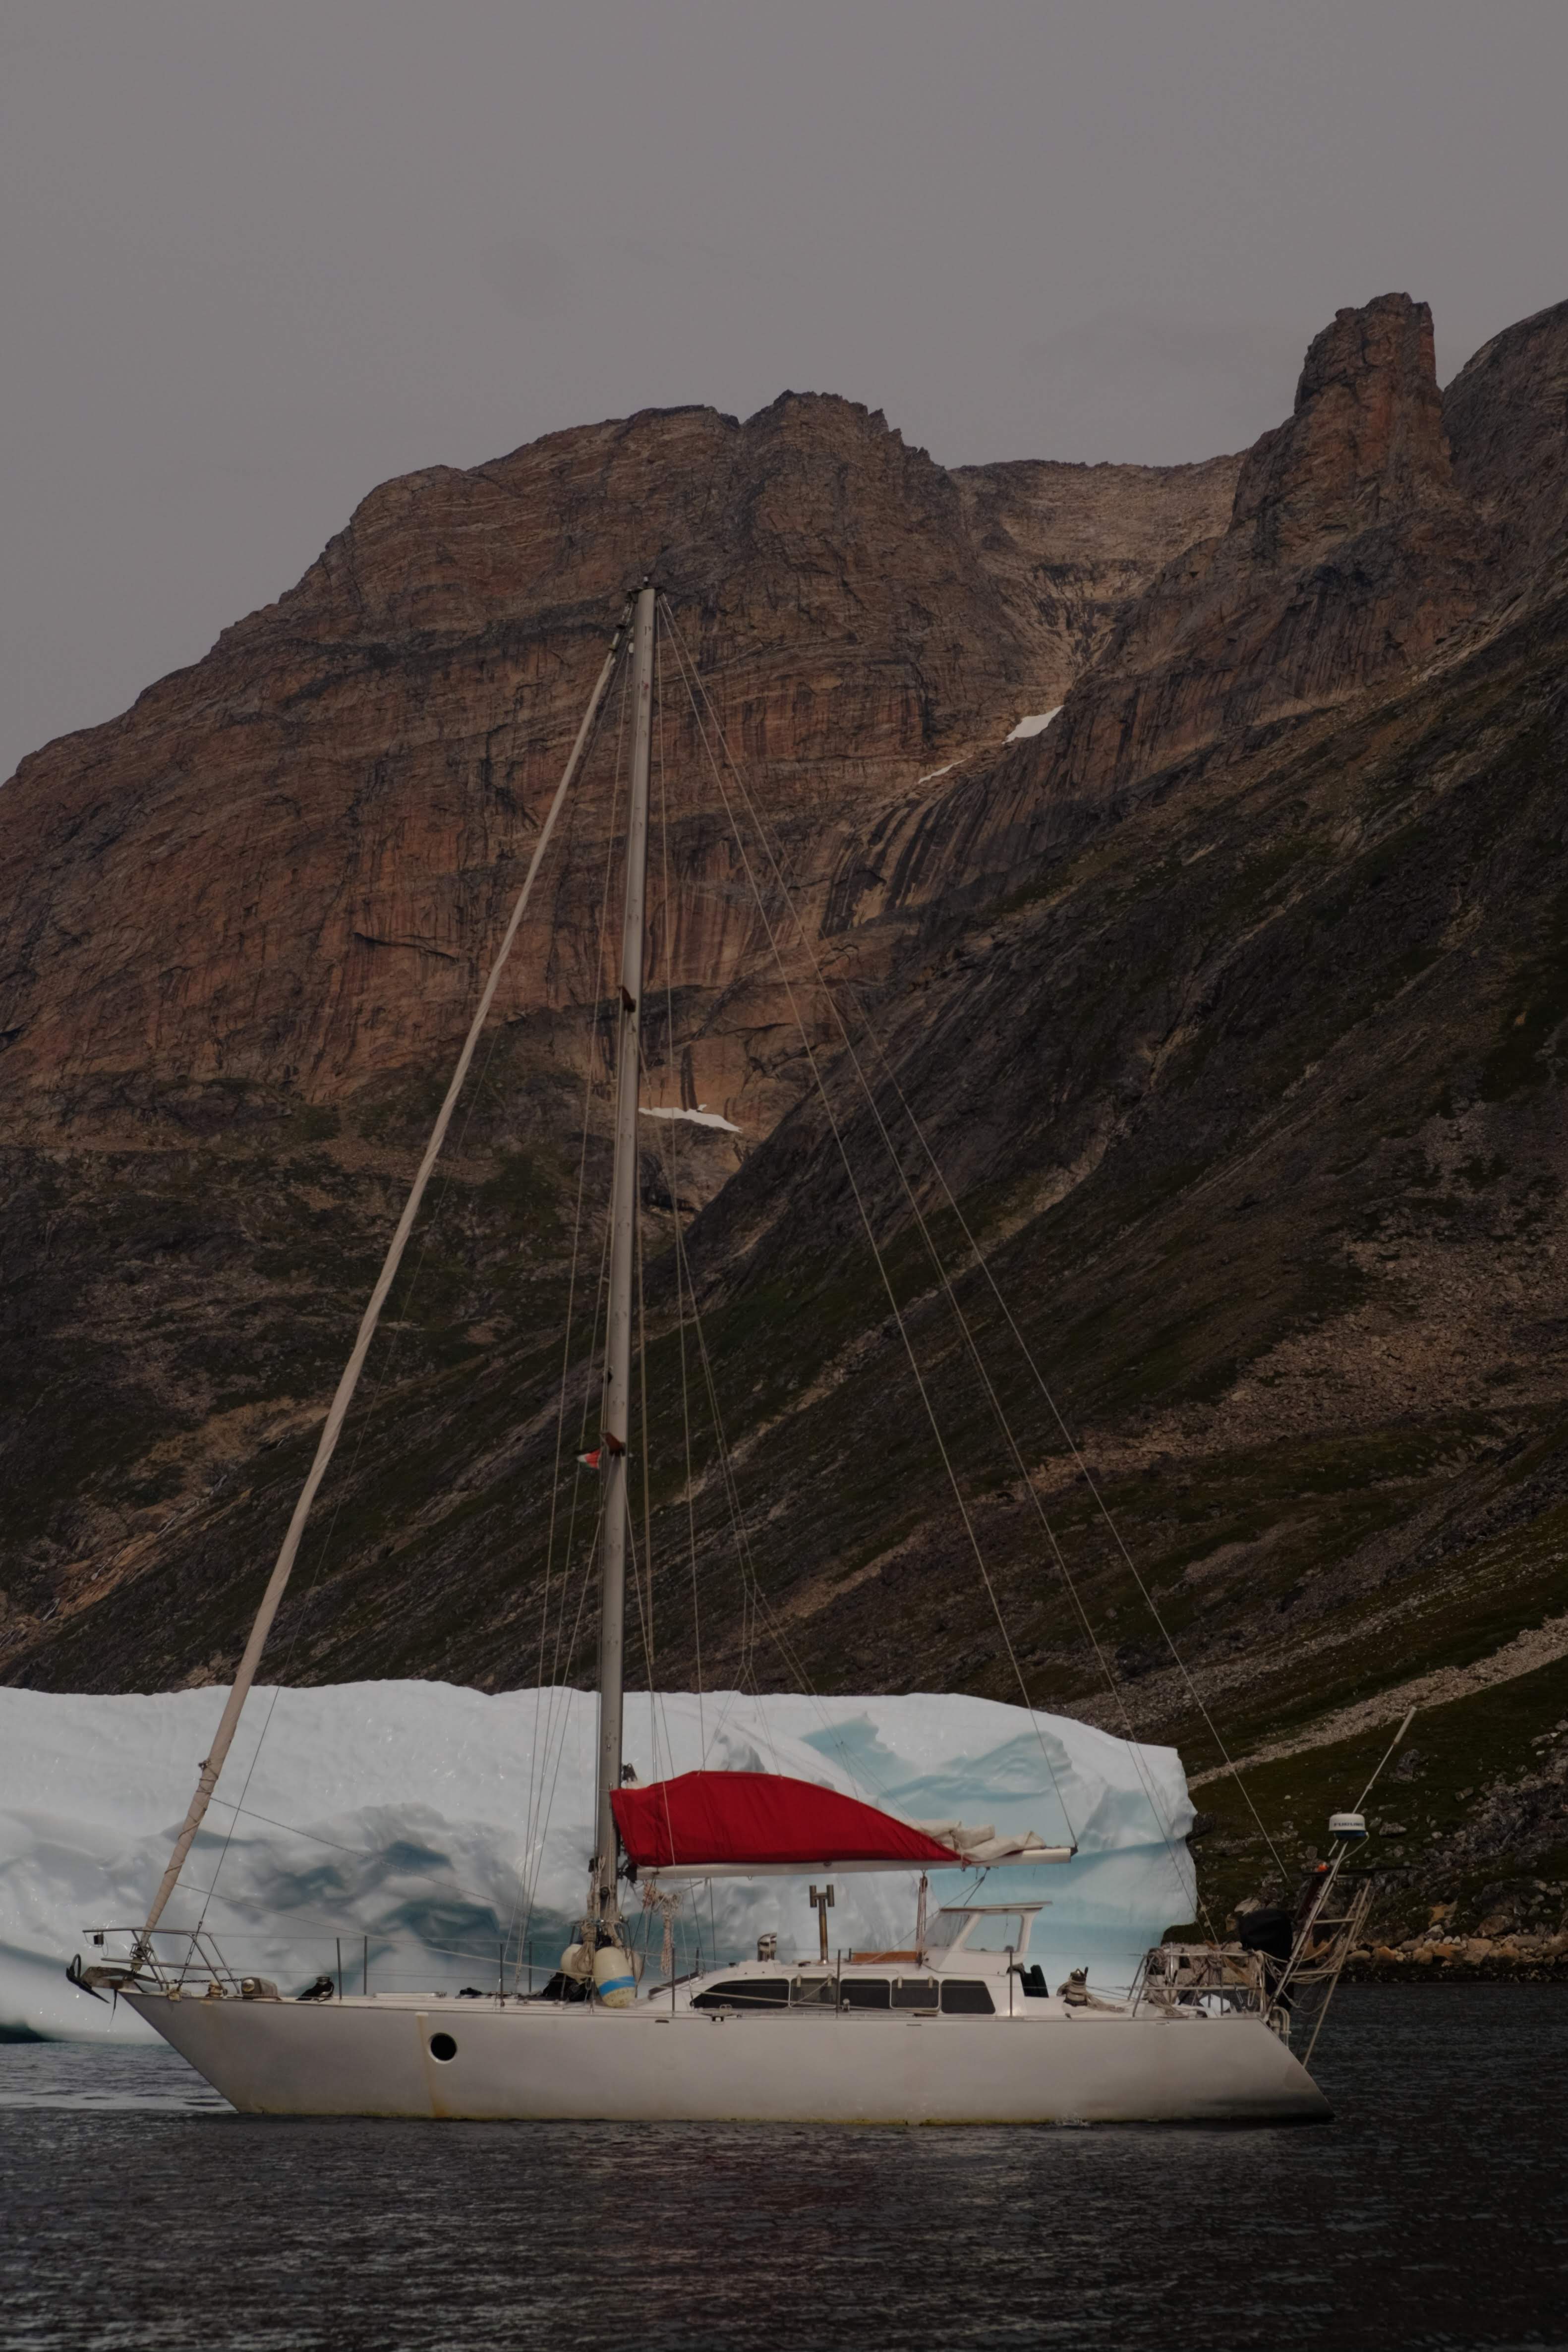
We can’t find too much information about this design specifically, but the boat was designed by Michel Joubert and built in 1986 in France at the Form’Ocean yard, most likely as a short production run of made to order boats. Michel Joubert designed Damien II, a steel centerboarder rigged usually as a schooner for legends Jerome Poncet and his wife Sally who cruised aboard for 12 years and who were the first people to do wild things like sail way up the Amazon river, sail above 80 degrees north and below 62 degrees south, overwinter in Antartica, and so on during their circumnavigation back in the mid 70s. This sparked an interest, mainly in France, of really off the beaten track cruising and therefore designs built to do so.
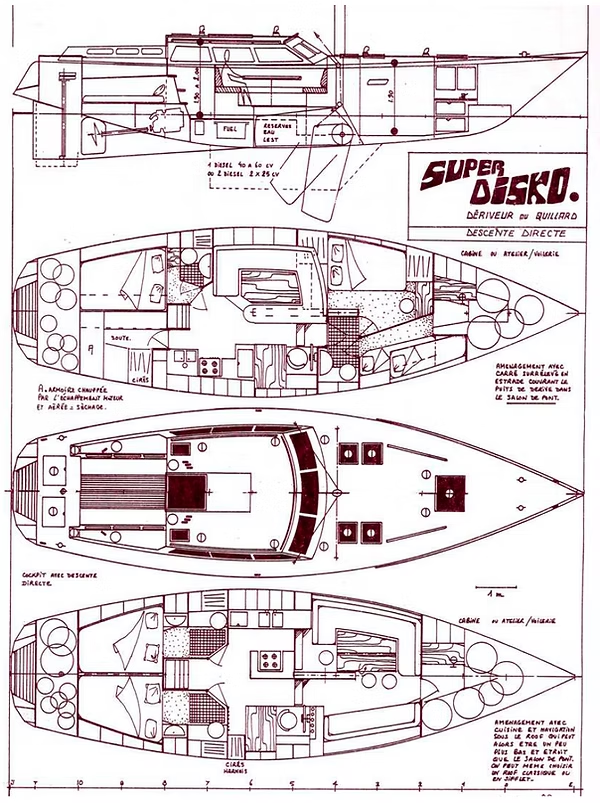
Other notable designers are Gilbert Caroff with the Lex schooner and the Super Disko (very very similar to our boat, plans shown above), Jean-Francois Andre, and the early Garcia boats like the Naonni and Passoa made in aluminum.
History
We don’t know too much about the history of our specific yacht but we do know at least of all the owners. Originally the boat was owned by a French couple who were based out of Madiera. They did a full circumnaviation aboard but we don’t know the name of the boat and the years in which that was done. It’d be cool to come across someone who knew or knows who these original owners were.
The next owner was an American who sailed out of Florida and did a number of seasons in the Carribean while spending the summers state side as we understand it. At this point the boat was navy blue and was called “James Michael”. We have one or two photos of the boat at this time.
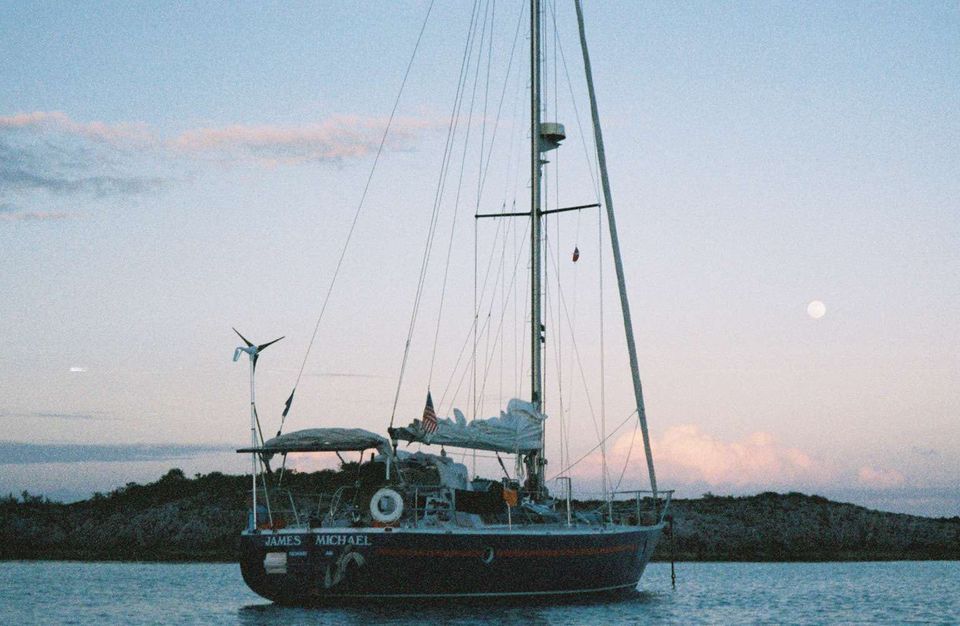 After this un-named Yank another American from Maine purchased the boat and did a big refit. They replaced the rig and had a lot of interior carpentry done but never sailed the boat. Before they were ready to go some career opportunity presentented itself and they sold the boat to the French Canadians, Vincent and Veronique.
They trucked the boat to Shediac, New Brunswick and slowly discovered more and more things they’d want to repair so they ended up stripping the entire boat back to the hull and starting from scratch. They did all the gnarly steel stuff and redesigned the whole layout. As mining engineers they did it well. Once the rebuild process started they also were presented with a career opportunity which they decided to take and therefore move on from the boat while she was in mid project mode. This is where we stepped in, purchasing essentially an entirely dissassembled boat but with all the materials and parts along side in boxes to complete… for the most part.
Refit 2025
We were able to aquire such a robust vessel with our meager financial standing due to the circumstances of her sale leaving her in a half finished project state in a not too common area for cruising boats to get refit. Usually this can be a bit of a red flag but the previous owners were metquilous in both their investigation of the boat as well as their quality and depth of work they did making it a no brainer for us to step in and complete the project. It’s impossible to overstate the care and attention to detail the previous owners have. As well as being supremely helpful and nice people.
Based on our experience sailing many miles on our previous IOR racer/cruiser we had a lot of specific ideas of how the boat should be put together and setup to be as easy to work on and robust as possible. Being able to install all the systems from scratch allowed us to, for example, ensure all electrical and plumbing connections are easily accessible, the hull is entirely inspectable throughout the boat, and the overall systems setup isn’t so integrated that a failure in one spot causes issues else where in the boat.
Karma is designed now from the ground up to be easily sailed and maintained by 2 people without much intervention from shore and without the need to tie alongside, with the goal of being limited on our sailing plans by our own abilities without also having to worry about if the yacht is up to it.
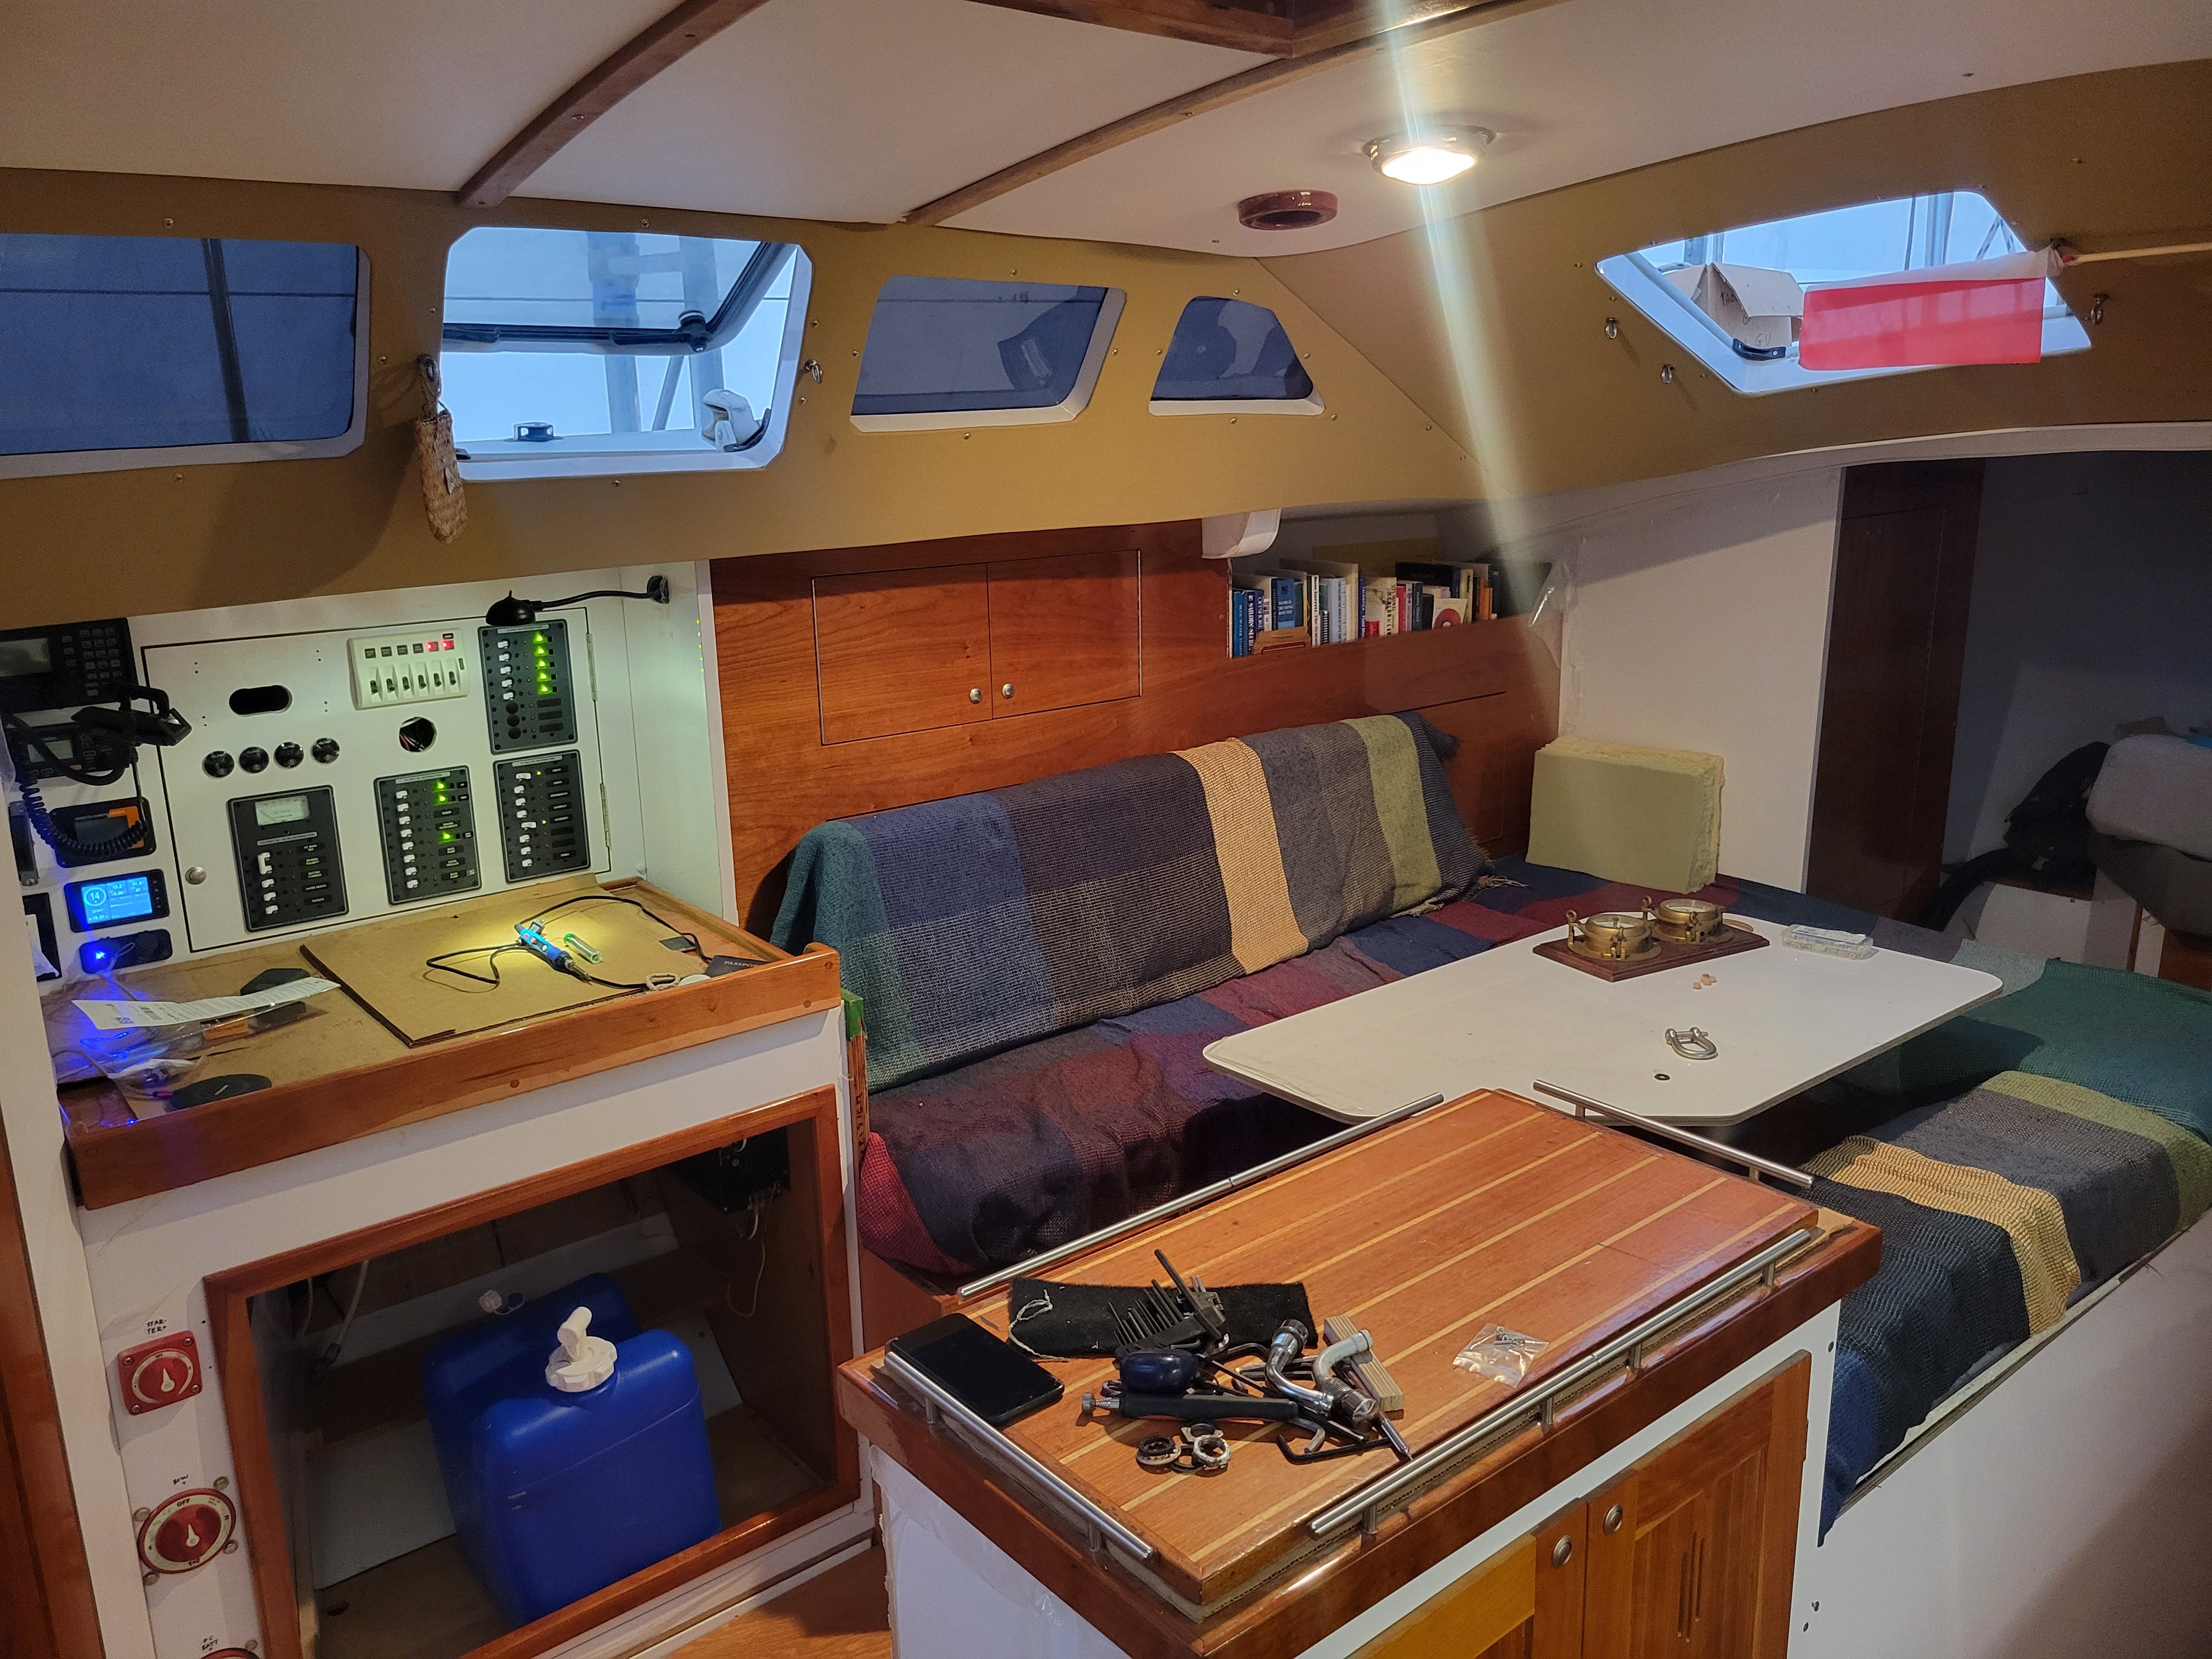
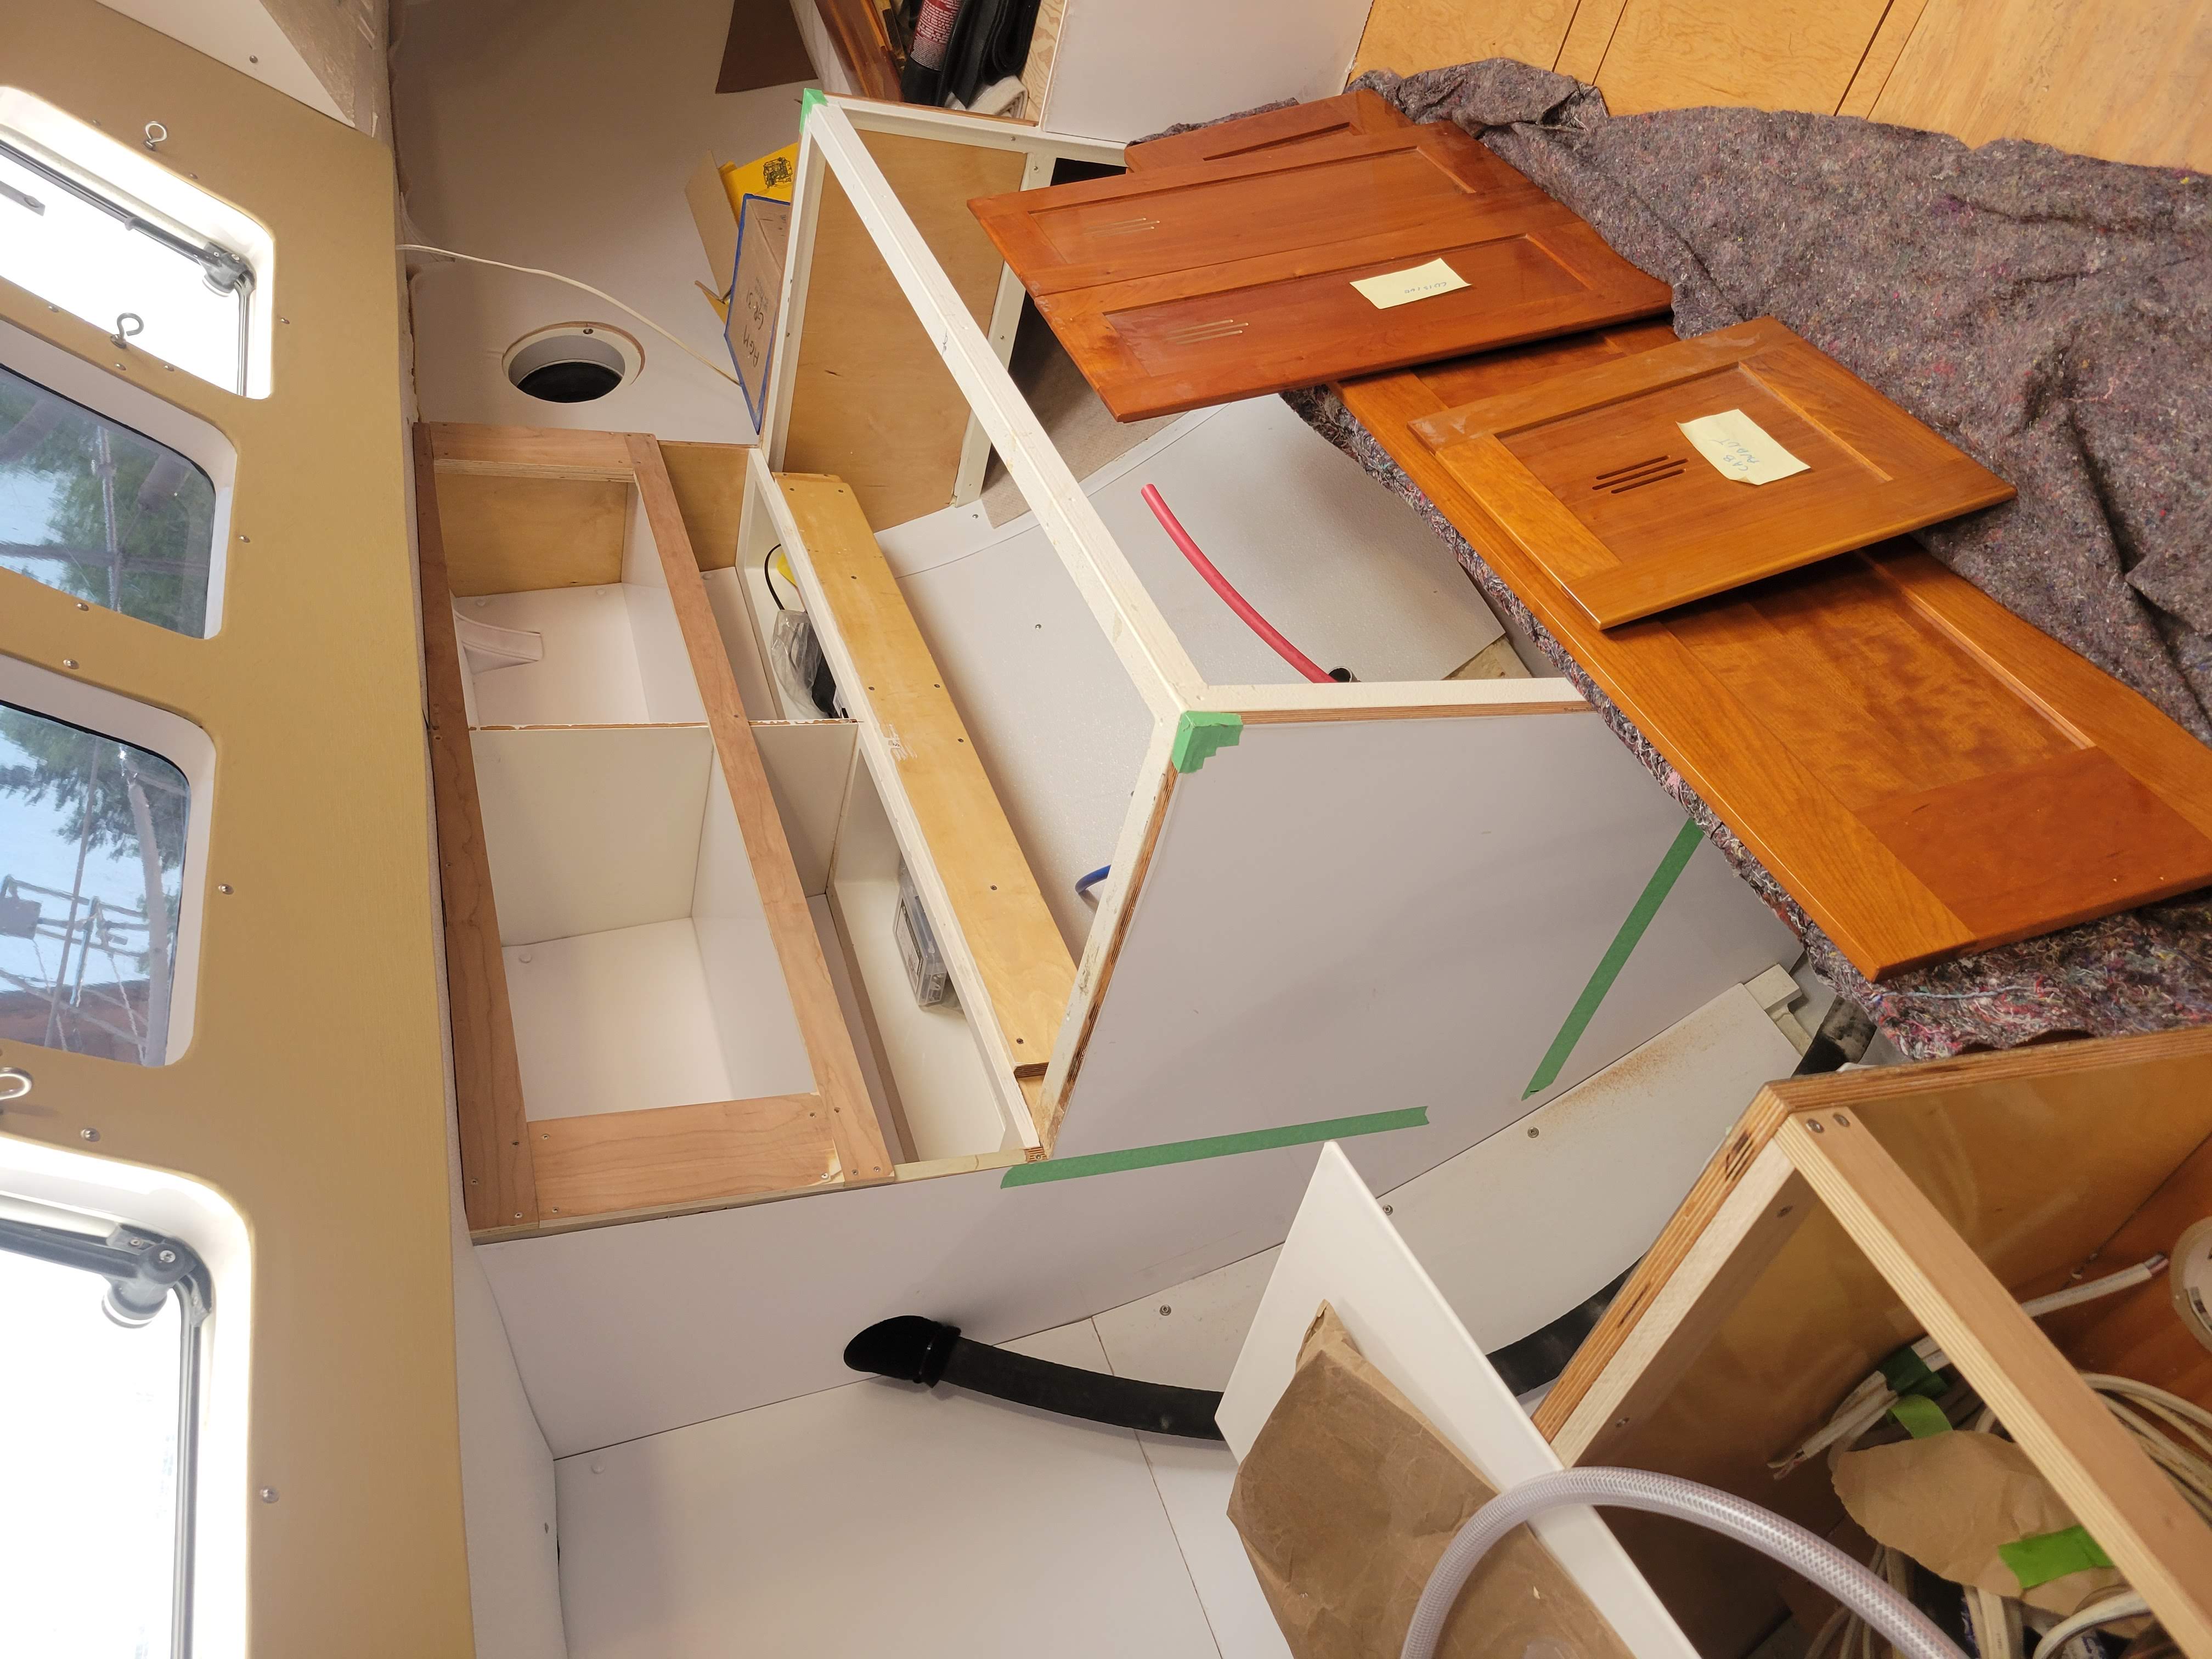
Interior Construction
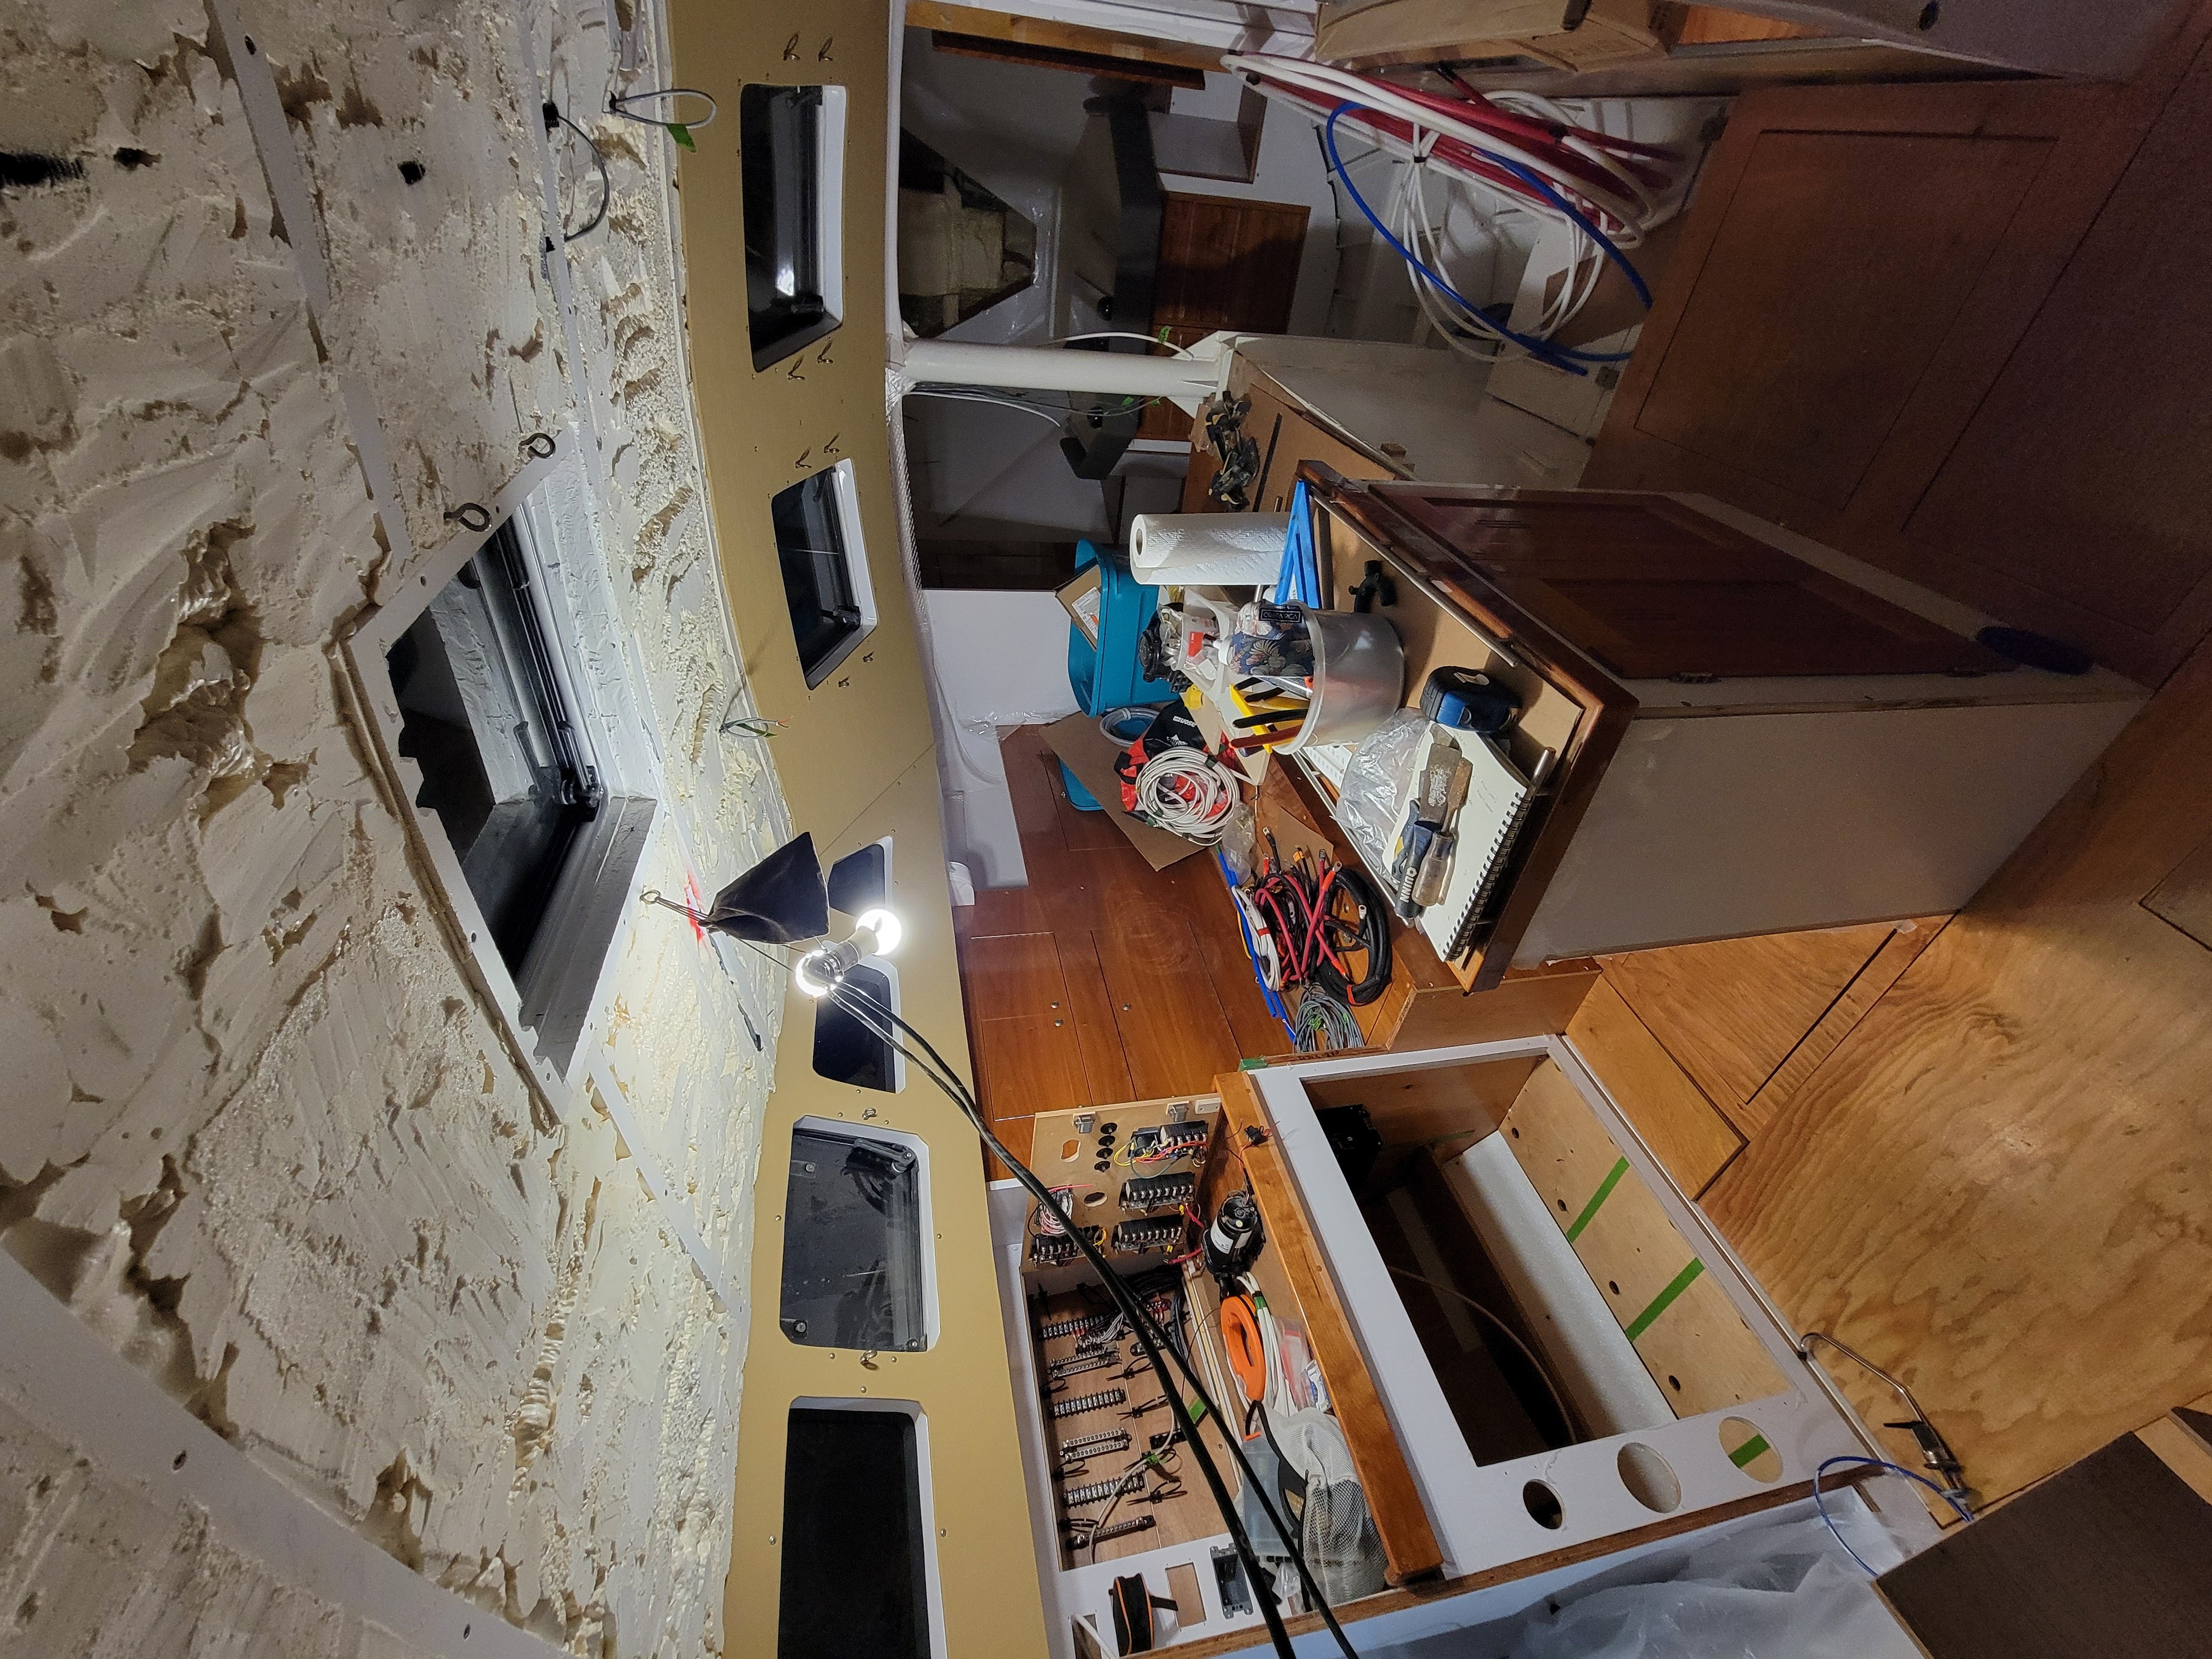
A major part of the project was finishing the interior. The previous owners had stripped the entire thing down to the bare hull and sandblasted inside the boat, then redesigning the layout. They had welded the floor supports and put in metal framing for where cabinetry can be bolted to and did part of the saloon section as well as some of the head but the rest was then up to us.
Exterior Epoxy and Paint
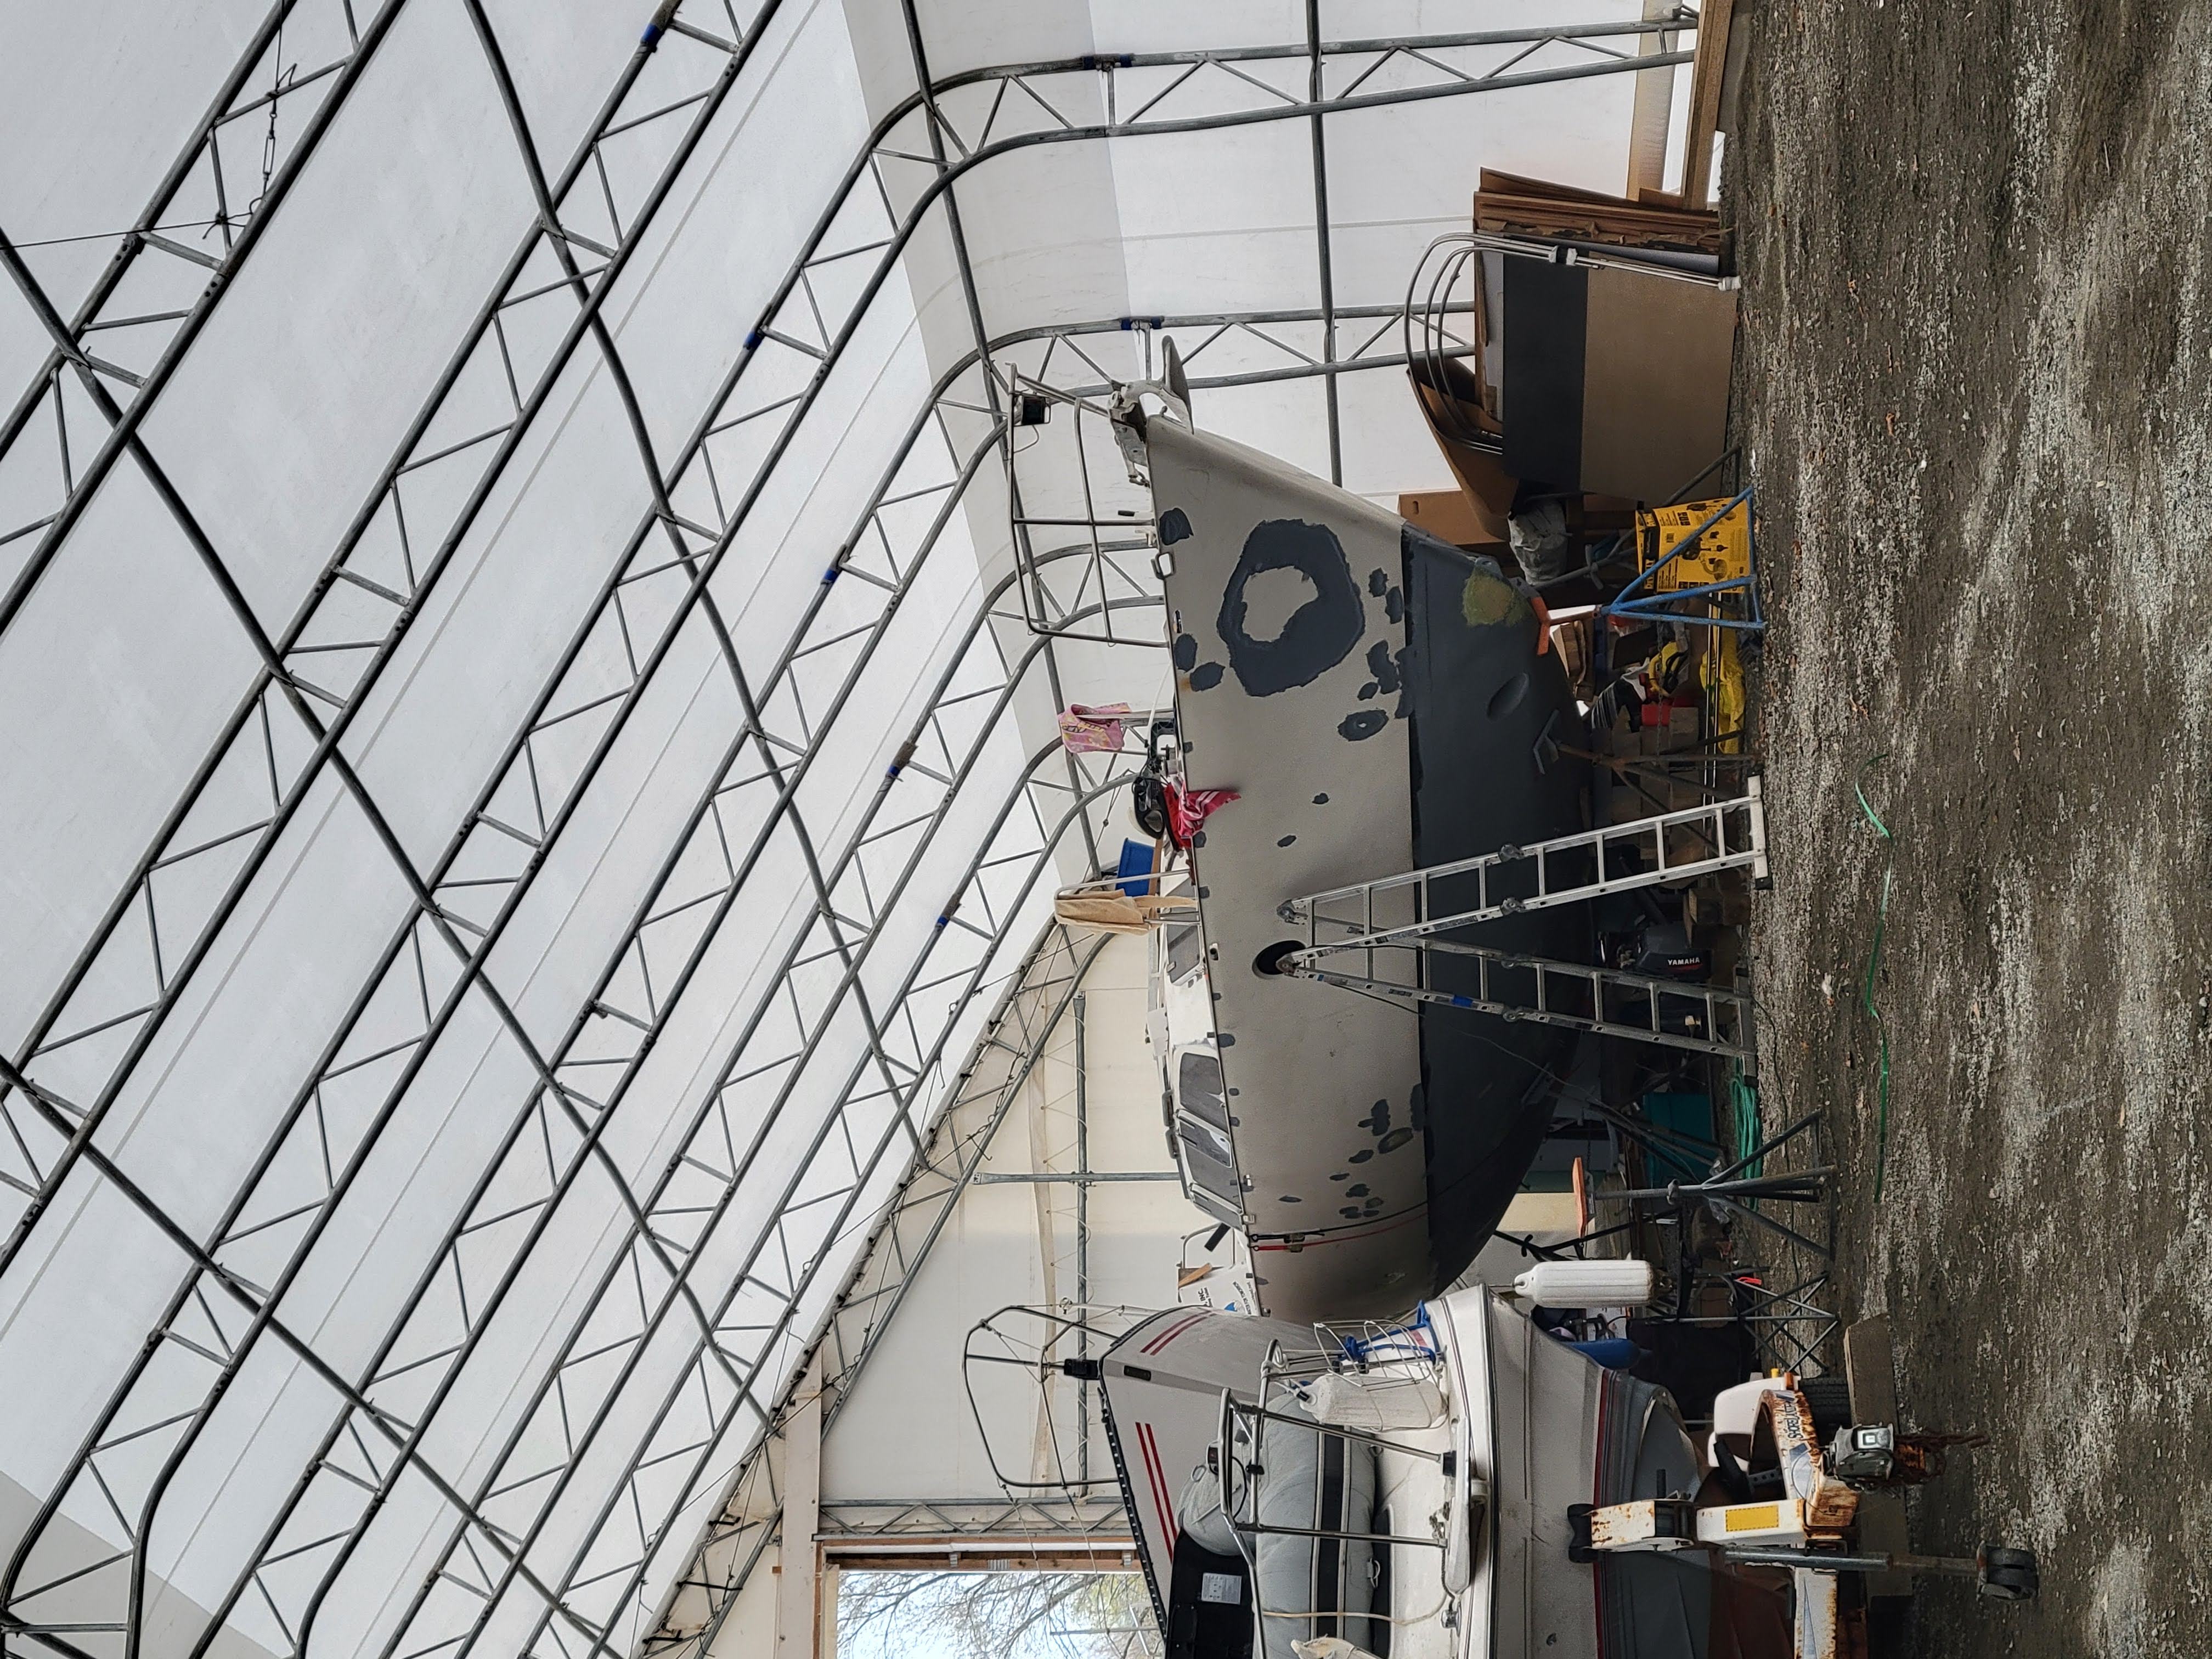
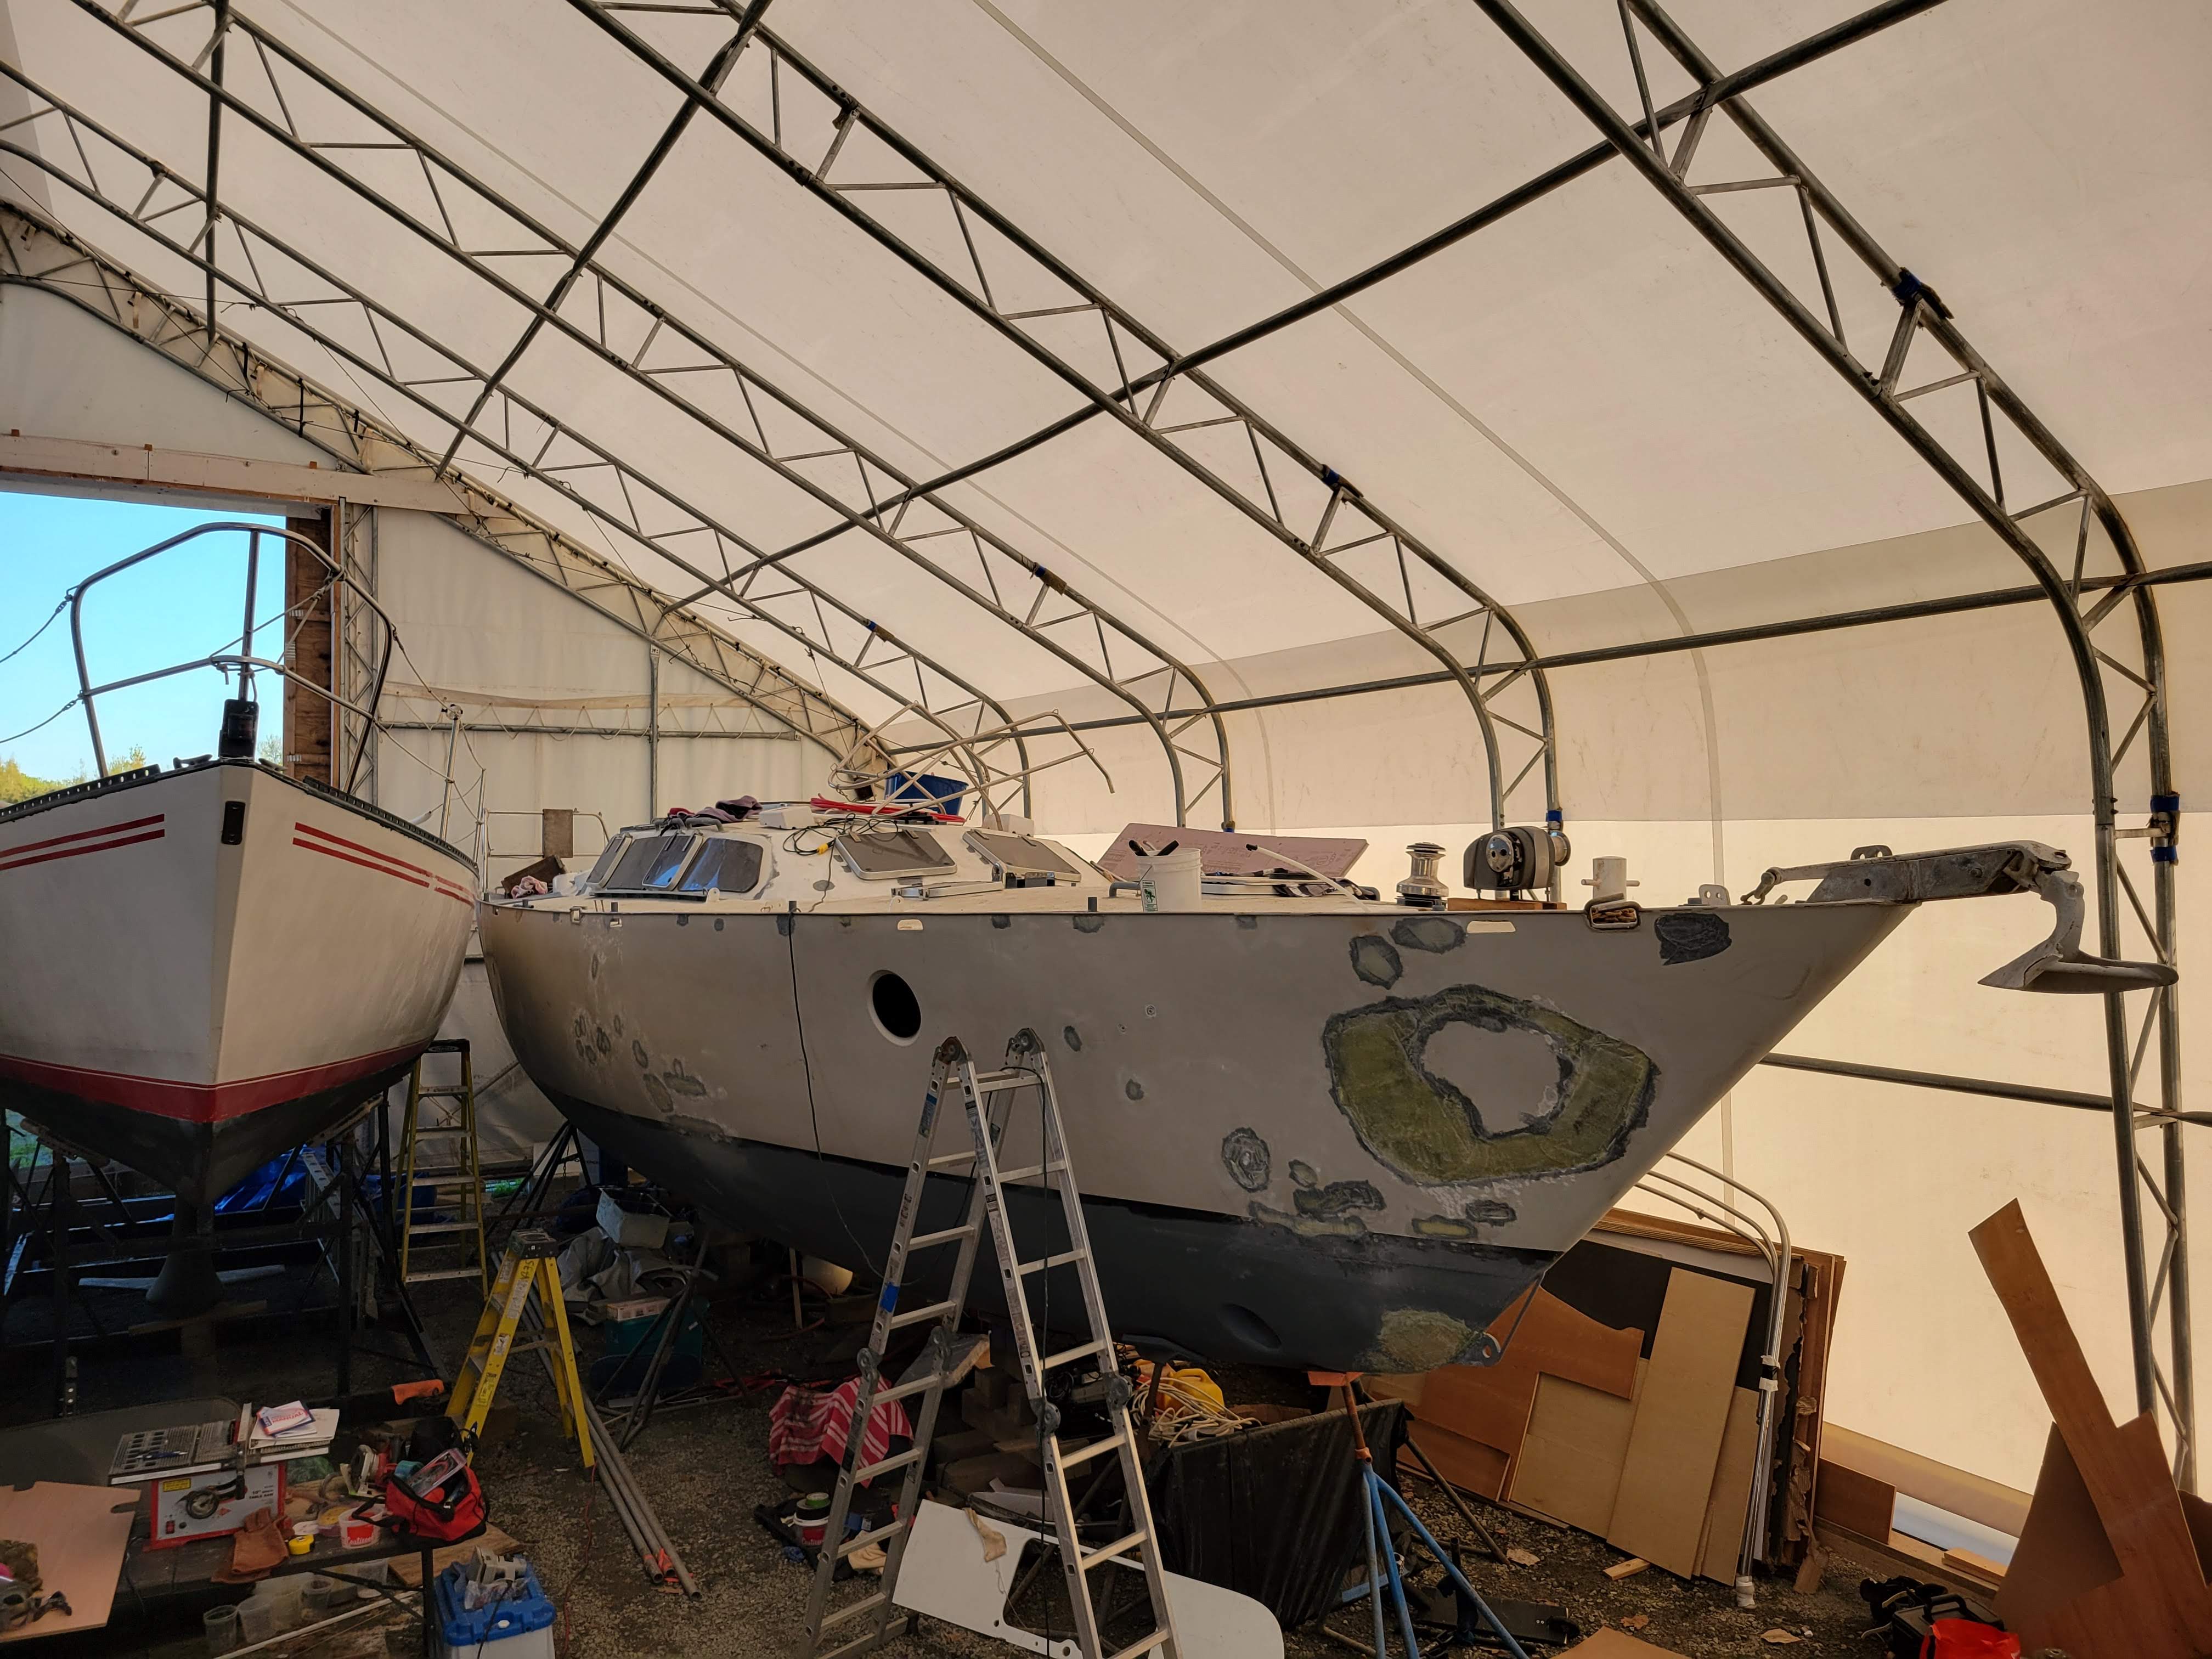
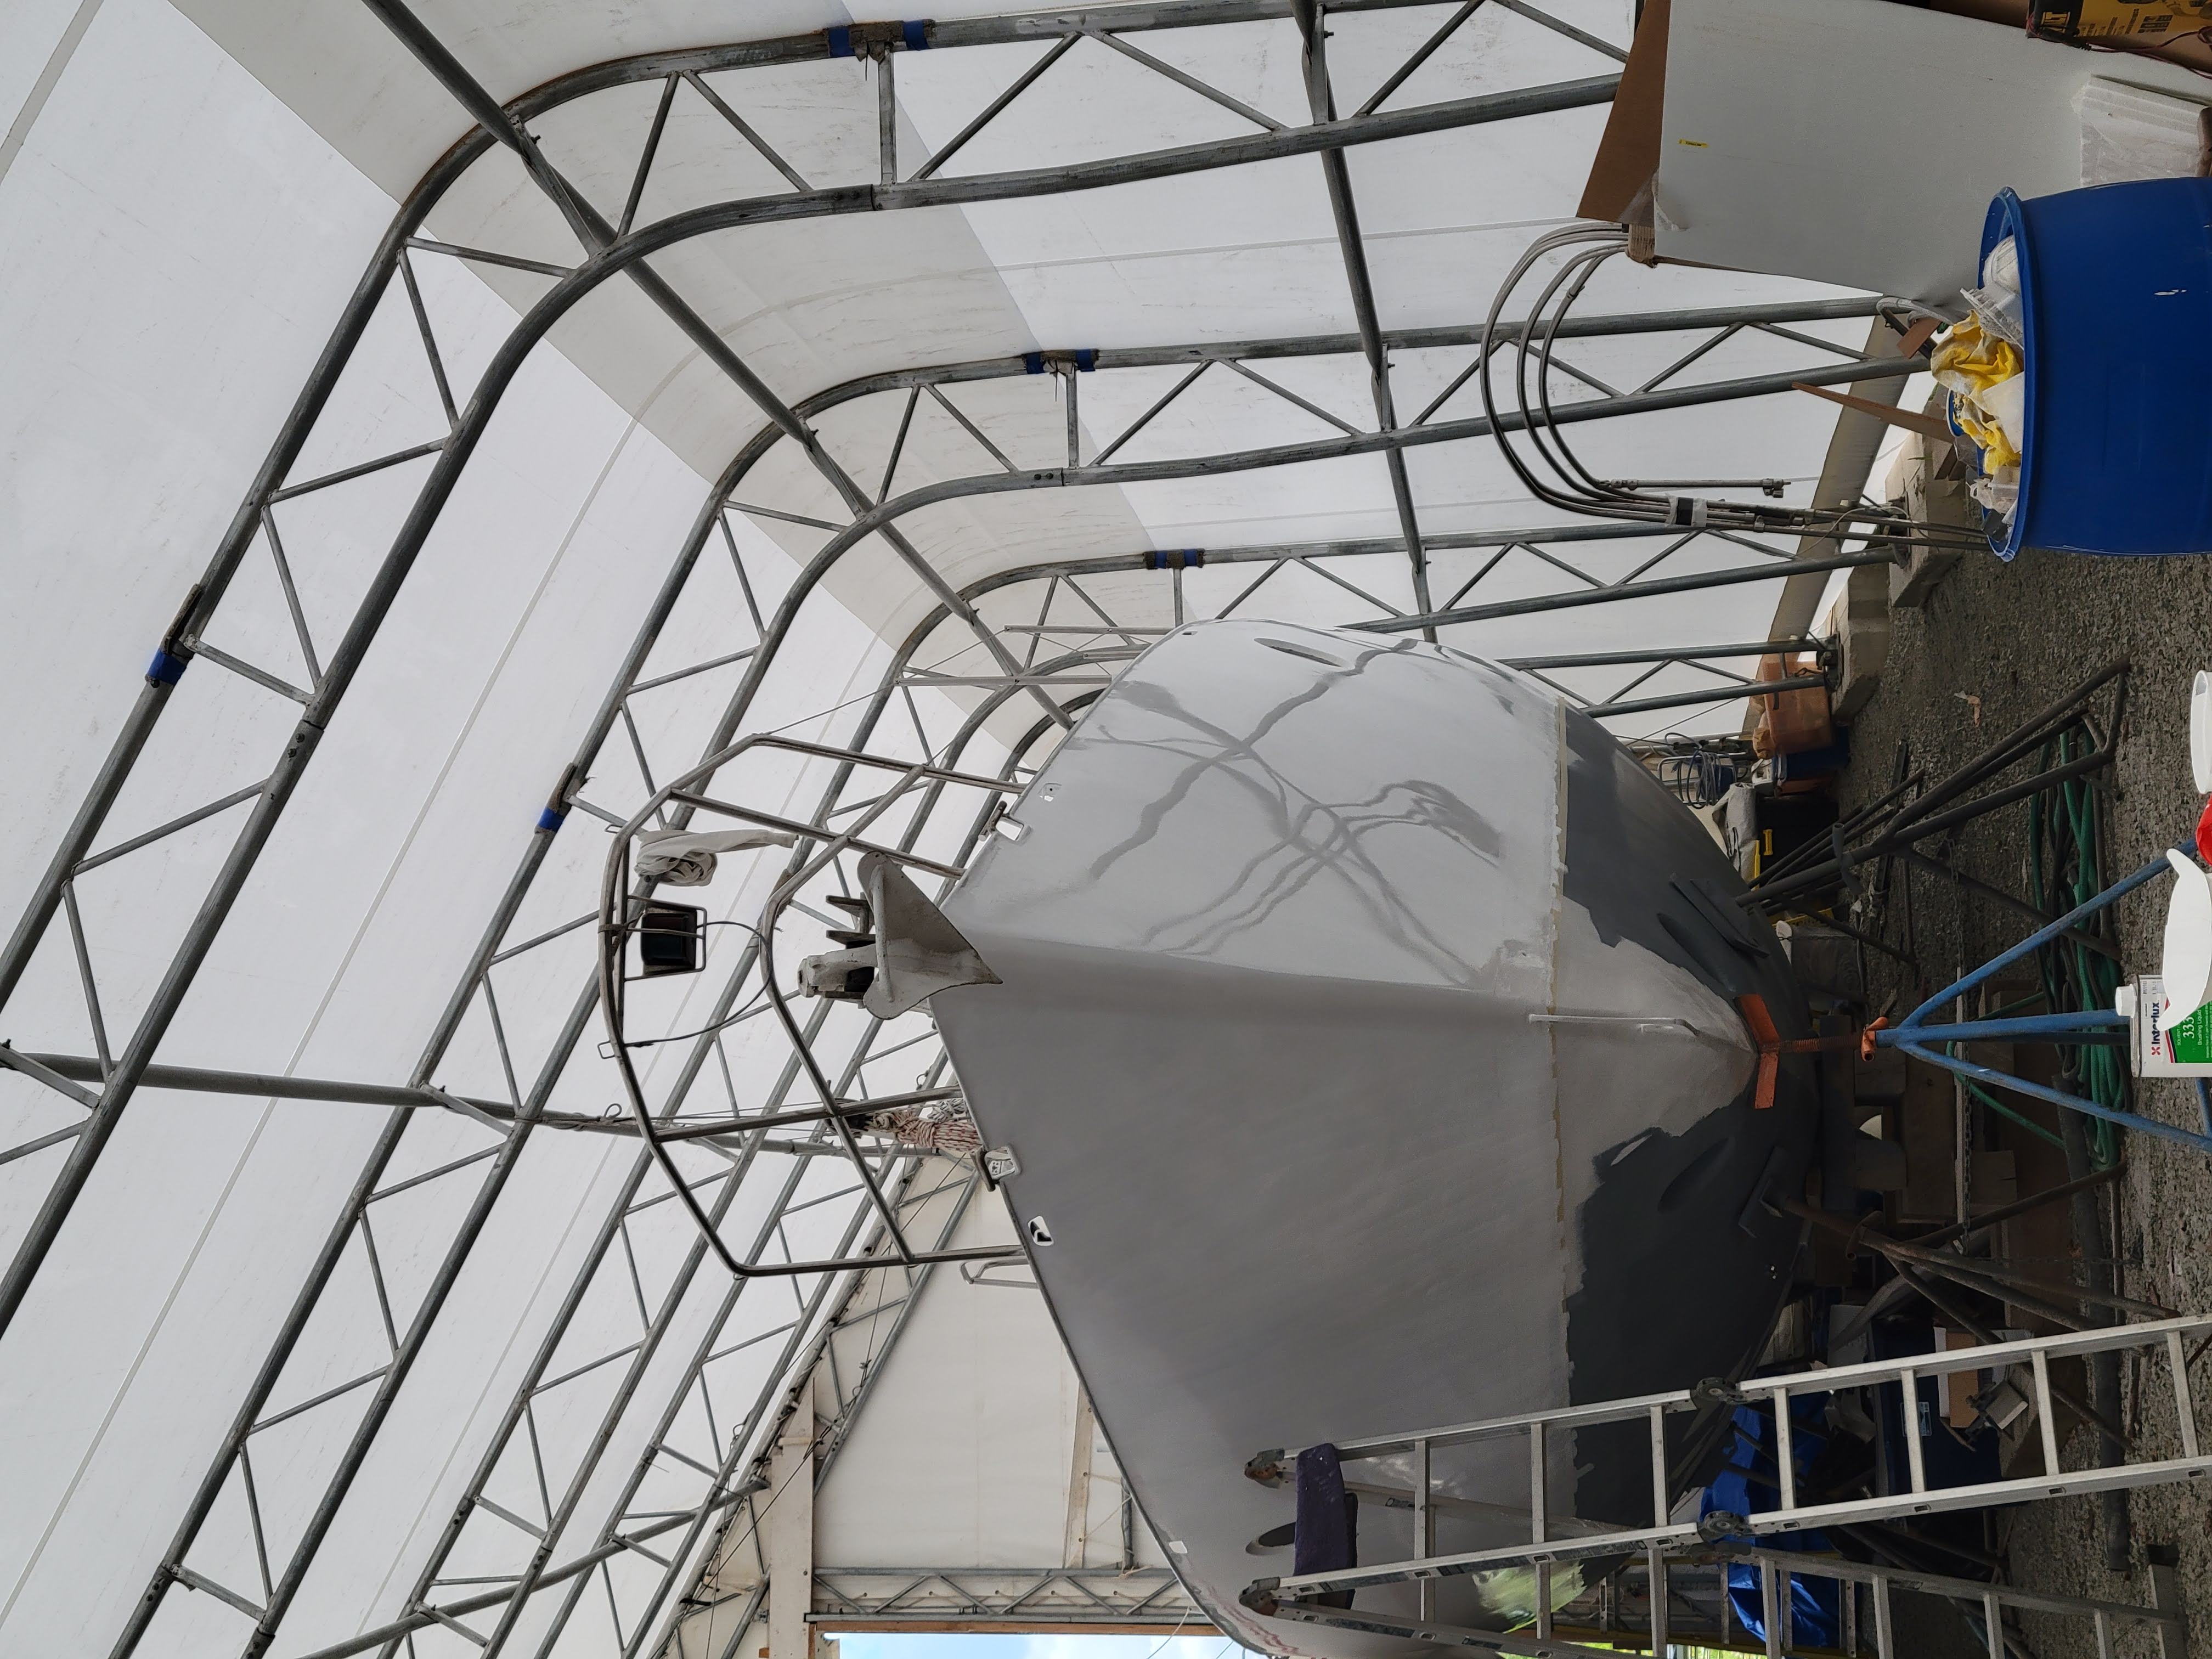
The most glaring portion of the project when first looking initially was the external paint and faring. The entire boat down to the waterline is fared with 1/4th to 1/2th inch faring to make her smooth and to protect the underlying steel. To ensure they could get a good look at the steel’s condition the previous owners ground away the faring wherever there was any tiny issue to get direct access to the hull. They then prepped and sealed the steel back but left it like so. We had to fill a plethora of holes, divets, and dents, with layers of filled epoxy before priming and painting the hull.

Deck Hardware and Paint
As the boat was heavily modified on deck with mounting points welded for all the deck hardware as to avoid any bolts going through the deck, when we stepped in the deck was in about 3 colors of paint and with absolutely no hardware installed. We sanded and painted the deck and deduced how all the hardware went back together to make a functional sailboat.
We decided to go with Interlux TopLac Plus in Mediterranian White. The whole boat is done in this color above the waterline. It’s one part, but rolls on with a bit of thinner really nicely and settles so there are no streaks or isles where it’s been rolled. This makes it extremely easy to repaint just a section and blend it into already existing paint. Interlux is also like the most common international paint brand so we should be able to get it anywhere which is a big plus for future repairs in strange places.
Plumbing/Electrical/Engine
With an entirely stripped interior and all new insulation and tanks, we were set the task with using all this condiut and tanks for setting up the systems of the boat. We designed where we wanted the plumbing to run and how we wanted it to work, opting to put all the pumps in the back ‘garage’ area. We ran all the wires in a simple and easy to follow way ensuring we will be able to access all joints and connections even once the interior was finished.
The new Beta Marine 60 was in place but without any of its ajoining systems so we designed the exhaust layout, wiring, and plumbing for the two diesel tanks and got it running for its very first half an hour on land before putting the boat in the water.
 For the plumbing we designed the system to have as few joints as possible and for them to be in easy to inspect and access spots under the floor. All the plumbing is done with Pex tubing. The pumps are all in the port aft equipment room for easy access and to keep the noises all in one spot.
The electrics are all with marine grade tinned wire a size up from the recommended size per amp draw. Wires are run in conduits through the boat which are inbeded in the insulation with access in different areas. We labled everything at both ends and it all comes back to central Blue-Seas breaker panels at the nav-desk.

Mast
An important part of any sailboat, we have a Sparcraft Isomat spar, double inline spreader rig with fore and aft lowers. The mast was entirely dissassembled, spreaders off and everything, outside as it came when the previous owners had it shipped from Maine when they bought the boat.
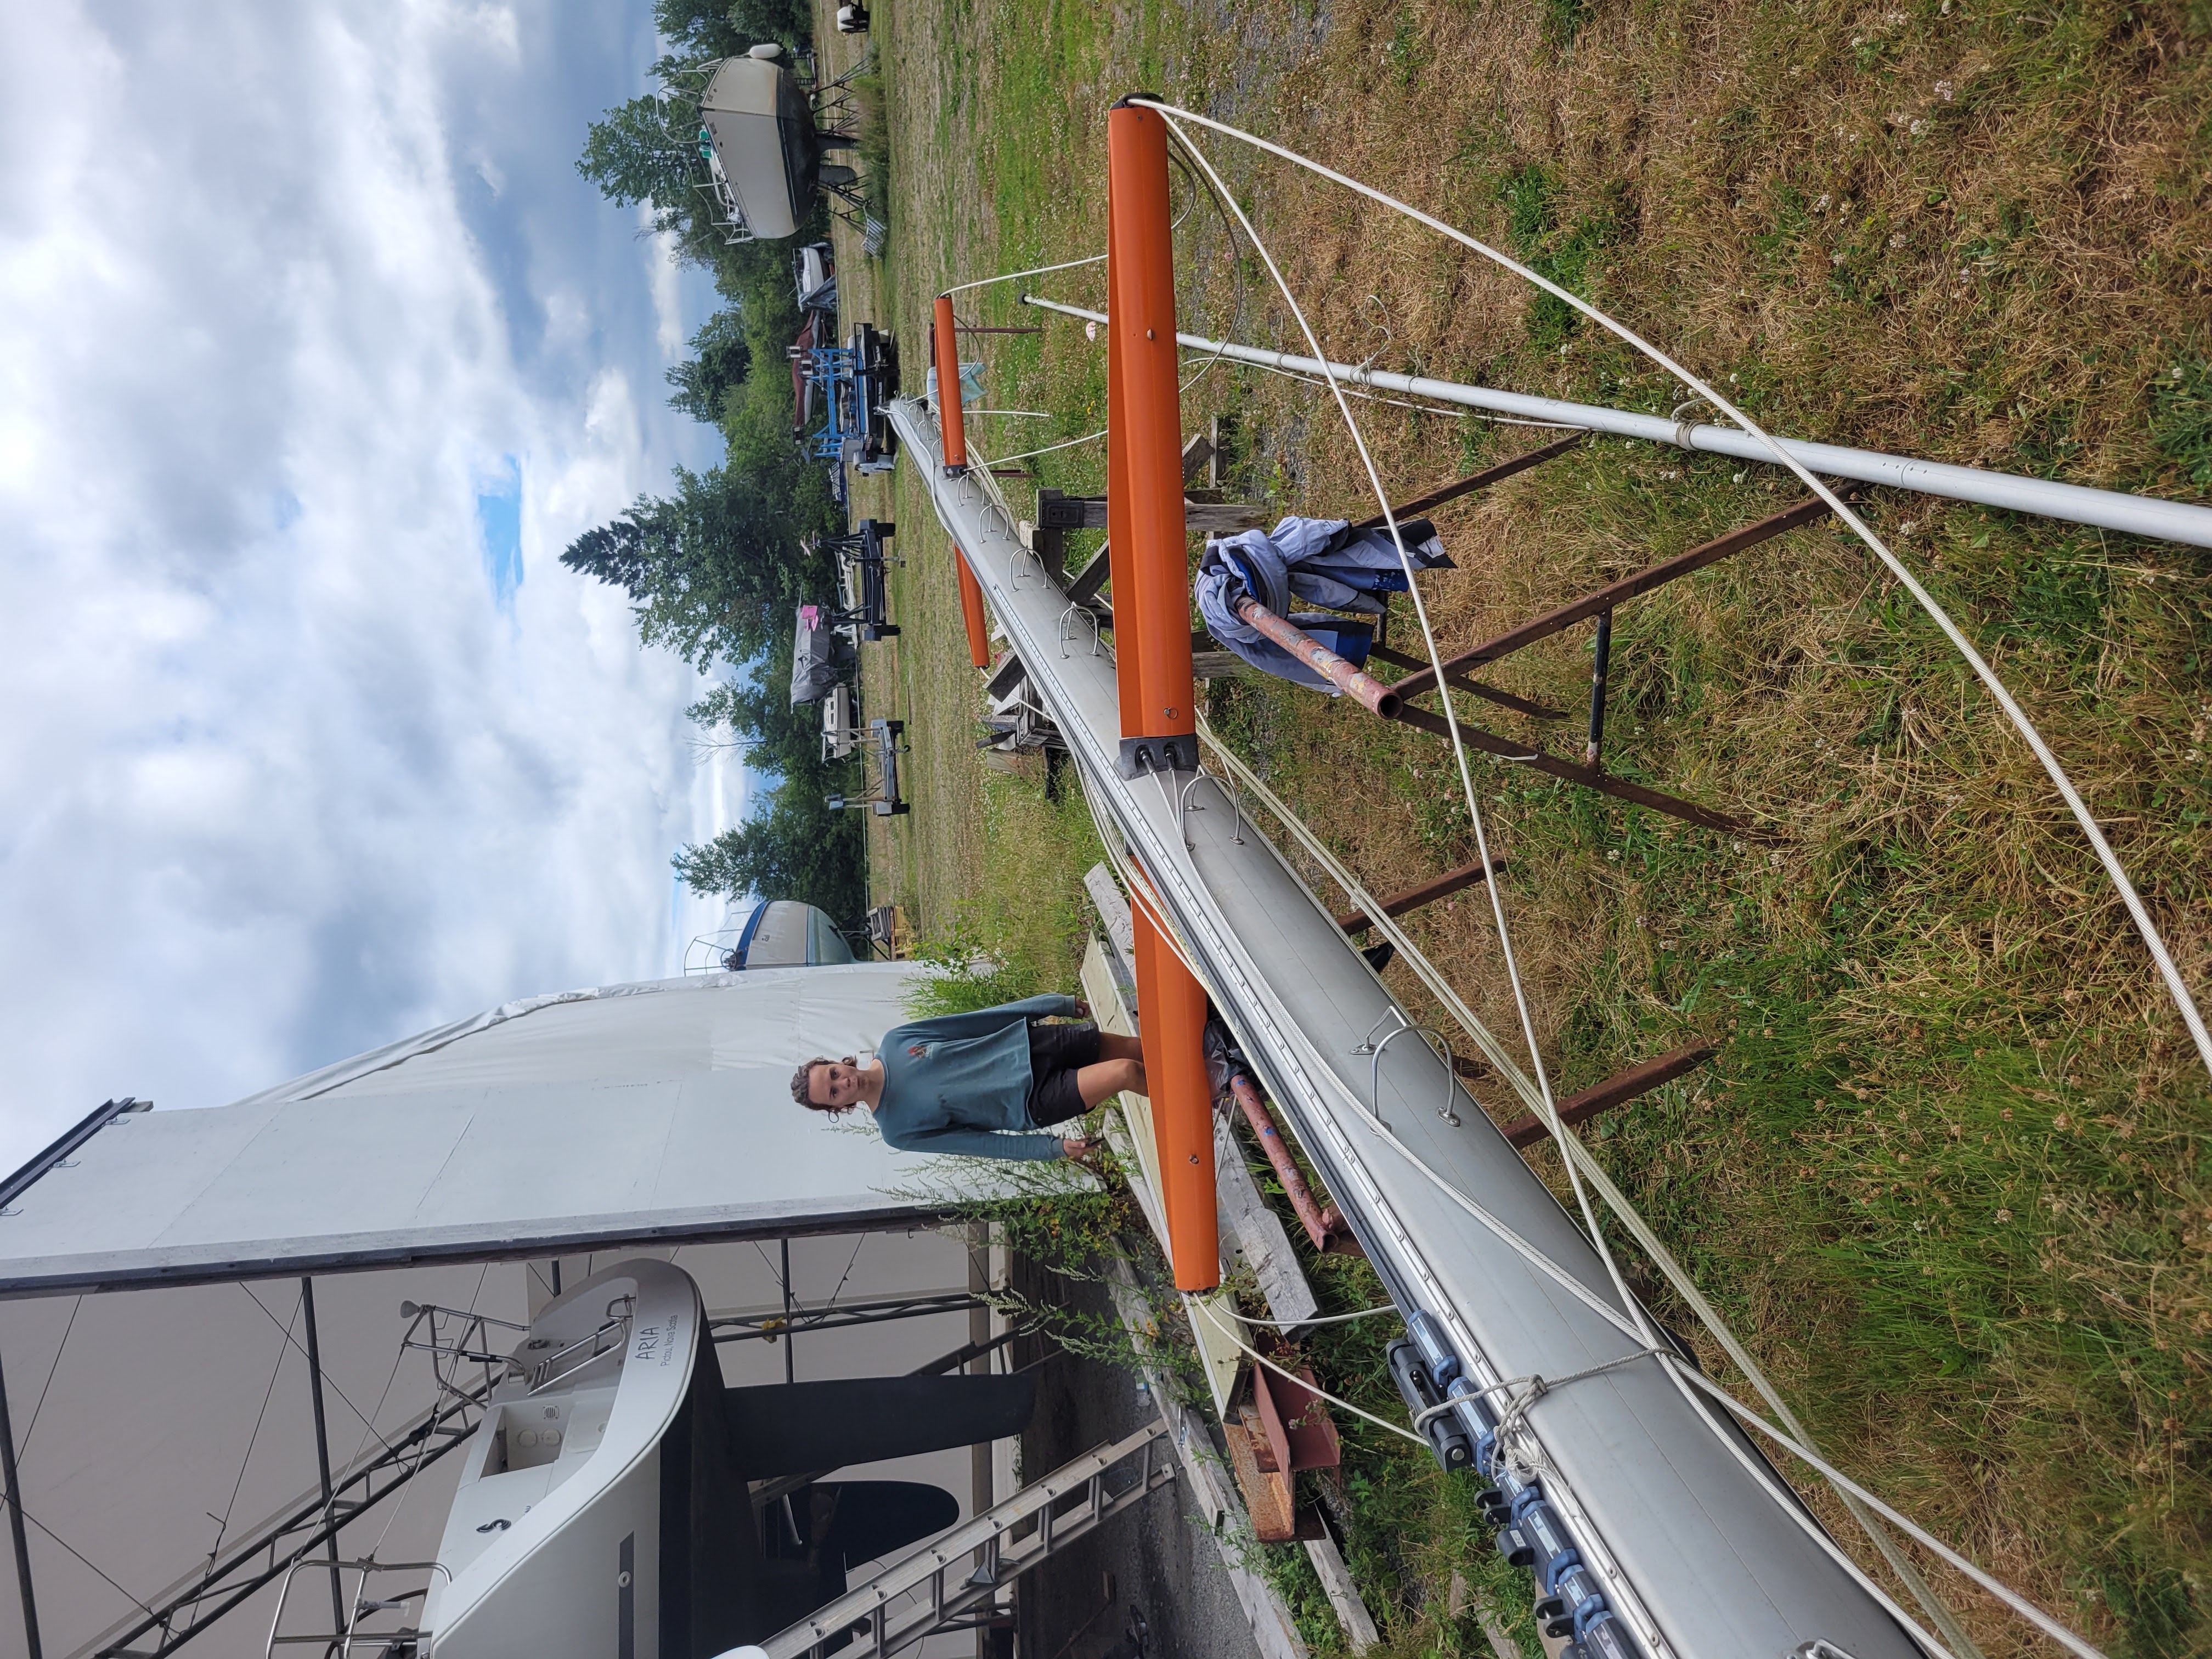 Of everything on the boat the mast was probably in the worst shape? Not bad by any means but the hull had been their focus during ownership. We replaced over 100 rivets, drilling out each one and plomping a new one in. We replaced the load bearing spreader tip sections where the rigging passes through and repainted the faded spreaders. We made custom bushings for spreader attachments and top plate for the mast crane. The previous owners had slightly modified the mast base on the deck to ensure there were no through bolts which could leak so we had to cut an inch and a quarter off the bottom of the mast which Heather did with prestine percision with the angle grinder. Added benefit was there was a little bit of corrosion down the bottom which is now gone!
Welding
While most welding modifications had been done there were two main things we were hoping to add which would require fabrication. A stern arch for solar panels/dinghy davits, and an extra tiller arm for the attachment of the autopilot below decks.
Arch
Pretty straight forward in theory, we pretty much made the most simple but super robust arch ever. We love it. With 1 and a quarter inch stainless in 20 foot lengths, we started by using scrap wood to make one side of an arch and holding it up at the stern and deciding what looked good for height and angles. Nailing that together we then had a template. Using an angle grinder we cut the stainless poles into the right lengths with the corresponding angles on the ends for them to be welded together and labled them each.
Some welder friends we made then took the pieces away and pieced them together, returning with the two halfs of the arch and extra length on the bottom. Then we essentially just held them up, decided what looked good, then tacked them to the boat. From there they went about adding the cross bars and finishing off the tacks with actual welds. Dang adding to a steel boat sure is easy!
Autopilot
The boat has an externally hung rudder which sits, at the bottom, on the end of the steel skeg, passes through the sugar scoop, then is bolted again on the transom with the rudder post and tiller then being just aft of the cockpit. Perfect as there are no holes through the boat anywhere for the rudder and super bomb proof with the always functional tiller at hand. Prior to the starting of the refit the previous owners removed the old quadrant and the cavety where it was part of the aft lockers but didn’t move forward on any further design for the integration of the wheel or autopilot.
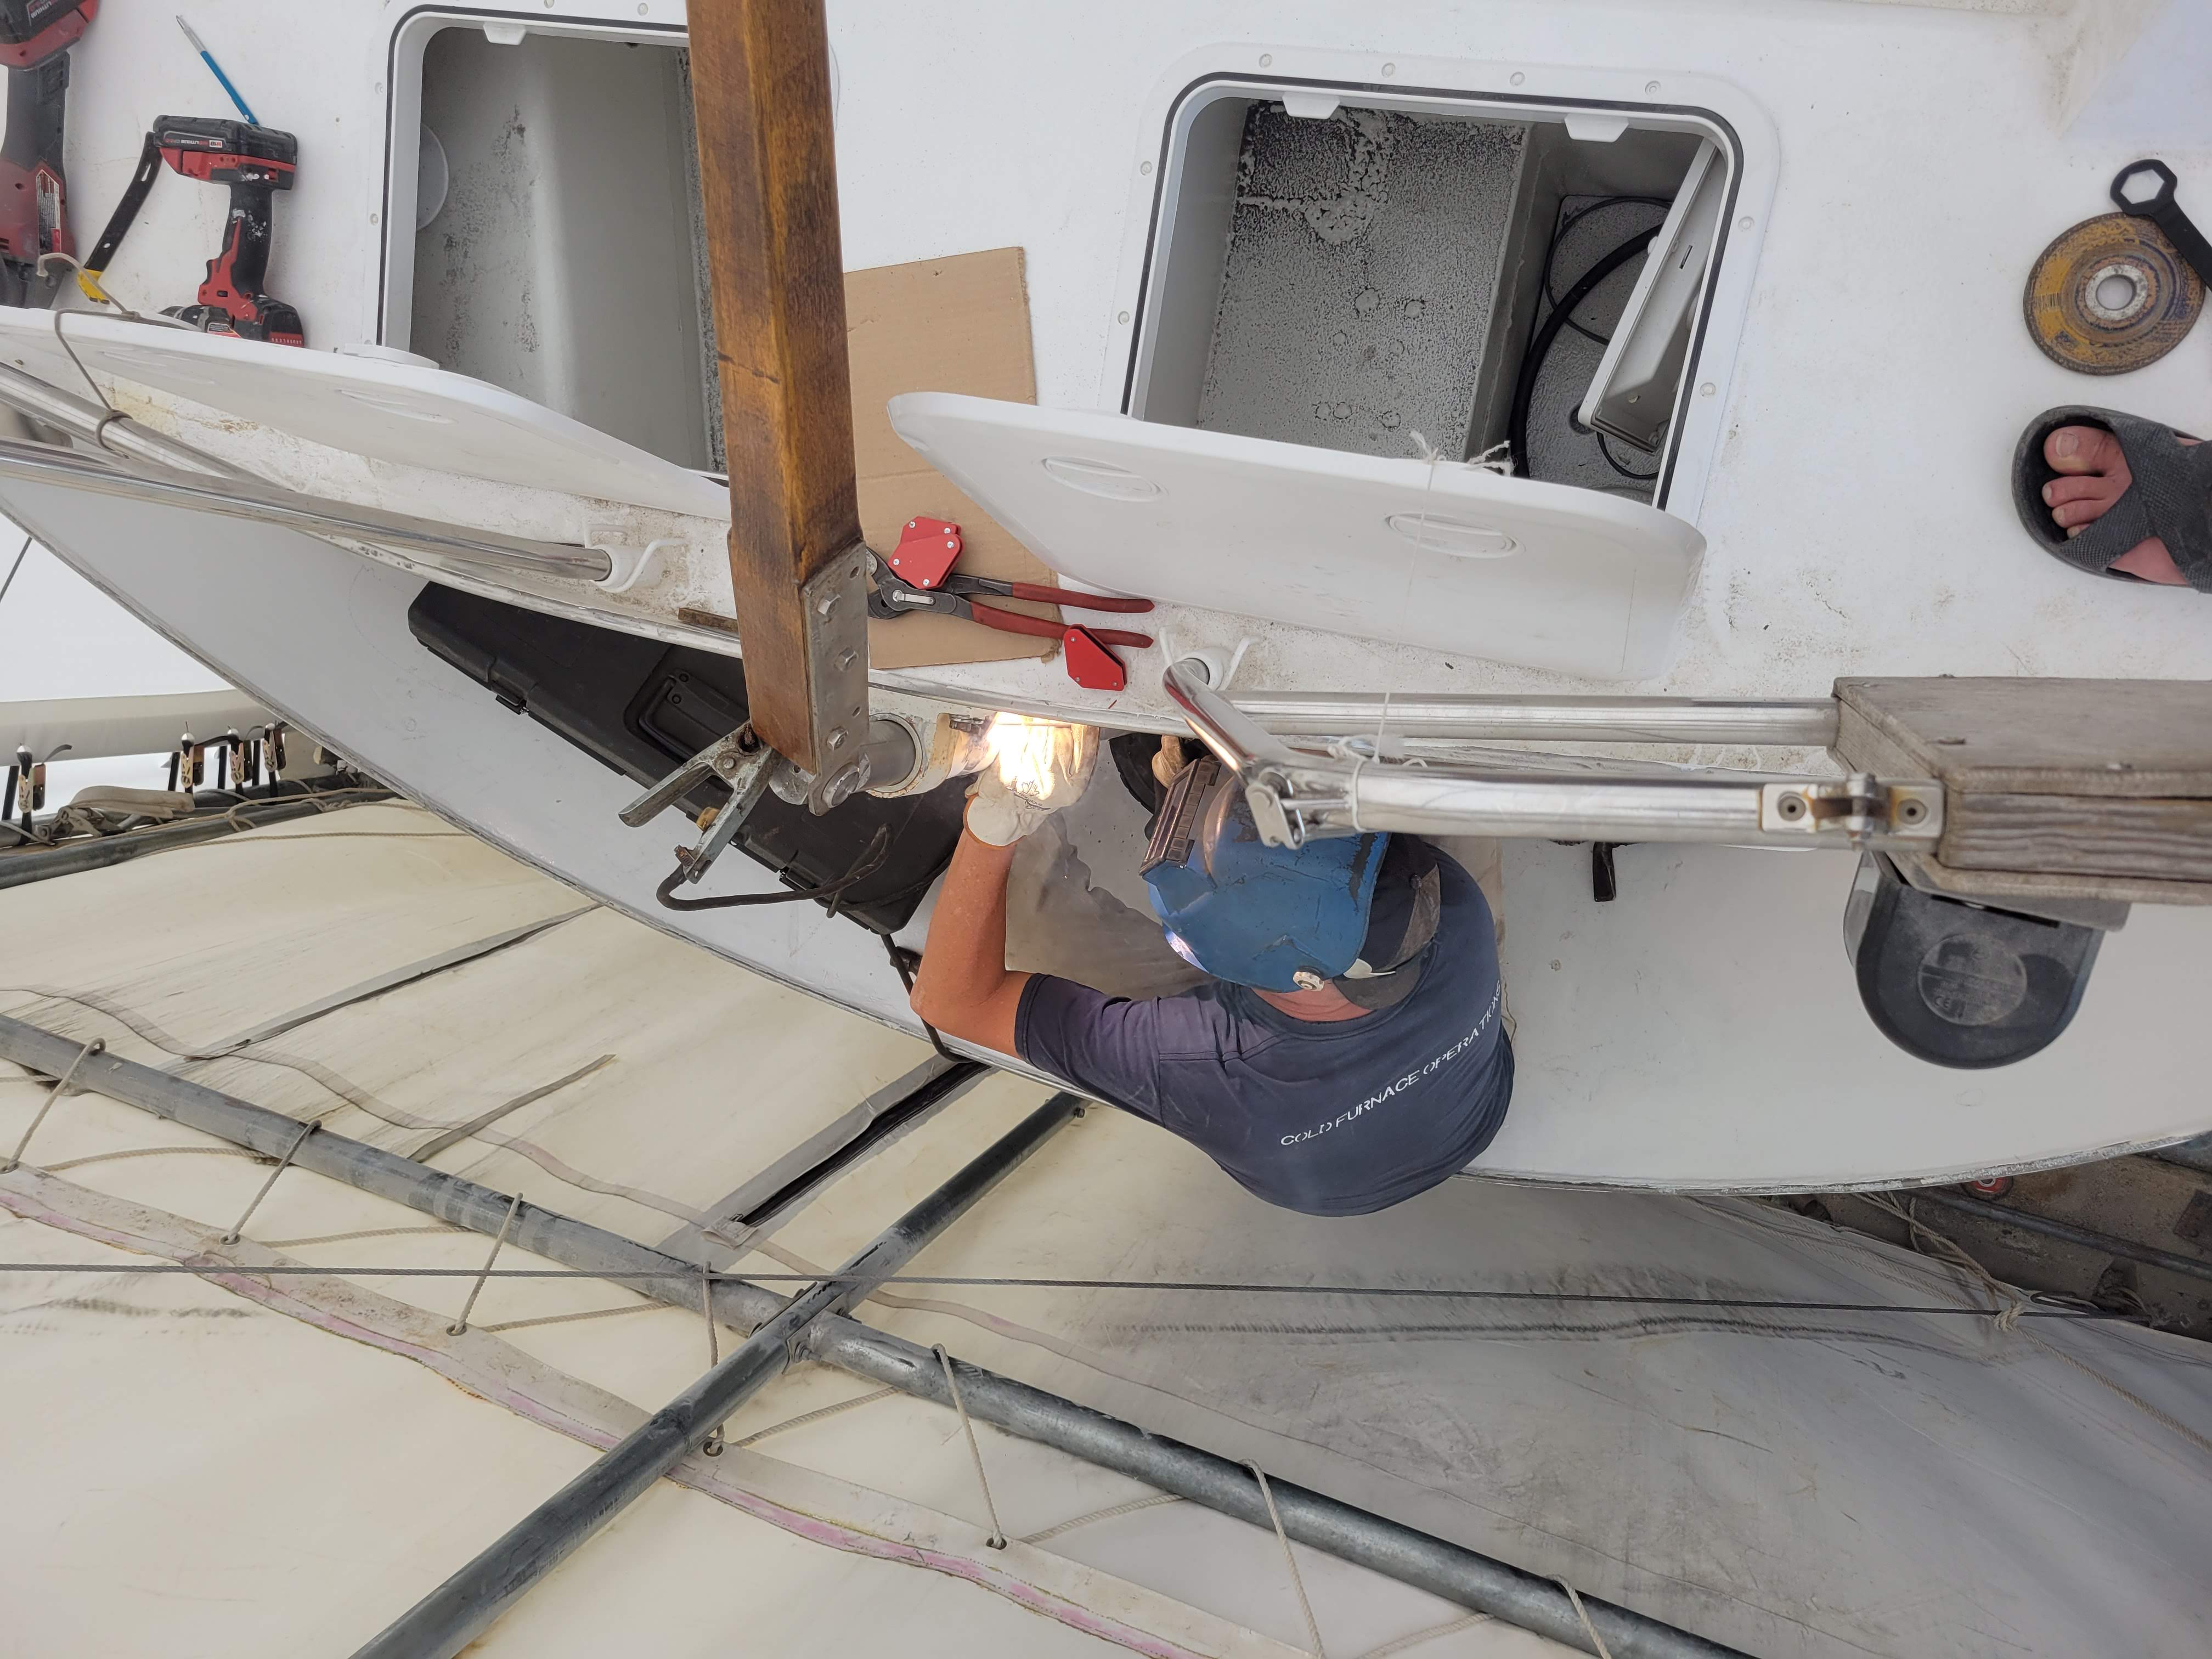 We then thought we’d do the least amount of changes but have the below deck hydraulic autopilot be integrated into the rudder stock directly. We cut a small hole in the transom of the boat and welded on a 12 inch mini tiller arm with the correct sized hole for the autopilot bolt. The actuator is then bolted directly to the integrated life raft box which essentially creates a struture inside the port cockpit locker.
Dodger
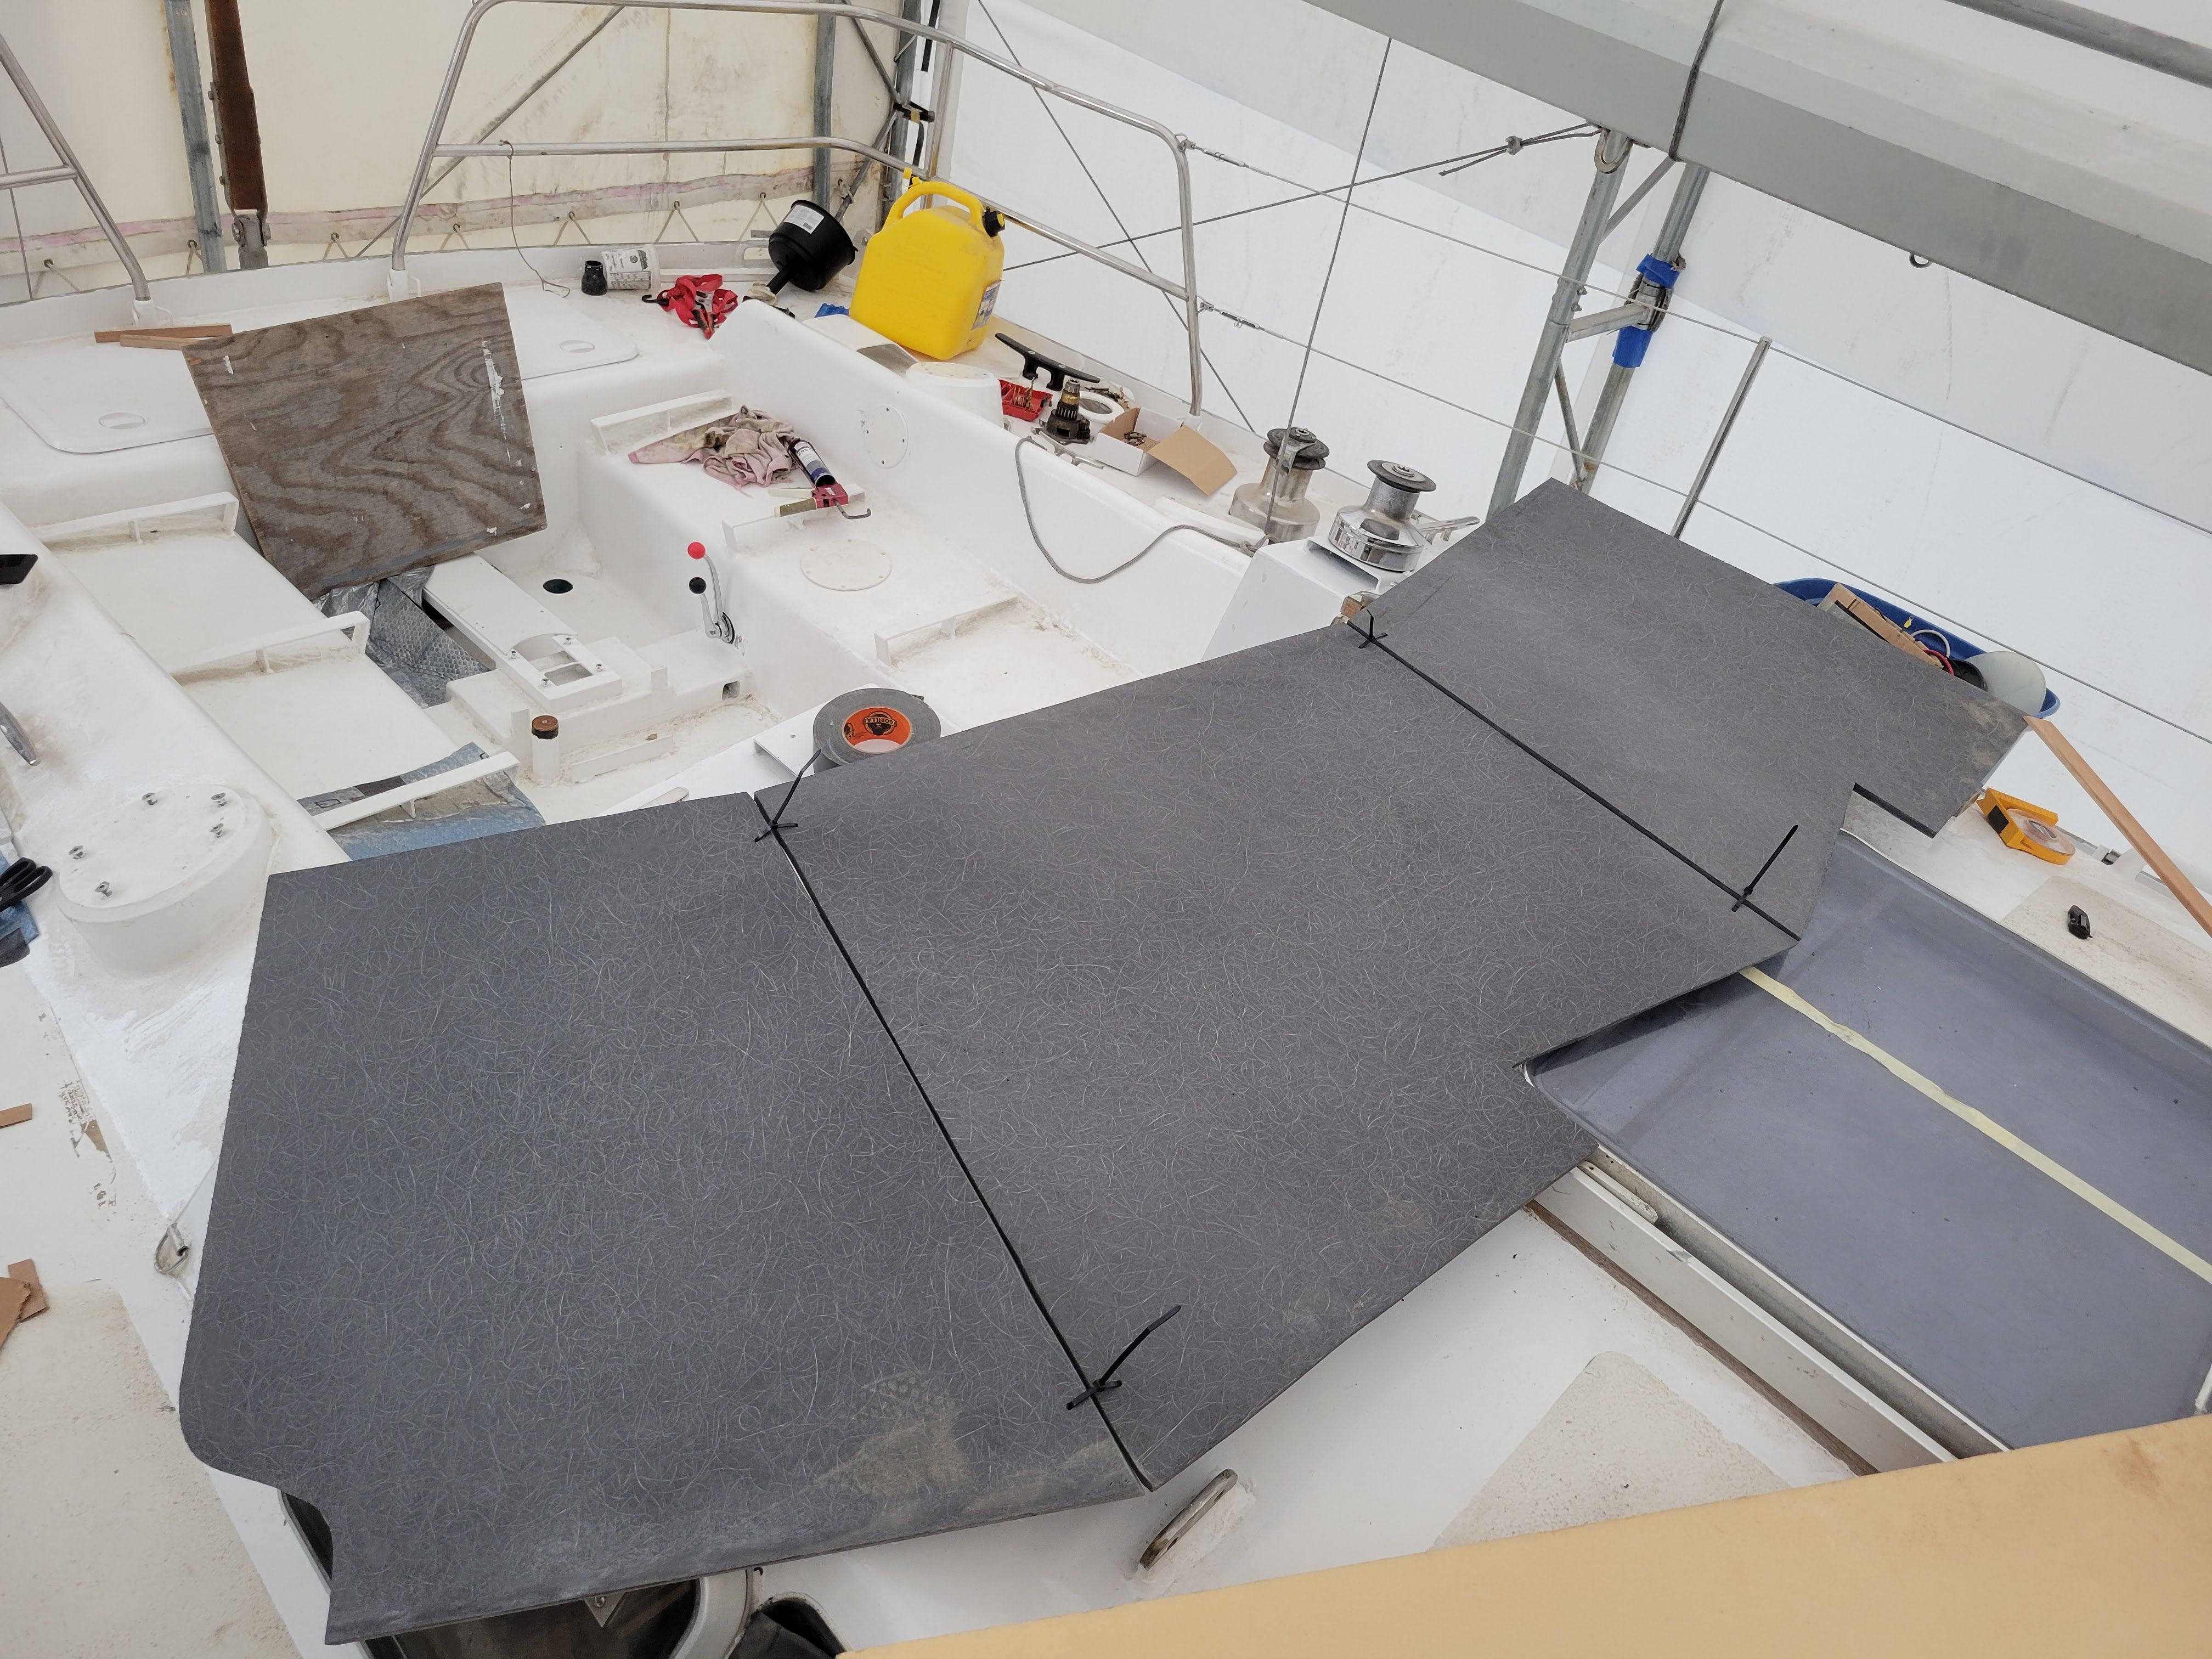
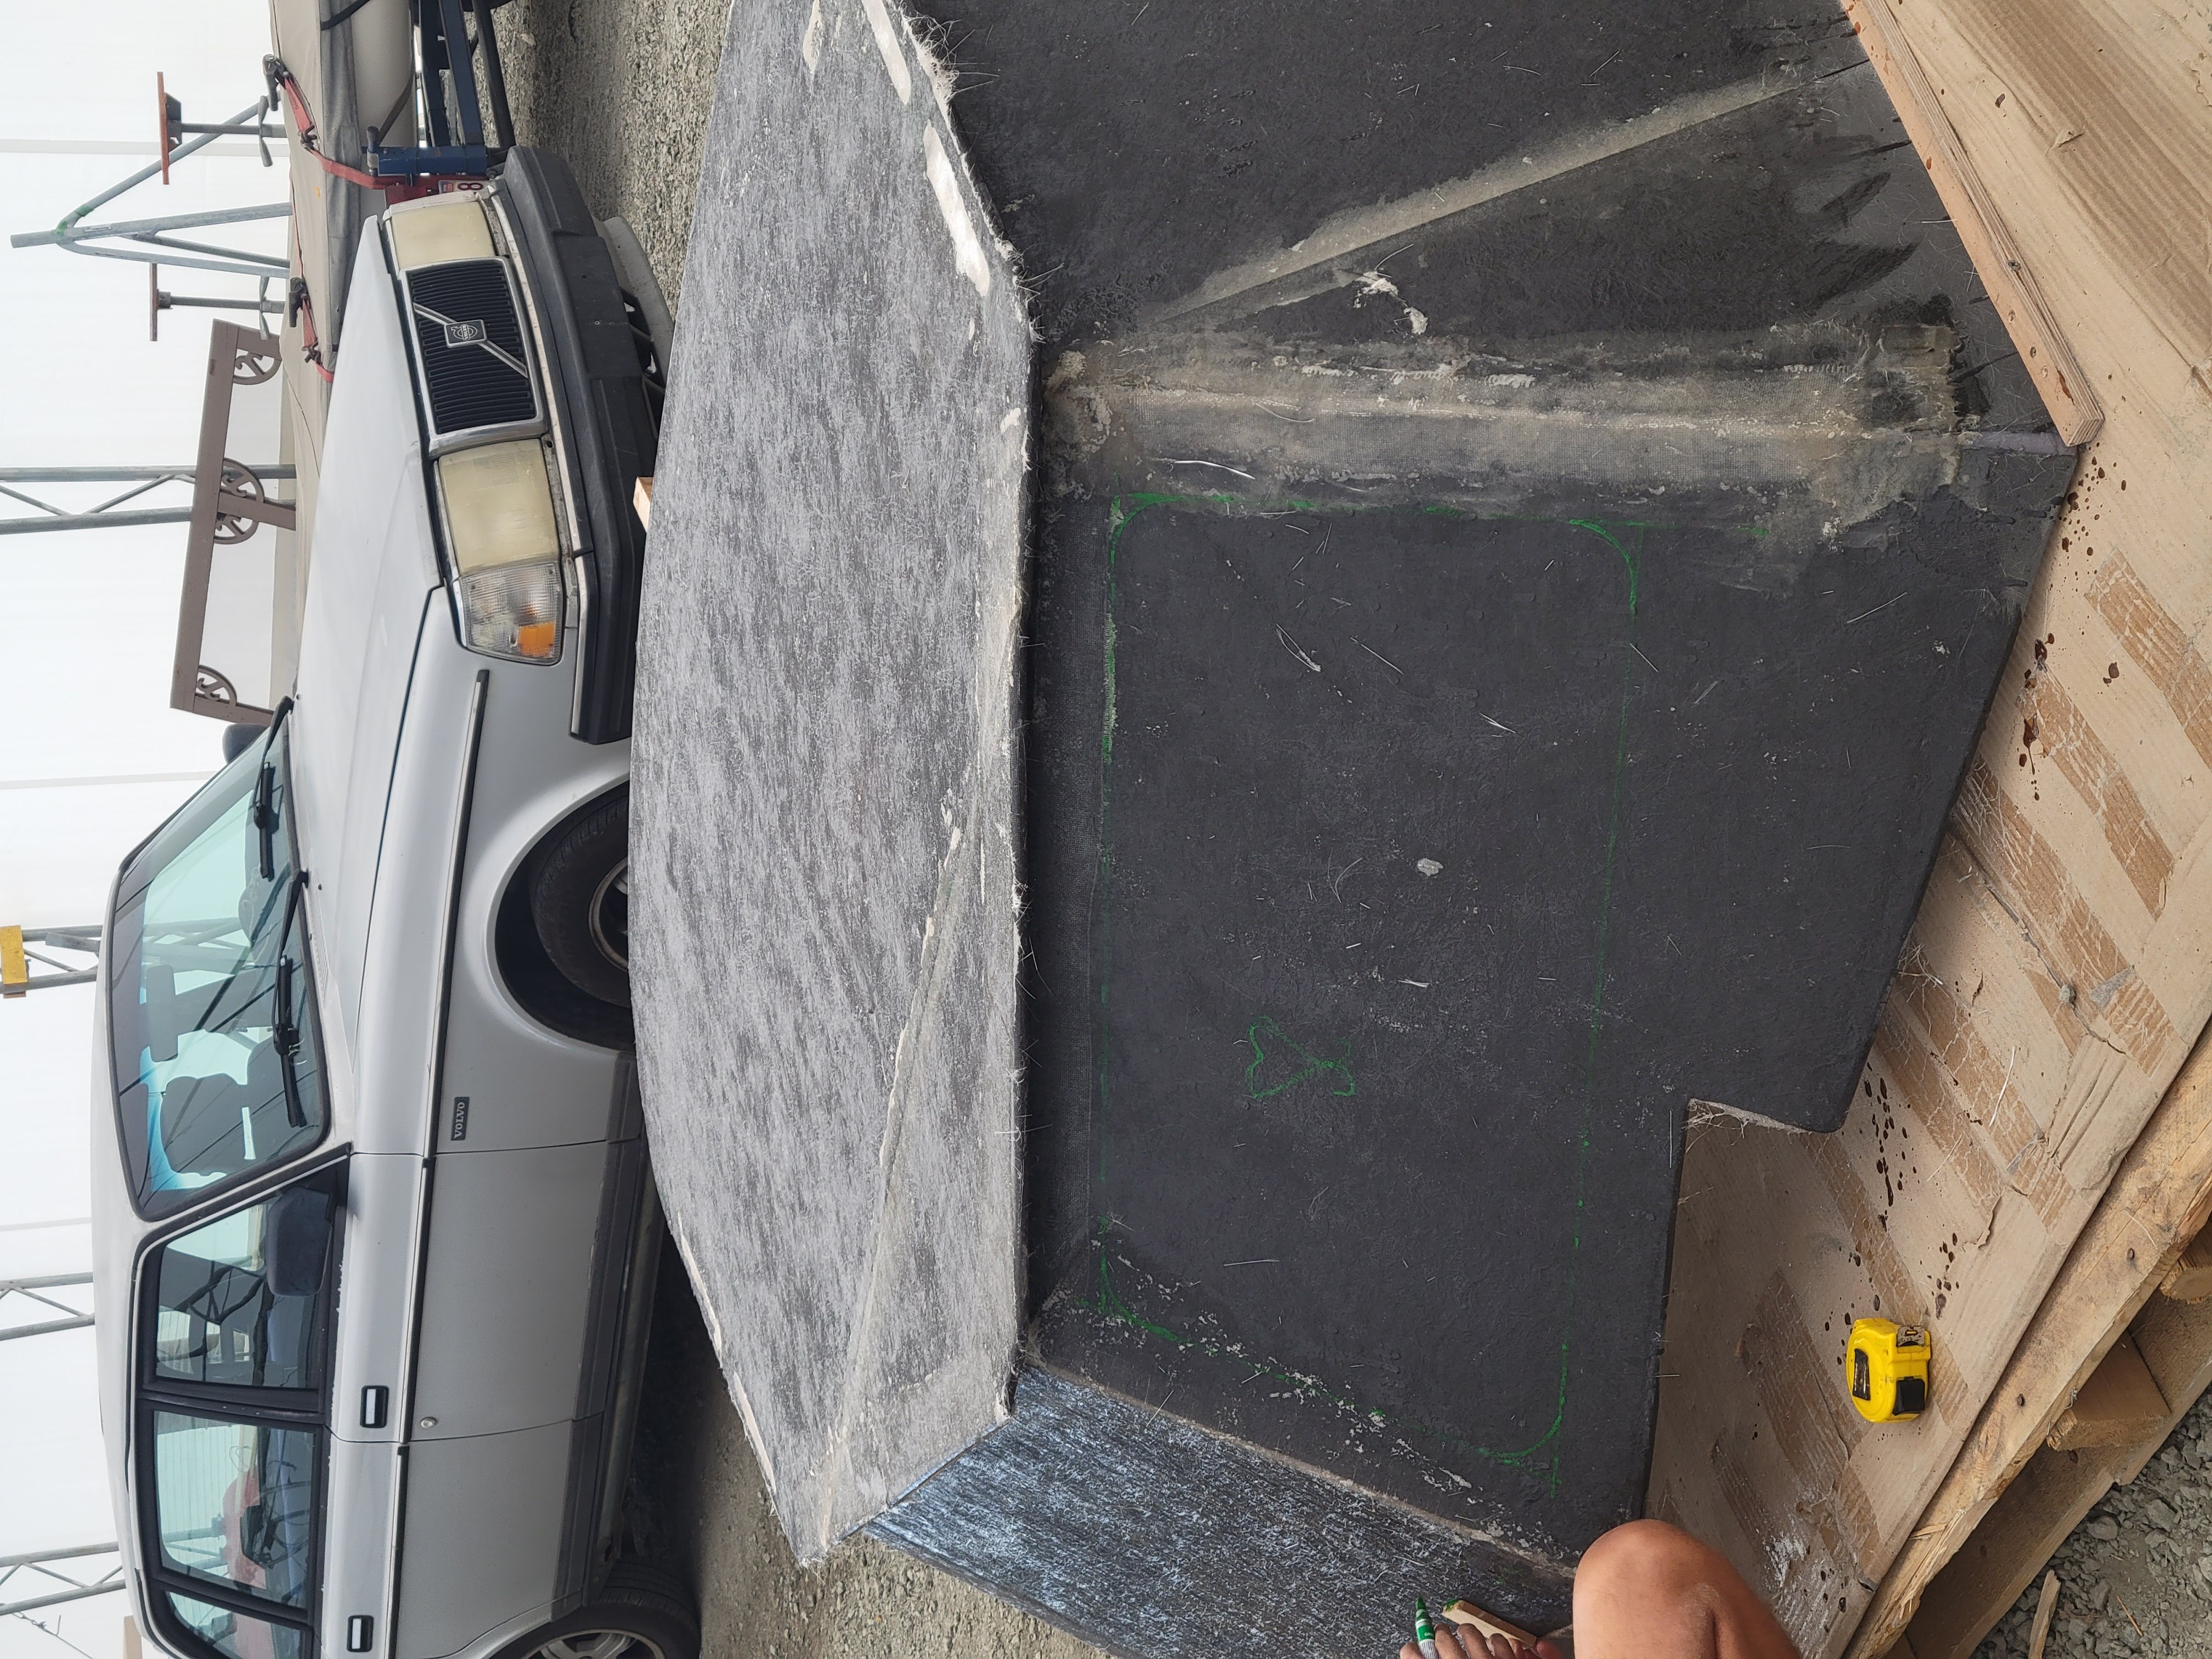
Originally the boat had a canvas dodger but we had just the frame for it. The traveler setup had changed and there were no points of attachment for that so we were essentially starting from scratch. A hard dodger made more sense to us as we had the tools, material, and space to make one. We used Coosa-board with fiberglass on both sides and Polyester resin and fairing to make it. As we were in a tent behind an epoxy/resin shop we thought we’d try out what they suggested as far as less expensive but almost as strong for this entirely separate construction project. Somehow it turned out pretty good and while it could’ve used another round of fairing before painting to make it extra smooth, we are enjoying the extra sailing in trade for the slight bumps in it.
Launch
Due to Shediac, New Brunswick being a smaller day sailing community we had to get a little creative on how to actually launch Karma once she was ready to float. Thankfully the kick up centerboard came in handy here as she’s just like a big ole fishing boat with it up. We were therefore put on a trailer like one and just backed down a big boat ramp launch and they just pushed us off! It was fun ridding down the road at 15kph in the cab of the semi truck which was towing her through town.