
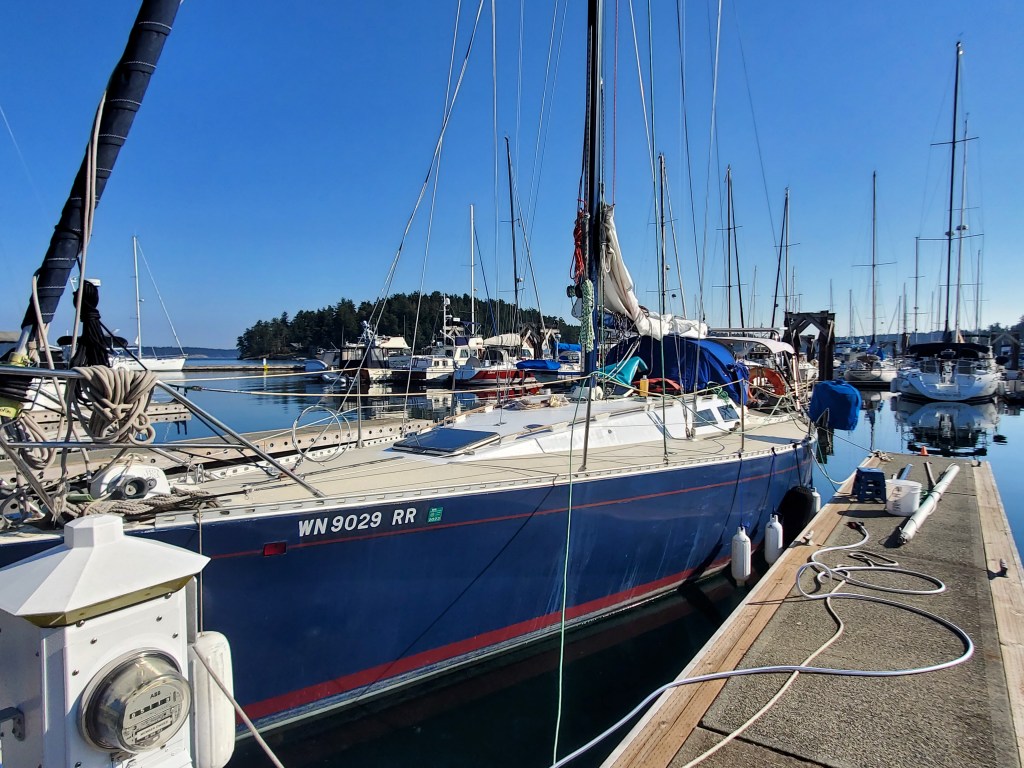
Classic S/V Karma, we end up
starting on a project that we sort of originally put on the back-burner. I was wandering around in Friday Harbor one day while Heather was over at Shaw doin’ her day job when I came across non $200 topside paint available in store! Karma has had a pretty shabby topside job, most likely a culmination of the last 2 owners rolling on random, slightly different, off white colors to touch up a flakey what we suspect is DuraBack truck bed nonskid.
This has been all fine, it’s quite grippy, the deck is solid fiberglass unlike our Baltic cousins, and we don’t have any leaks necessarily. Having said all that, depending on light during the day half the deck has been painted in what appears to be Oyster White while the other half is just white. The smooth cabin top is 90% white with touchups in another off white color, and the whole deck and cockpit sole has imbedded dirt specs and rust stains. When I came across the topside paint in the store the plan formed immediately, “the deck is quite grippy, albeit a bit shabby looking…” I say to myself probably out loud, “we could paint the cabin top and cockpit white, no more stains and fix the unintentional two-tone effect, and paint the deck one solid color. As the deck is still grippy we don’t have to redo all the nonskid now and in another year or two when we have worn it more smooth it’ll be more worth the whole redo process of sanding the deck all the way down, new grip…. primer… yada yada” and so we begin.
Realizing Karma will actually have a sort of intentional look now so to speak we ended up buying white and dark grey, thinking originally we were going to do all white cabin top and nonskid around the mast and then all dark grey decks. The inspiration for this was our sisterships’ look with their teak decks and otherwise pearly topsides. We begin the paint job by doing the nonskid behind the cockpit to see if we will like the dark grey decks. Turns out, we don’t really too much. Not that grey decks would be bad, but the paint we had was far too dark and had a slightly gloss finish to it which, at least for nonskid, looked a bit like it was always wet. While we contemplated the grey for the next few days we went forward with the pearly white cabin top. This we are sure we like the look of.
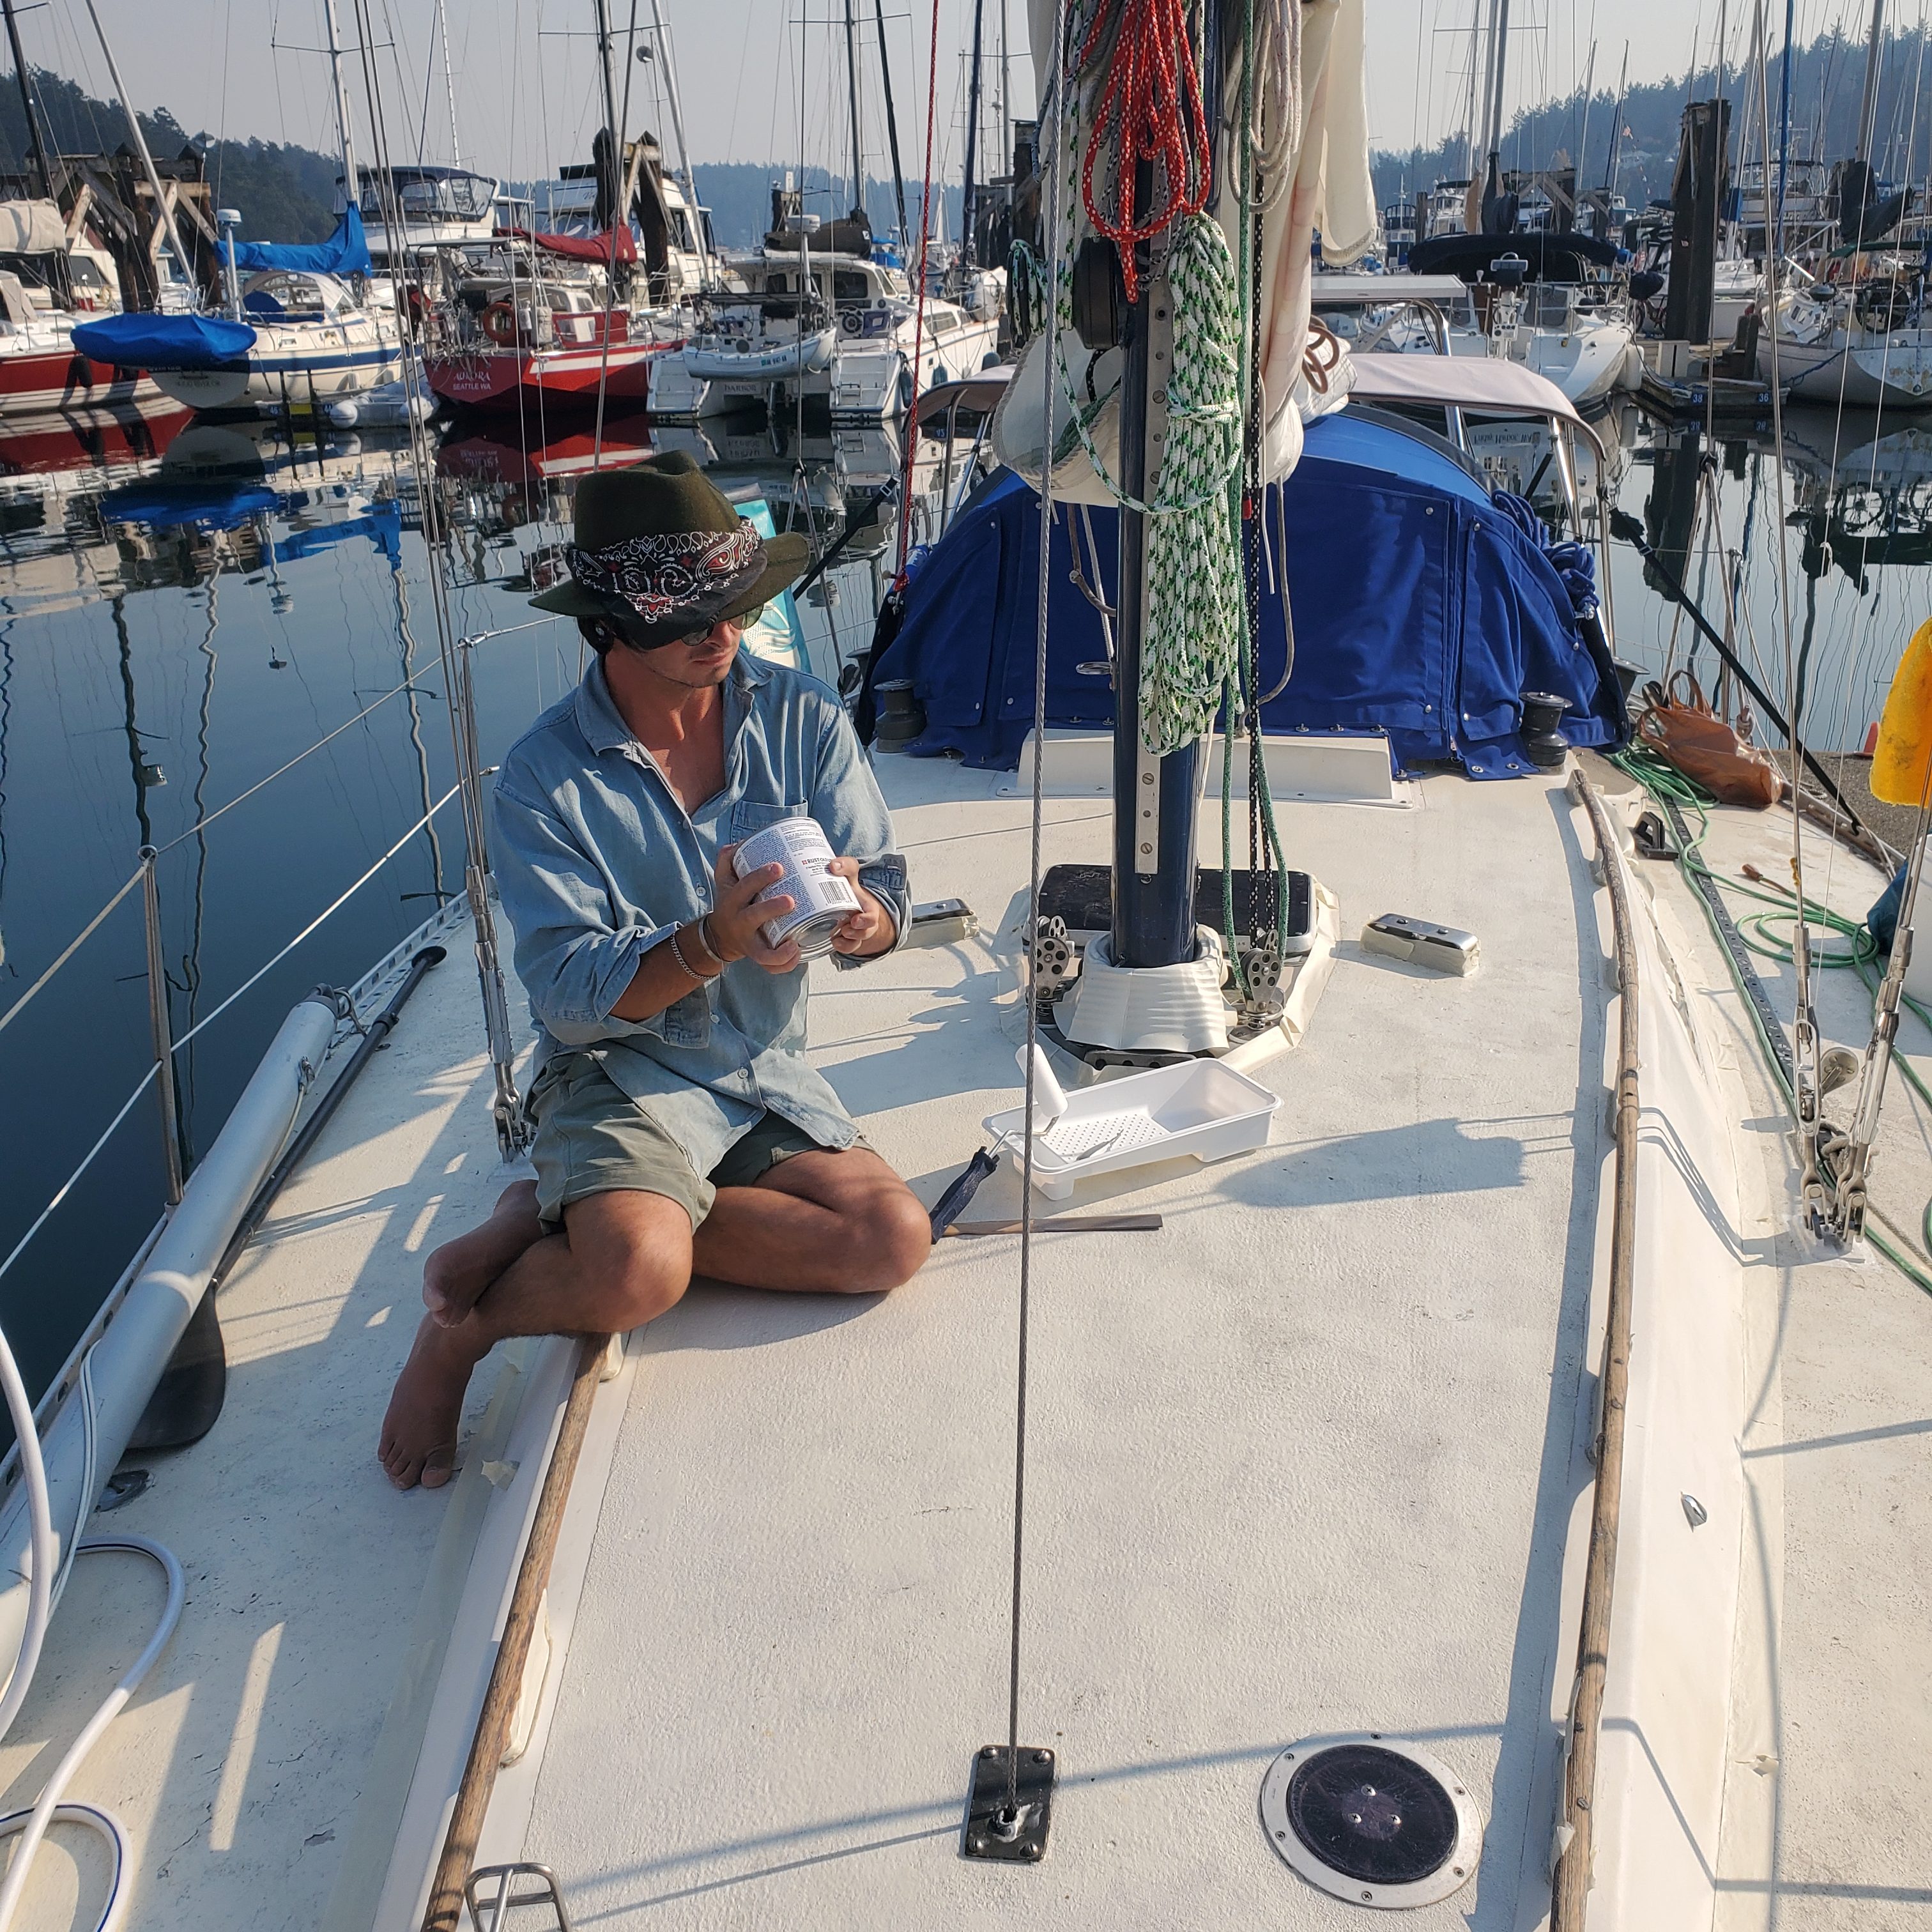
The plan was just to roll paint over the existing nonskid and then “roll and tip” the paint on the sides of the cabin. We quickly found that the rolling with a foam roller and then tipping with a fine brush made it look, well, like it had been painted with a brush and so we did a backwards “tip/blob with brush then roll with foam” approach which made a supremely satisfying smooth gloss finish on the sides of the cabin. Not sure how we pulled that off and also not sure why everyone talks everywhere about rolling and tipping. There are a million videos on how, tips and tricks, best paints/brushes/rollers whatever but no one explains why you’d actually want to? If someone knows please explain why it is supposed to work, it is entirely possible we just did it like amateurs and found we could use the foam roller with more success.
At this point the weekend came to an end and Heather had to return to Shaw during the days. We were also told by every single person in passing that “this is your last week…. the winter arrives this Friday”. Our unusually nice fall here in the islands was apparently going to come to an abrupt end and so we were now working in the time tables provided by ye ole nature. No problem though, we knew what needed to be done and we aren’t going for a showboat finish, just a ‘significantly nicer than it was’ or ‘hey, at least the entire deck is a color not colors’.
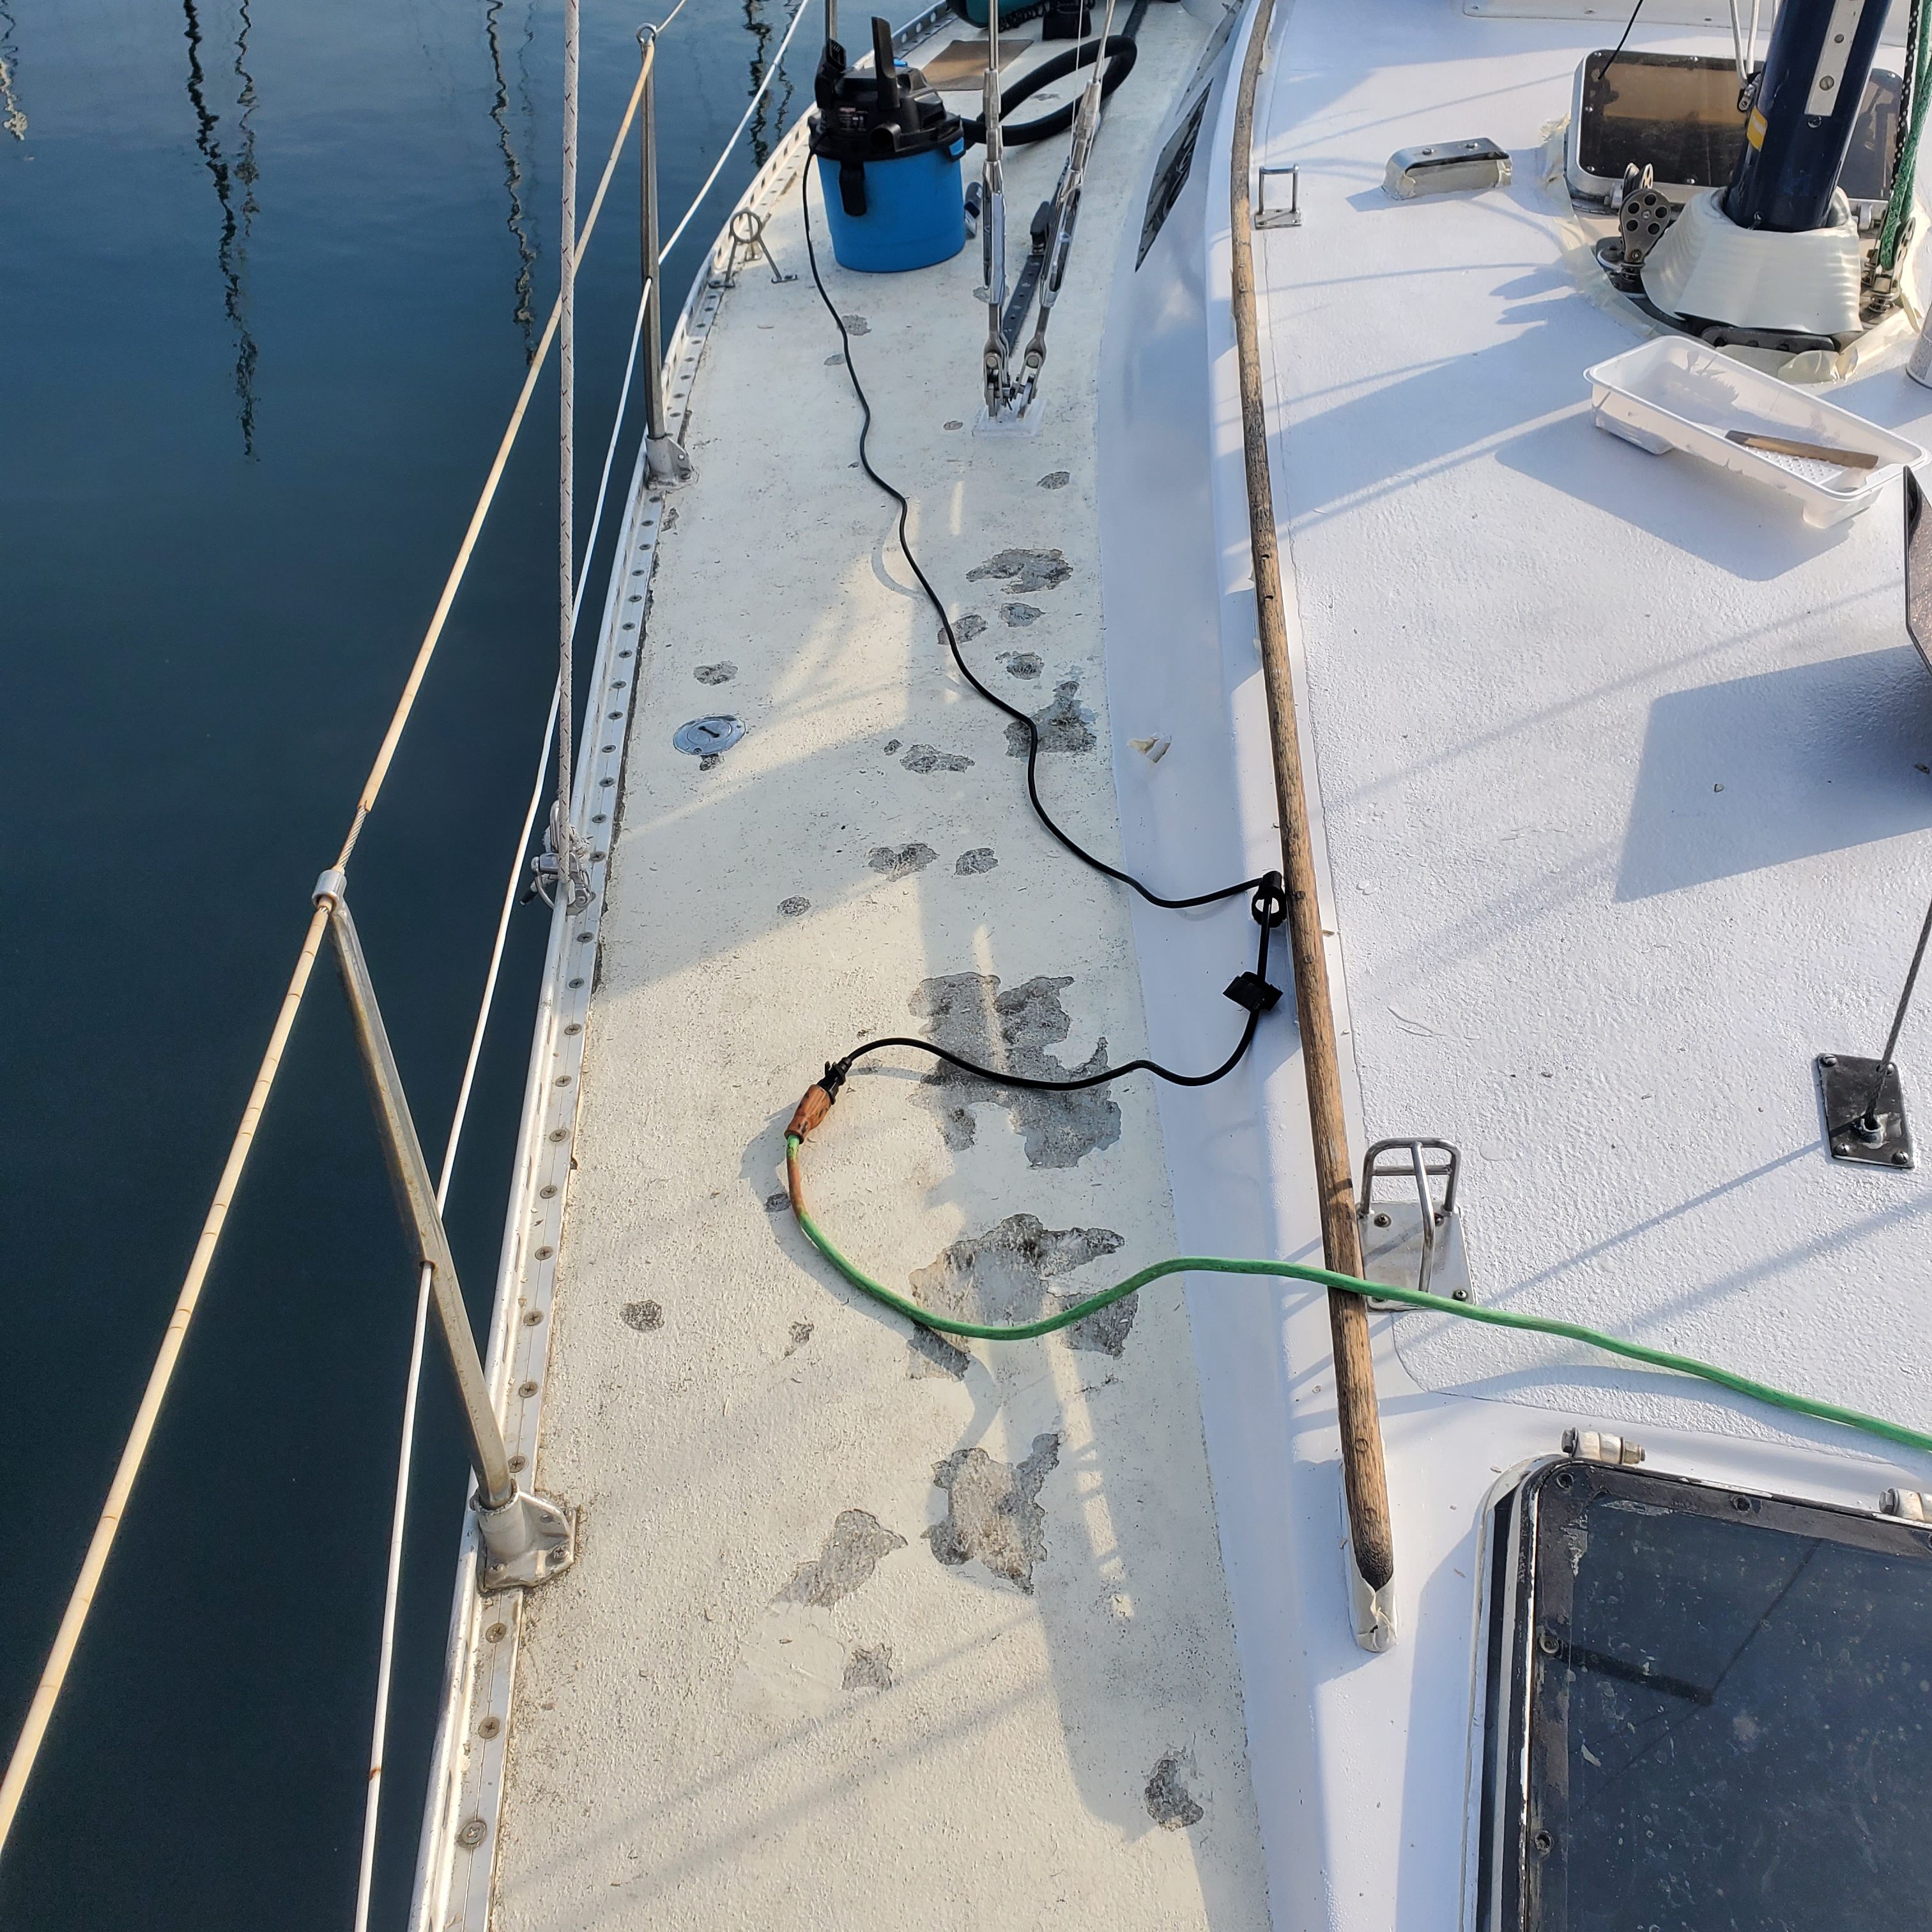
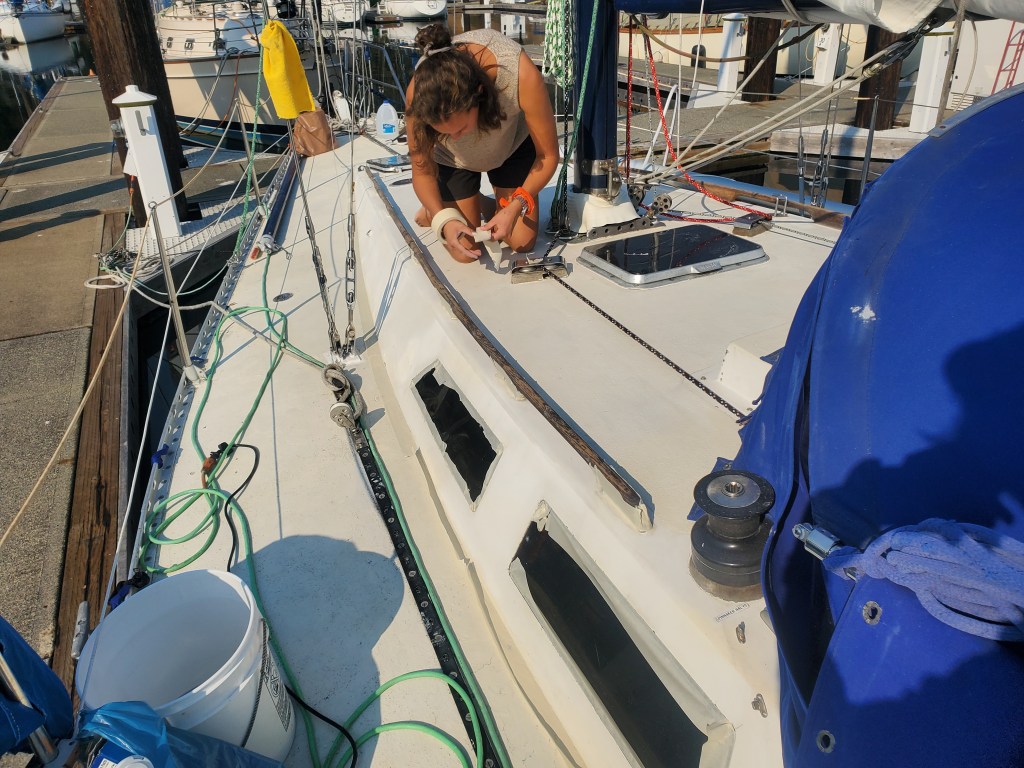
The first step was to chip up all the Duraback in the spots where it had started to peel a little and some dirt had gotten under neath. I used a straight edge and essentially whacked each lifted piece until there was about a one inch chunk missing, then scraped in all directions until it became too solid for anything else to chip up. Ideally one would chip/sand further back, sand the whole deck smooth, then fill the slightly lower bits with epoxy then sand again so the entire deck is flat. From there we would paint on the new nonskid. We chipped back all the loose parts then sanded and faired the edges smooth over a bit of a gradual area, then painted straight over the old nonskid. The chipped away areas even revealed that below the current surface is older grey nonskid! Now that the deck was at least all solid and sanded semi smooth it was cleaning time. Suds and scrubbing later and the deck was in the state we were happy with to paint.
After seeing the grey at the transom we were thinking something lighter and not glossy was in order. Thankfully the south end of Friday Harbor has a marine store with some topside paint and so we ended up with Interlux Sand Beige. Way back when we were discussing adding painting to the boat jobs list beige was what we were thinking so now it would be worth the experiment. The Interlux rolled on very smoothly and dried without any sort of gloss finish which makes far more sense and looks more normal than the gloss would have looked. Being as we were painting over textured nonskid we weren’t concerned with rolling and tipping as the texture hides any roller marks that we didn’t fix with our new found foam roller skills.
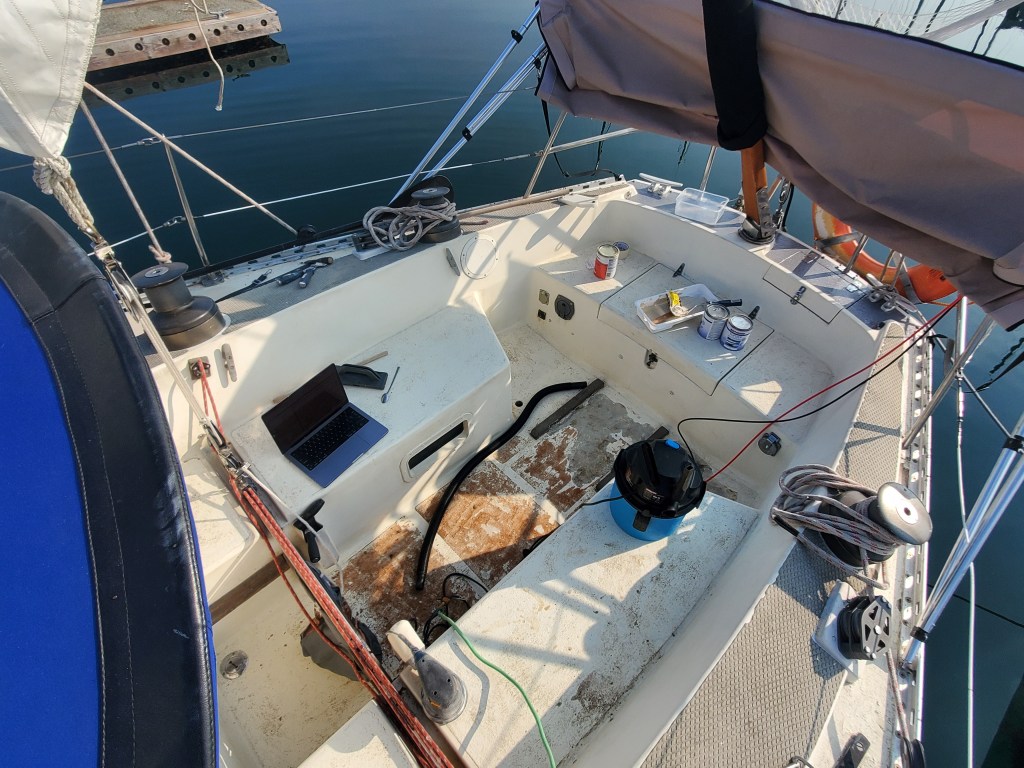
While large, the entire deck isn’t really so hard to paint because its big enough you can just run around and paint all over! Next up was the cockpit. Being you spend the most time here, it also had the most stains, the most touchups in the wrong white colors, the most chips, and the most compounded dirt. But, having learned on the large scale of the deck, we did essentially the same thing in the cockpit. Clipped up all the loose stuff, sanded everything with 220 grit and an orbital sander, cleaned, then painted the smooth gloss white first.
Our plan here was to have the same contrast as the white cabin top and the beige decks. We did the white on all the combings and seat backs as well as the aft end of the cabin wall on either side of the companion way. The difference was intense! From inside looking out the entire boat looks new now with all one smooth shiny color. This time we went with “rolling then rolling” with two foam rollers going. One to put the paint on and one to roll over in the perpendicular direction to soak up any paint that wasn’t totally smooth. This created the same smooth gloss finish effect we got by chance on the cabin top.
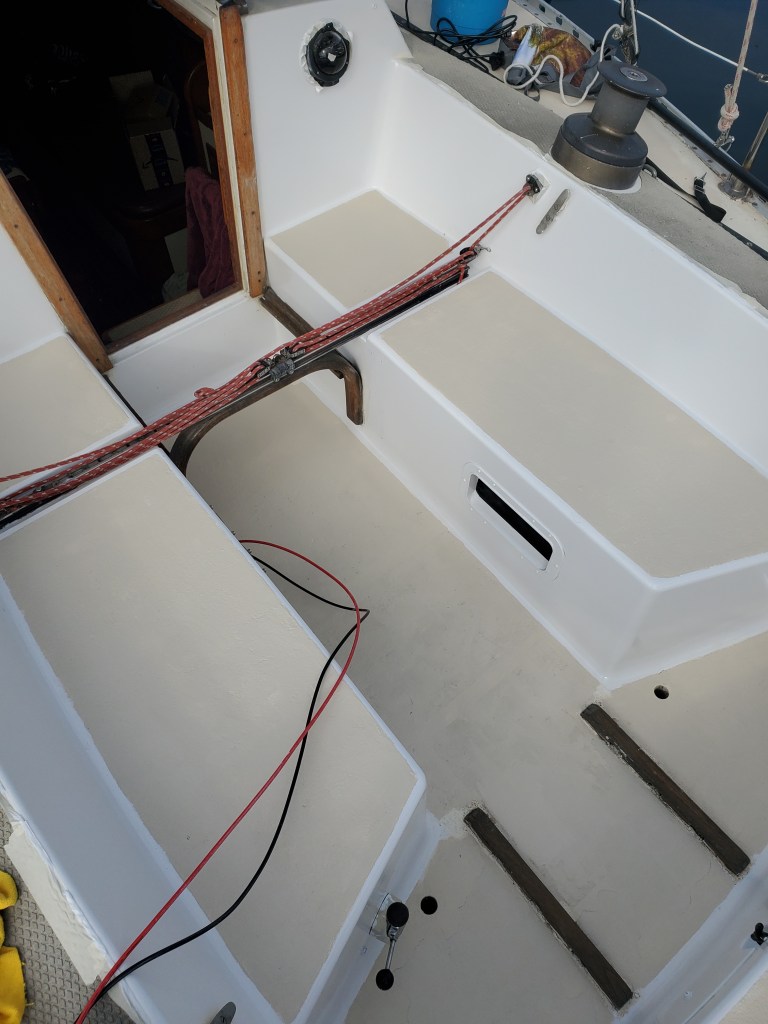
The following day, once the white was dry, it was time for the beige on the nonskid. As the nonskid is slightly raised we didn’t mask anything off. It was easy enough, with a slow steady hand, to paint without pressing hard enough to get the white on the surrounding smooth areas. Now is this perfect? No, we really need another coat probably everywhere. Another thing was we had cork board stuck down in the cockpit sole as an experiment to see how it worked as a nonskid and it didn’t clean up too well. But overall it is a vast improvement over what it was and now that we actually know the colors we can do touchups anytime and keep it looking fresh!
The rain came as expected and of course, there is still more to do. The cabin top transitions into the cockpit combings as it extends to the aft of the cockpit and we didn’t get to paint that white. The 3 or so inch side deck of nonskid that goes around those combings to the stern is also not painted yet. However, one of the spring projects (that I, Liam, am dreading but is a good idea to do) is to take off all the deck hardware and re-drill the holes with epoxy and when we do that we can get the nooks and crannies with the paint. And until then we don’t necessarily look like the shabbiest boat on the dock and we can enjoy a clean looking and feeling home.

Leave a reply to Julie Lockman Cancel reply