Now that the two things that didn’t fit now sort of, well are supposed to at least fit, the next task is to do the actual fitment. The major aspect of this is getting the engine and therefore transmission aligned within 0.005ths of an inch. Essentially tilting, twisting, and turning the engine before bolting it down so it lines up with the propeller shaft so when its spinning its not wobbling back and forth. To get to doing that though, first we have to figure out where we are actually going to bolt it down!
In once again goes the engine. Now we have this down to a science though and lifting it from its resting place in the battery box back onto our newly modified stringers takes probably about 5 minutes. This time, as we have the metal L brackets bolted to our new stringers, we can mark on the metal where to drill the holes. So once sitting on the stringers we start the process of getting it aligned as we can as to make sure the holes we mark will be close enough to fine tune once the engine is bolted down.
Essentially we have one person behind the engine with feeler gauges, sliding the prop shaft in and out against the coupler on the transmission and checking if the gap between the two flat surfaces is even while the other person is in front of the engine jostling it around a millimeter at a time. Fiddly, yes, tedious, yes, but not particularly difficult per say just continual trial and error.
This goes on until, miraculously, within not too long we have it really well lined up! As this is the sort of task one could continually fiddle with and slowly make it worse we decided to mount with a Sharpie where the holes for the engine mounts were sitting! A major step in getting the engine actually installed. Once marked, out comes the engine, then out come the bolts and the metal stringers, and onto the deck they go so we can drill the holes. Once drilled, the metal brackets go back in but this time permanently. To ensure the stringers are watertight we coat the bolts and fill the holes with epoxy and then hammer in the bolts and tighten them down. Those aren’t going anywhere.
Of course, as the bolts which hold the engine to the metal stringers go up from underneath, on the first one we forget to put them in before bolting the stringer down so we quickly disassemble it before the epoxy kicks and add them. We were smoother on the second side having already made the mistake once.
This then marks the final time the engine would be put into place. As there are now 2 inch bolts sticking up from the stringers we cannot just slide the engine back as we have been doing. We end up using the paddles, like we did to remove the old engine, and making a quasi slide so we could scoot the engine backwards above the bolts then remove the paddles and it would drop down onto them. For being a semi dodgy solution to this it worked rather well and the engine was then sitting, close to its final resting place, on the bolts on the stringers.
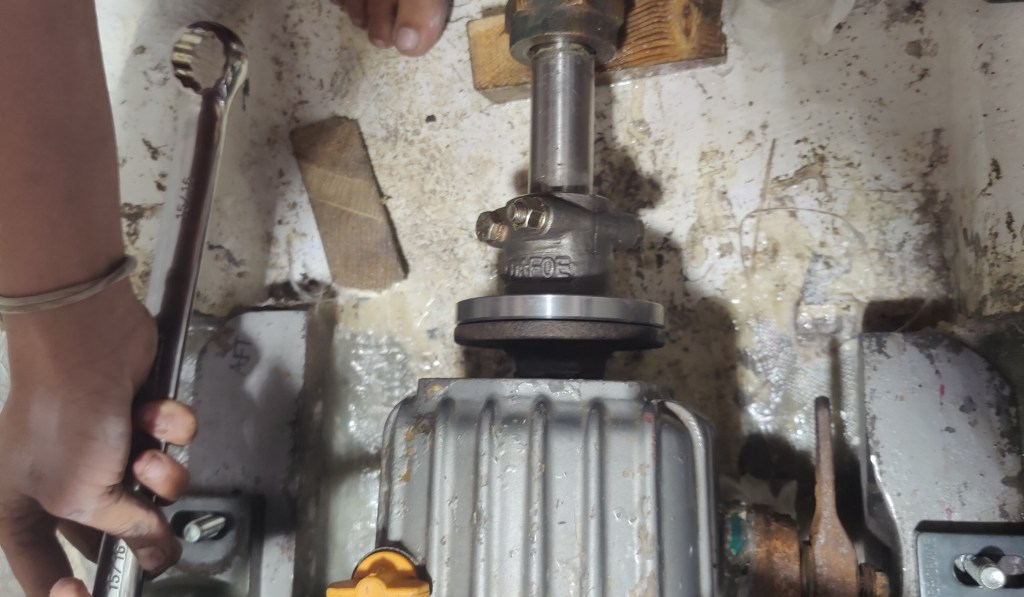
Now begins the real deal alignment. We started adjusting the twist and turn of the engine athwart-ships and fore and aft as once this was good we could tighten down the bolts and use the motor mounts to adjust from there which are far more precise than me kicking the engine slightly hoping it moves one way or another. There isn’t much to say here, it’s just trial and error. After not as long as anticipated we had a pretty solid line up of the prop shaft and decided it was time to just bolt it down. We tightened each opposing corner of the 4 engine mounts and continually checked the alignment as we went. Eventually we had the engine mounts tight to the stringers and we moved to adjusting the mounts to get the engine further in alignment.
From here its the same story, not much to say just continual fiddling. The engine mounts allow for up and down movement at each of the 4 corners of the engine. So we check the gap at 12, 3, 6, and 9 between the prop shaft coupler and the transmission, figure out which part has the larger gap, then adjust the opposing engine mount either up or down like a 32nd of a turn and check the alignment again.
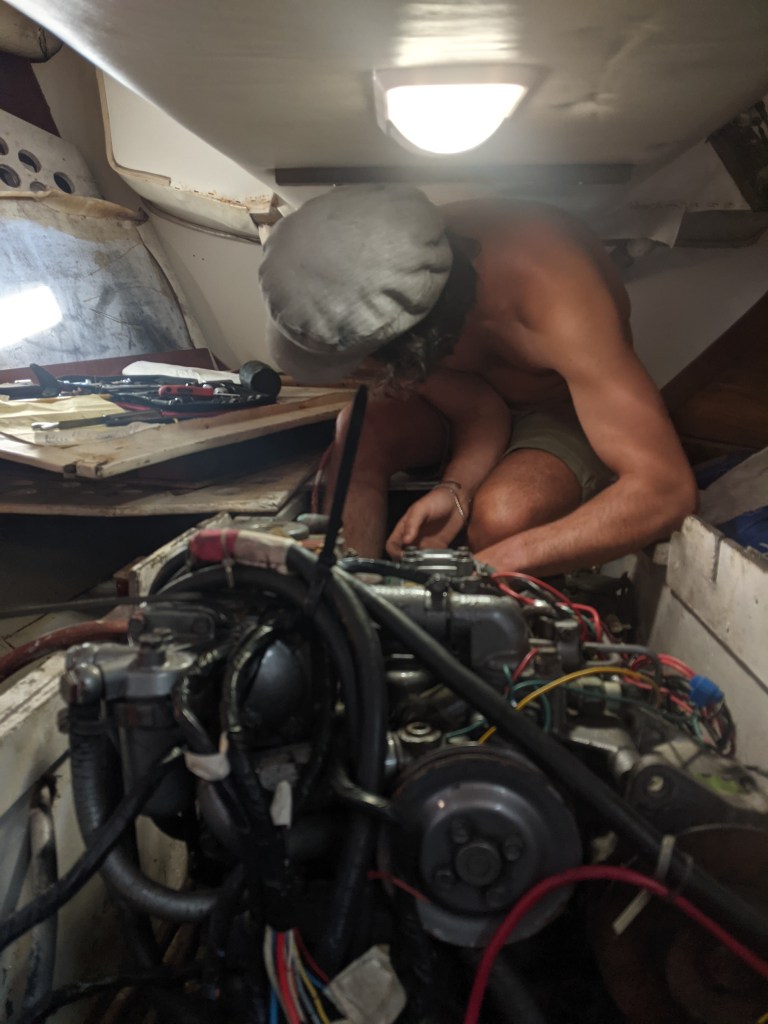
Around and around we went, Chandelle’s crew came over having replaced their engine a year or two back and they informed us we were way closer than we thought, it was time to start tightening down the engine as this will also change the alignment. We then switched tactics to tightening the top bolts down on the engine as well as the bottom ones up and low and behold, the tighter we made everything the more it all lined up! A day and a half after starting we had the engine tight as and within 0.0025ths of an inch!
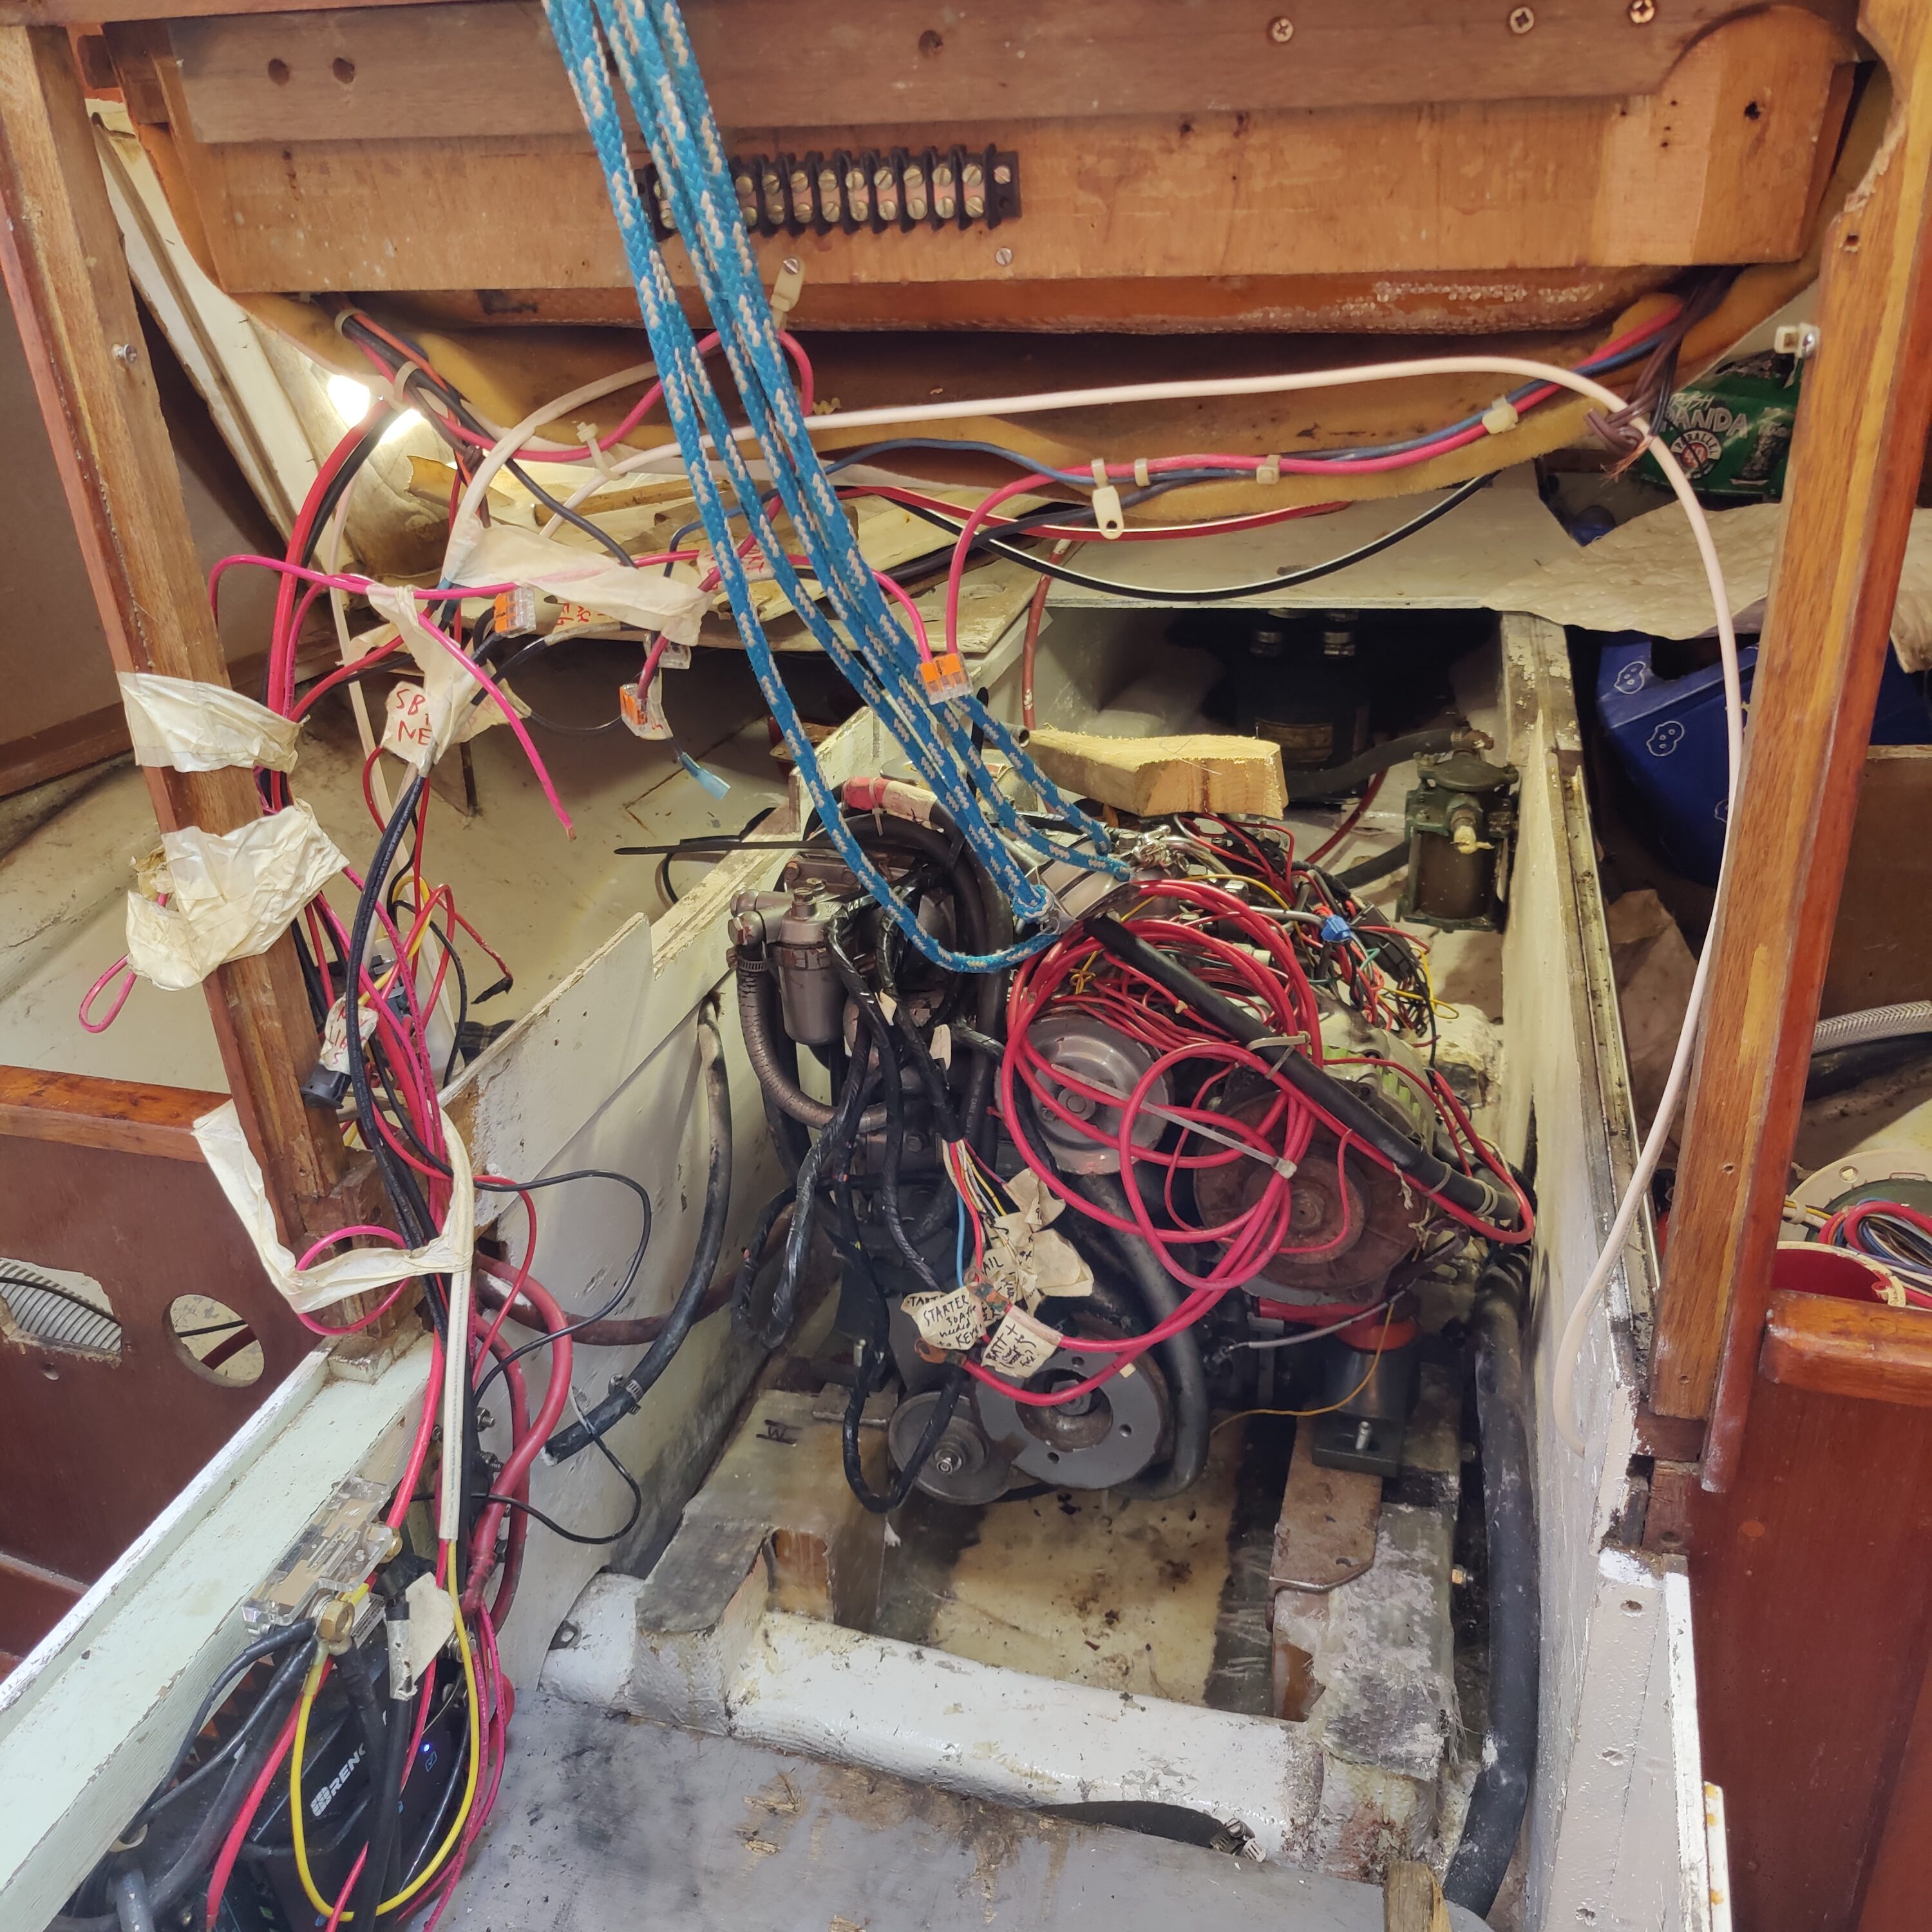
Just like that, the engine is now fitted, bolted, stuck down in Karma. A few more things have to happen though before we motor on out of here. The main thing being electrical.
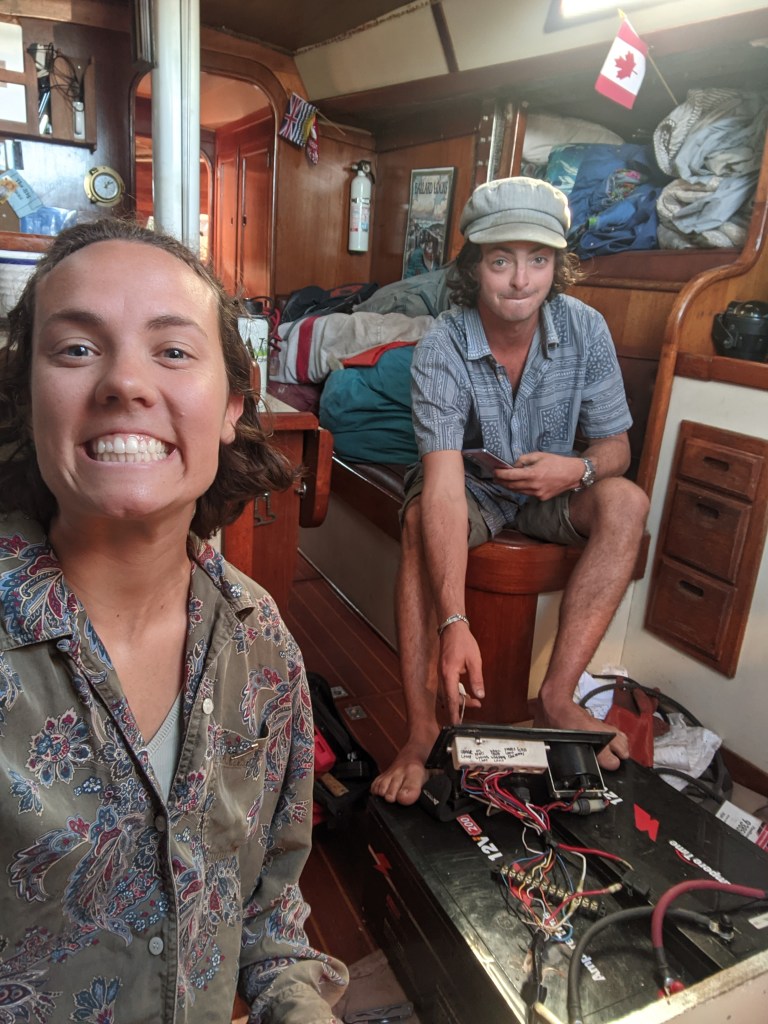
On our 2QM, the ‘engine panel’ was made up of an assortment of gauges and switches all hand wired together with twist ties, electrical tape, speaker wire, and oil stains. This new engine came with an actual Yanmar panel! This, along with the engine being something people have heard of, landed us with a functioning manual where everything, even down to the wire colors matched. Of course the quick connects from the panel’s wires to those on the engine’s wiring harness didn’t match, it is a boat after all, but with the manuals for both and Heather’s genius each wire just connects to its corresponding one on a terminal strip which we already have. And, due to the clear explanations, there is essentially no trial and error.
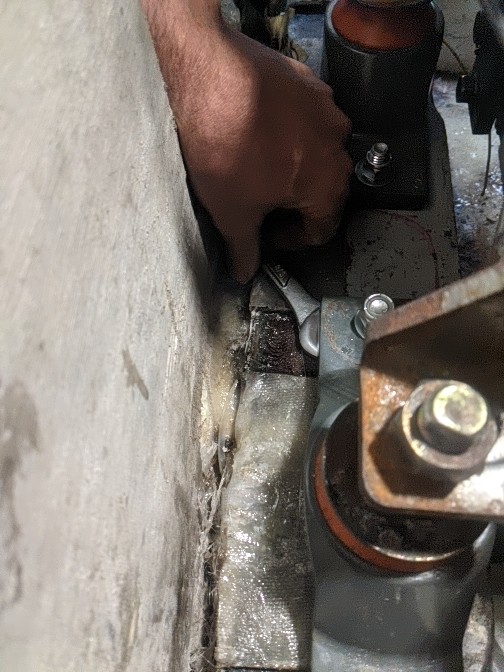
The other things left to do were connect the diesel to and from the tank hoses, easy as the connections on the engine are essentially in the same place as on the old one, and connect the exhaust from the engine to our muffler and therefore out the back of the boat. Both pretty straight forwards. The exhaust was a bit more involved as it included another trip to go ole Larson’s where we had to step down the size half an inch with a bend in the exhaust.
So at this point the engine is: aligned and bolted down, wired up, salt water goes into the engine from the old sea strainer, fuel line goes into the primary lift pump and fuel returns from the injectors, exhaust gas and water goes out the back of the boat, there is nothing left to do now but… fire it up?

Leave a comment